Written by Rustina
Walking around with leaking boobs can be quite the experience! I am so thankful for being able to nurse my little ones for more than a decade. I learned a lot about breastfeeding and getting the milk smell out of my clothes. A good set of breastfeeding pads is one of the best ways to prevent that sour smell. I tried several patterns over the years, and these worked best!

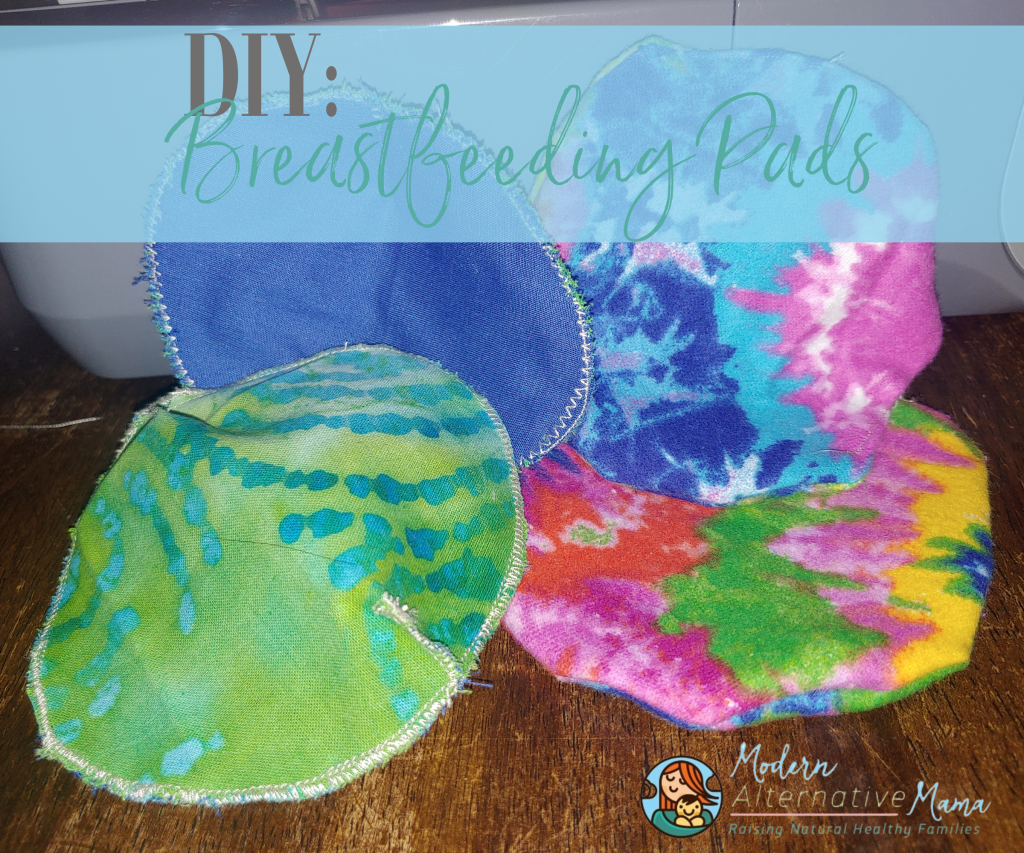
Breastfeeding Pads
Supplies:
- ¼ yard of prewashed cotton flannel for the inner layers (organic if possible)
- ¼ yard of prewashed cotton linen for the outer layers (organic if possible)
- Cotton thread
- Sewing machine or needle for hand sewing
- Scissors
- Optional:
- Pins
- ⅛ yard of prewashed, air-dried PUL (Polyurethane Laminate) fabric. This gives you more leaking resistance when you need it. I usually did half with the laminate and half without. If using PUL, forgo the pins for binder clips instead so you don’t put holes in the fabric. Some prefer to use polyester thread with PUL, but I have not had an issue with cotton thread absorbing through the stitching.
Instructions:
Step 1: Determine the size you want for your breast pads. You can use an existing breast pad or create a pattern by tracing a circular shape. You want it to be large enough to cover at least 2 inches away from your nipple. You can use a roll of tape, a cup, or a bowl to mark a size and pattern.
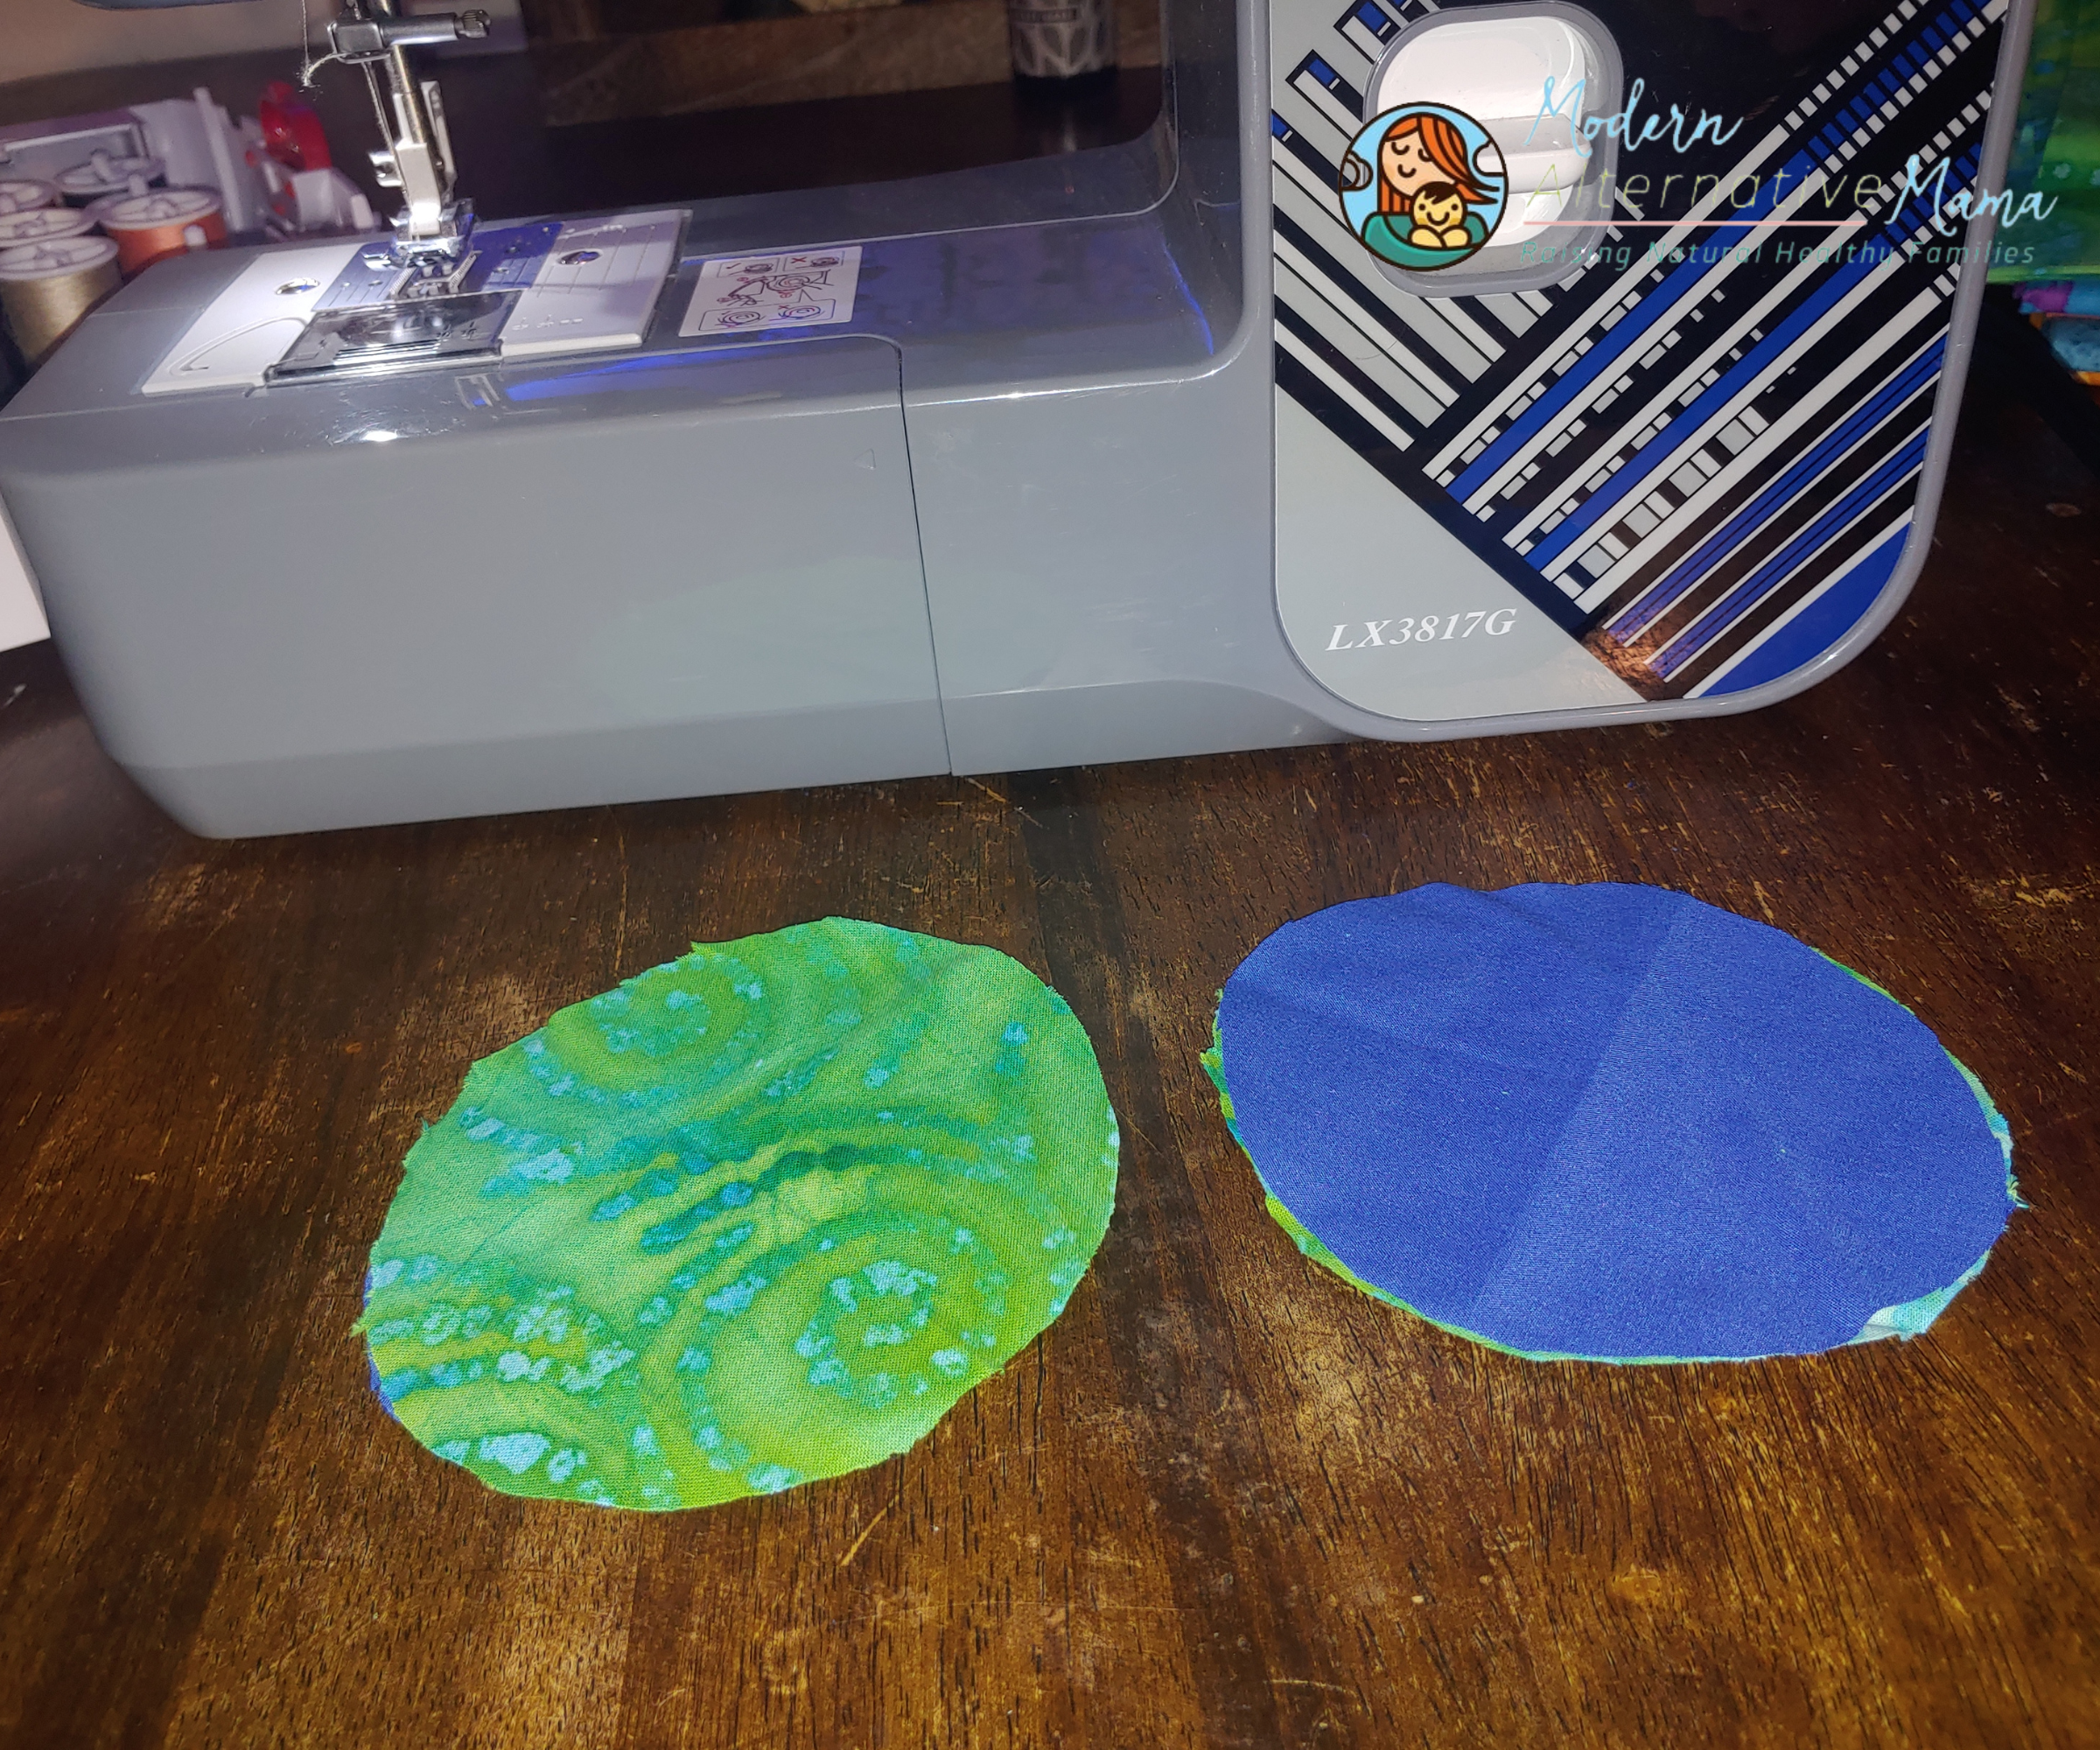
Step 2: Once you have the desired size, cut circles of absorbent fabric and two pieces of the outer fabric using the pattern (1 cotton linen, 1 PUL, or 2 pieces of cotton).
Step 3: Place one, two, or more pieces of the inner layer fabric (however much you feel comfortable with the thickness) between layers of outer fabric on either side (right sides out – for PUL, that means laminated side towards the inner layers).
Step 4: Pin all the layers together if you wish, or hold them together while doing the next step.

Step 5: Using a sewing machine or needle and thread, sew a zig-zag stitch around the edges of the circle. Leave a 1-inch gap on 2 opposite sides of the circle (see picture – this is to give your breast pads a curved shape). You can complete the circle if you do not wish to have a curved pad.
Optional: This step can be skipped, but it does make a difference. Use an iron to flatten them and create crisp edges. If you did use synthetic fabric, be careful – they might melt or shrink under high heat (the same warning would go to drying in a dryer). Keep it at a low setting and only iron on the cotton side, not the PUL side.
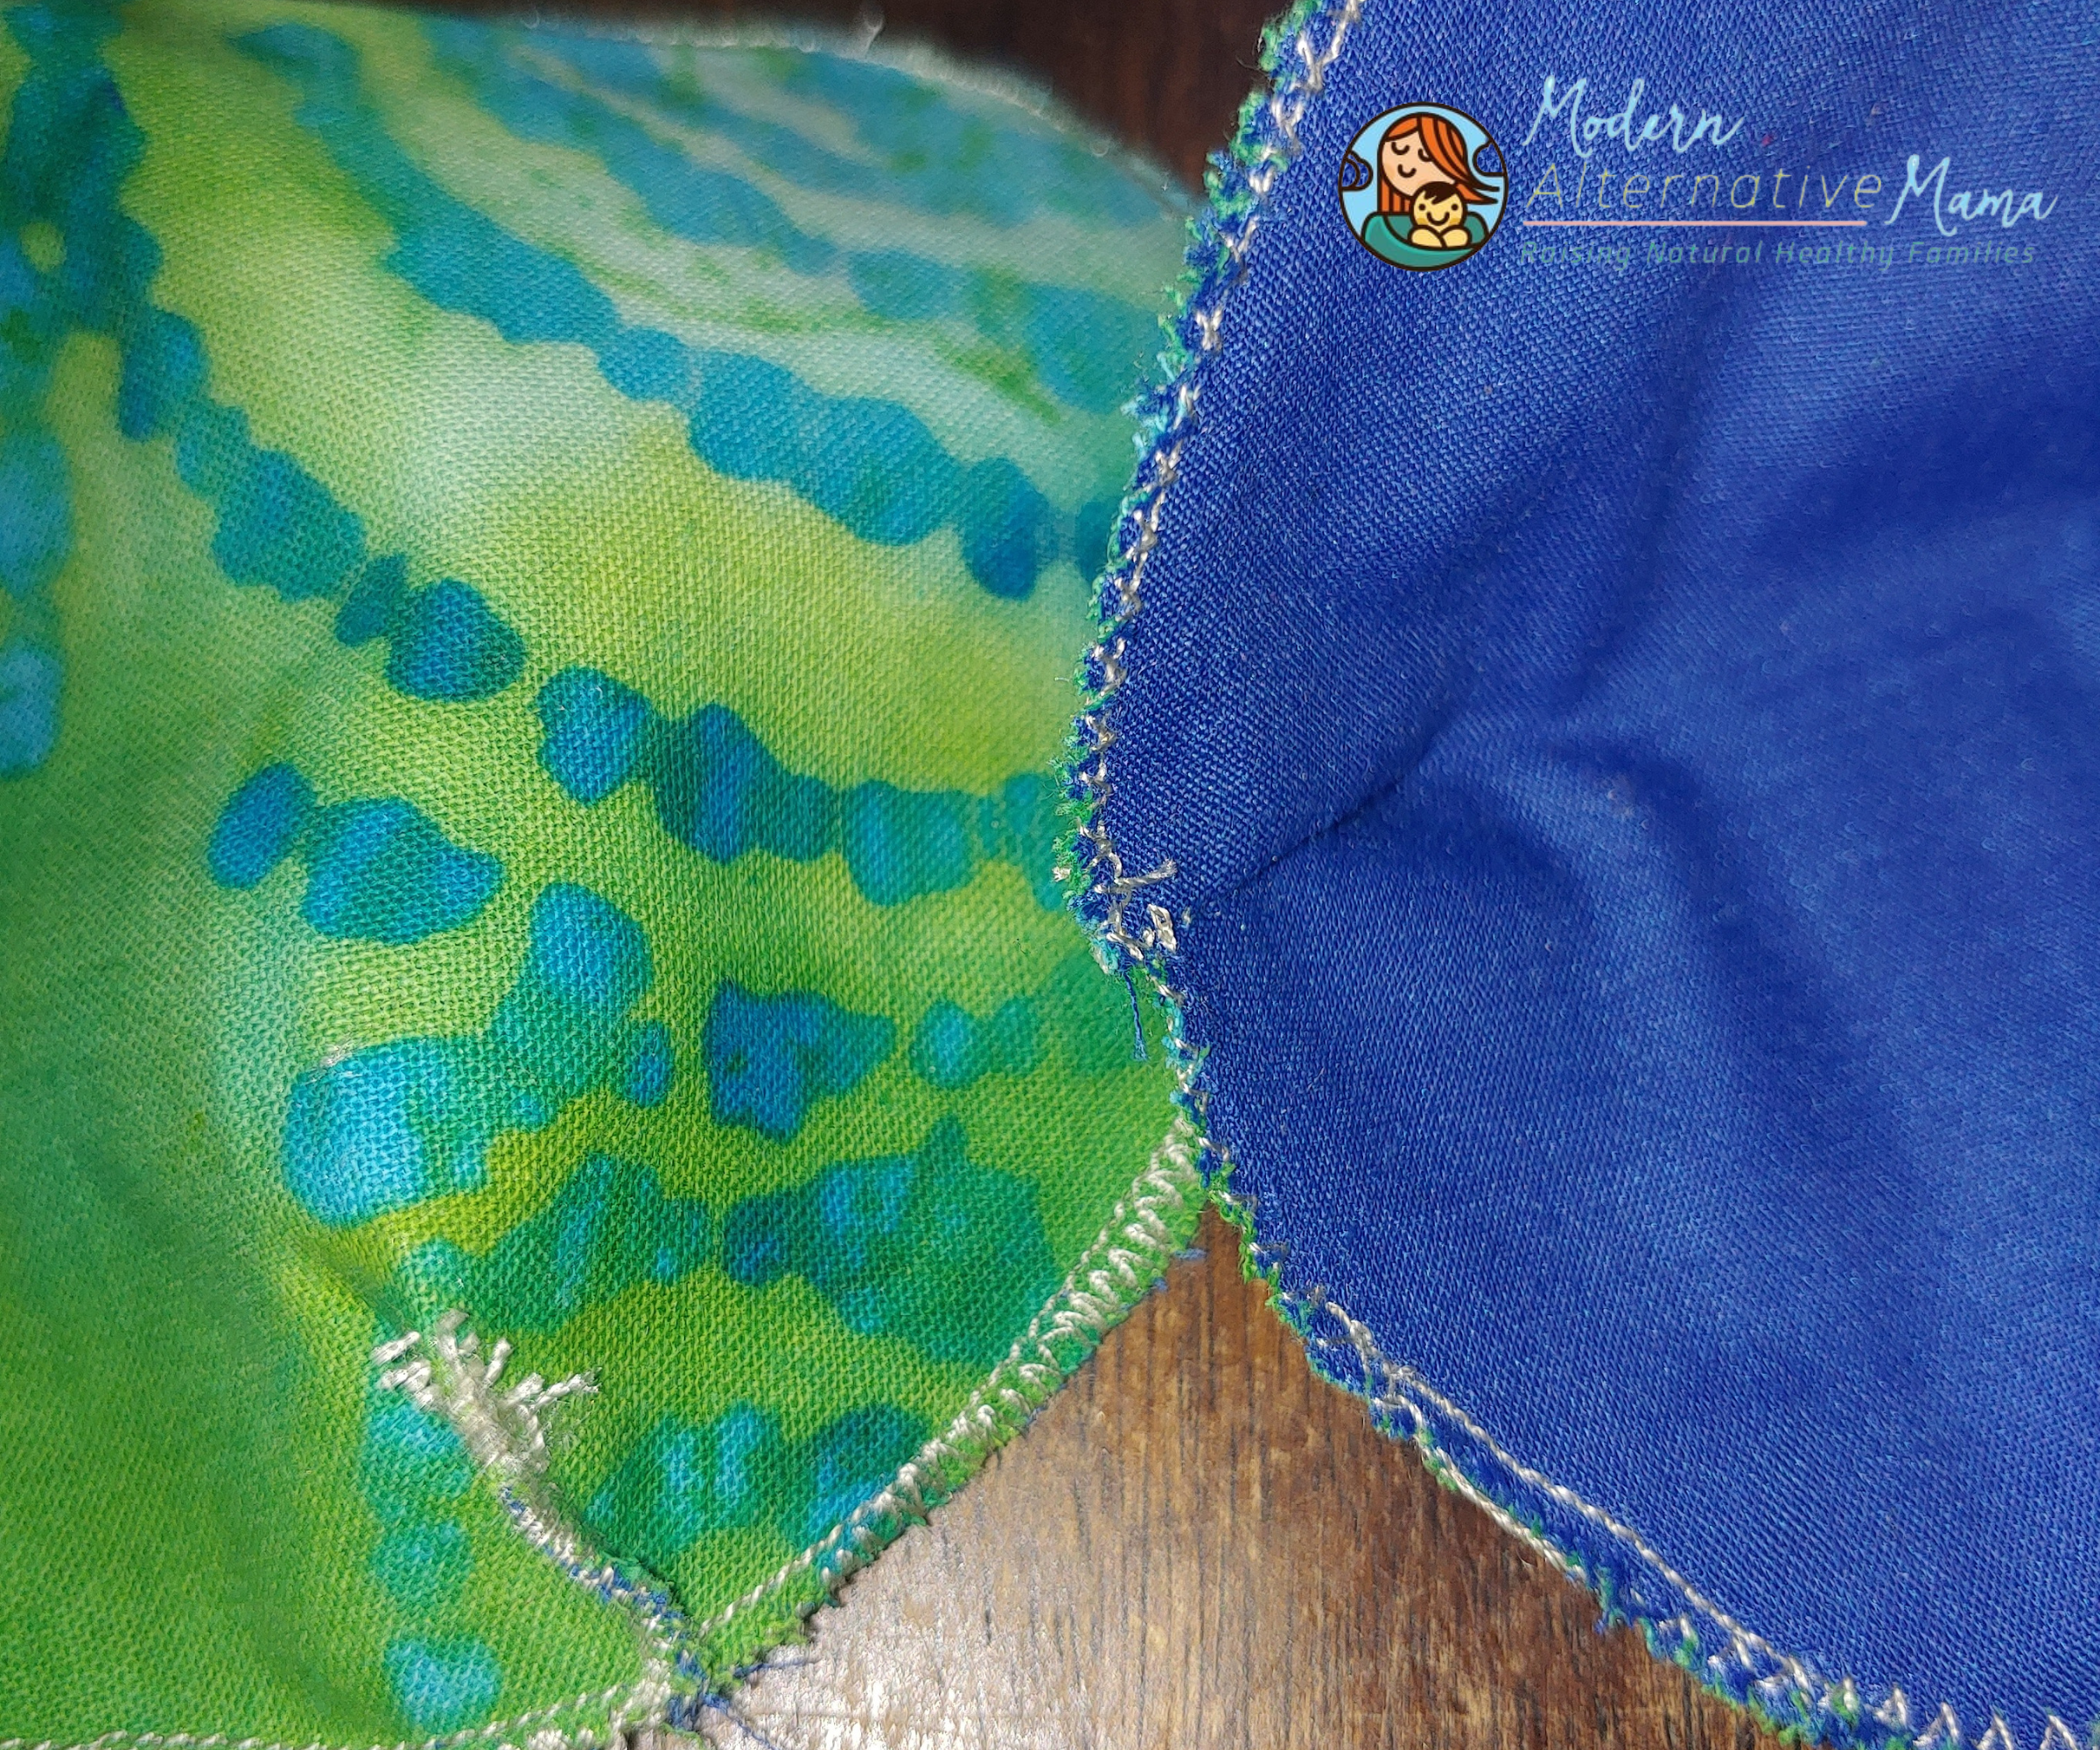
Step 6: Fold the circle piece in half so the gaps in the sewing are lined up at the “flat end” of the circle. Make sure the ends of the 1-inch gaps are lined up. Then, on one side at a time, sew a straight stitch from where the 2 ends meet towards the middle. Generally, a 45-degree angle gives the fabric a nice, gentle curve. Depending on the fabric and thickness, you should only need to sew inwards about an inch or two. With PUL, it will be most efficient to cut the excess material when you fold together the gap ends and lay the two pieces one on top of the other, stitching them flat instead of creating a more exposed seam.
Step 7: Repeat on the other side to close that gap.
Step 8: Trim the excess fabric created from folding in the gaps. You can add a loose zig zag stitch along the straight stitch – if desired.
Step 9: Repeat for the second breast pad (and as many as you wish to make).
Notes:
- It helps to wash them before use to increase absorbency and reduce shrinkage.
- Depending on the fabric used, they can be washed by hand or in a washing machine. It is best to let them air dry, especially if PUL is used. They can go in the dryer on low or normal heat if only cotton is used.
- Remember, everyone’s needs may vary so you can customize the shape, size, and materials based on your preferences and comfort.
- Use a non-toxic laundry detergent like Earthley’s Laundry Detergent
- When nipples are sore or if you find your breast pads (of any type) sticking, I recommend using Earthley’s Breast Balm or our DIY Breastfeeding Nipple Cream.
- You can also store these in a baggie in the refrigerator or freezer for a cool, refreshing feel against sore nipples.
These pads made a huge difference for me. I was going broke buying box after box of disposable ones. Every time my little one hit a growth spurt, bumping up my milk production or going off a growth spurt, leaving me feeling engorged, I would have to constantly check my chest for wet spots – it was so embarrassing when I would notice it while I was at work or out shopping.
