People often say their mint or catnip plant is taking over their yard. Instead of letting them run rampant or potentially go to waste, consider drying them for long-term storage. Whether you’re storing them for cooking, making your own spice mixes, or making herbal extracts, the drying process is simple.
The first time I had to dry herbs at home, I was making Mint-Infused Coconut Oil. I didn’t realize that the herbs must be dried when making an oil extract because the water content may shorten the final product’s shelf life. At first, I was a little disappointed, but the drying process was easy, and my home smelled amazing for the rest of the day. Double win!
Whether you’re drying herbs for cooking or looking to make an oil extraction and realize you need dried herbs, we have you covered. The process is the same for every herb, although the time it takes to dry will vary. It’s important to note that some herbs, like cilantro, do not taste as good after being dried, but the preserving methods retain the plant’s medicinal benefits.
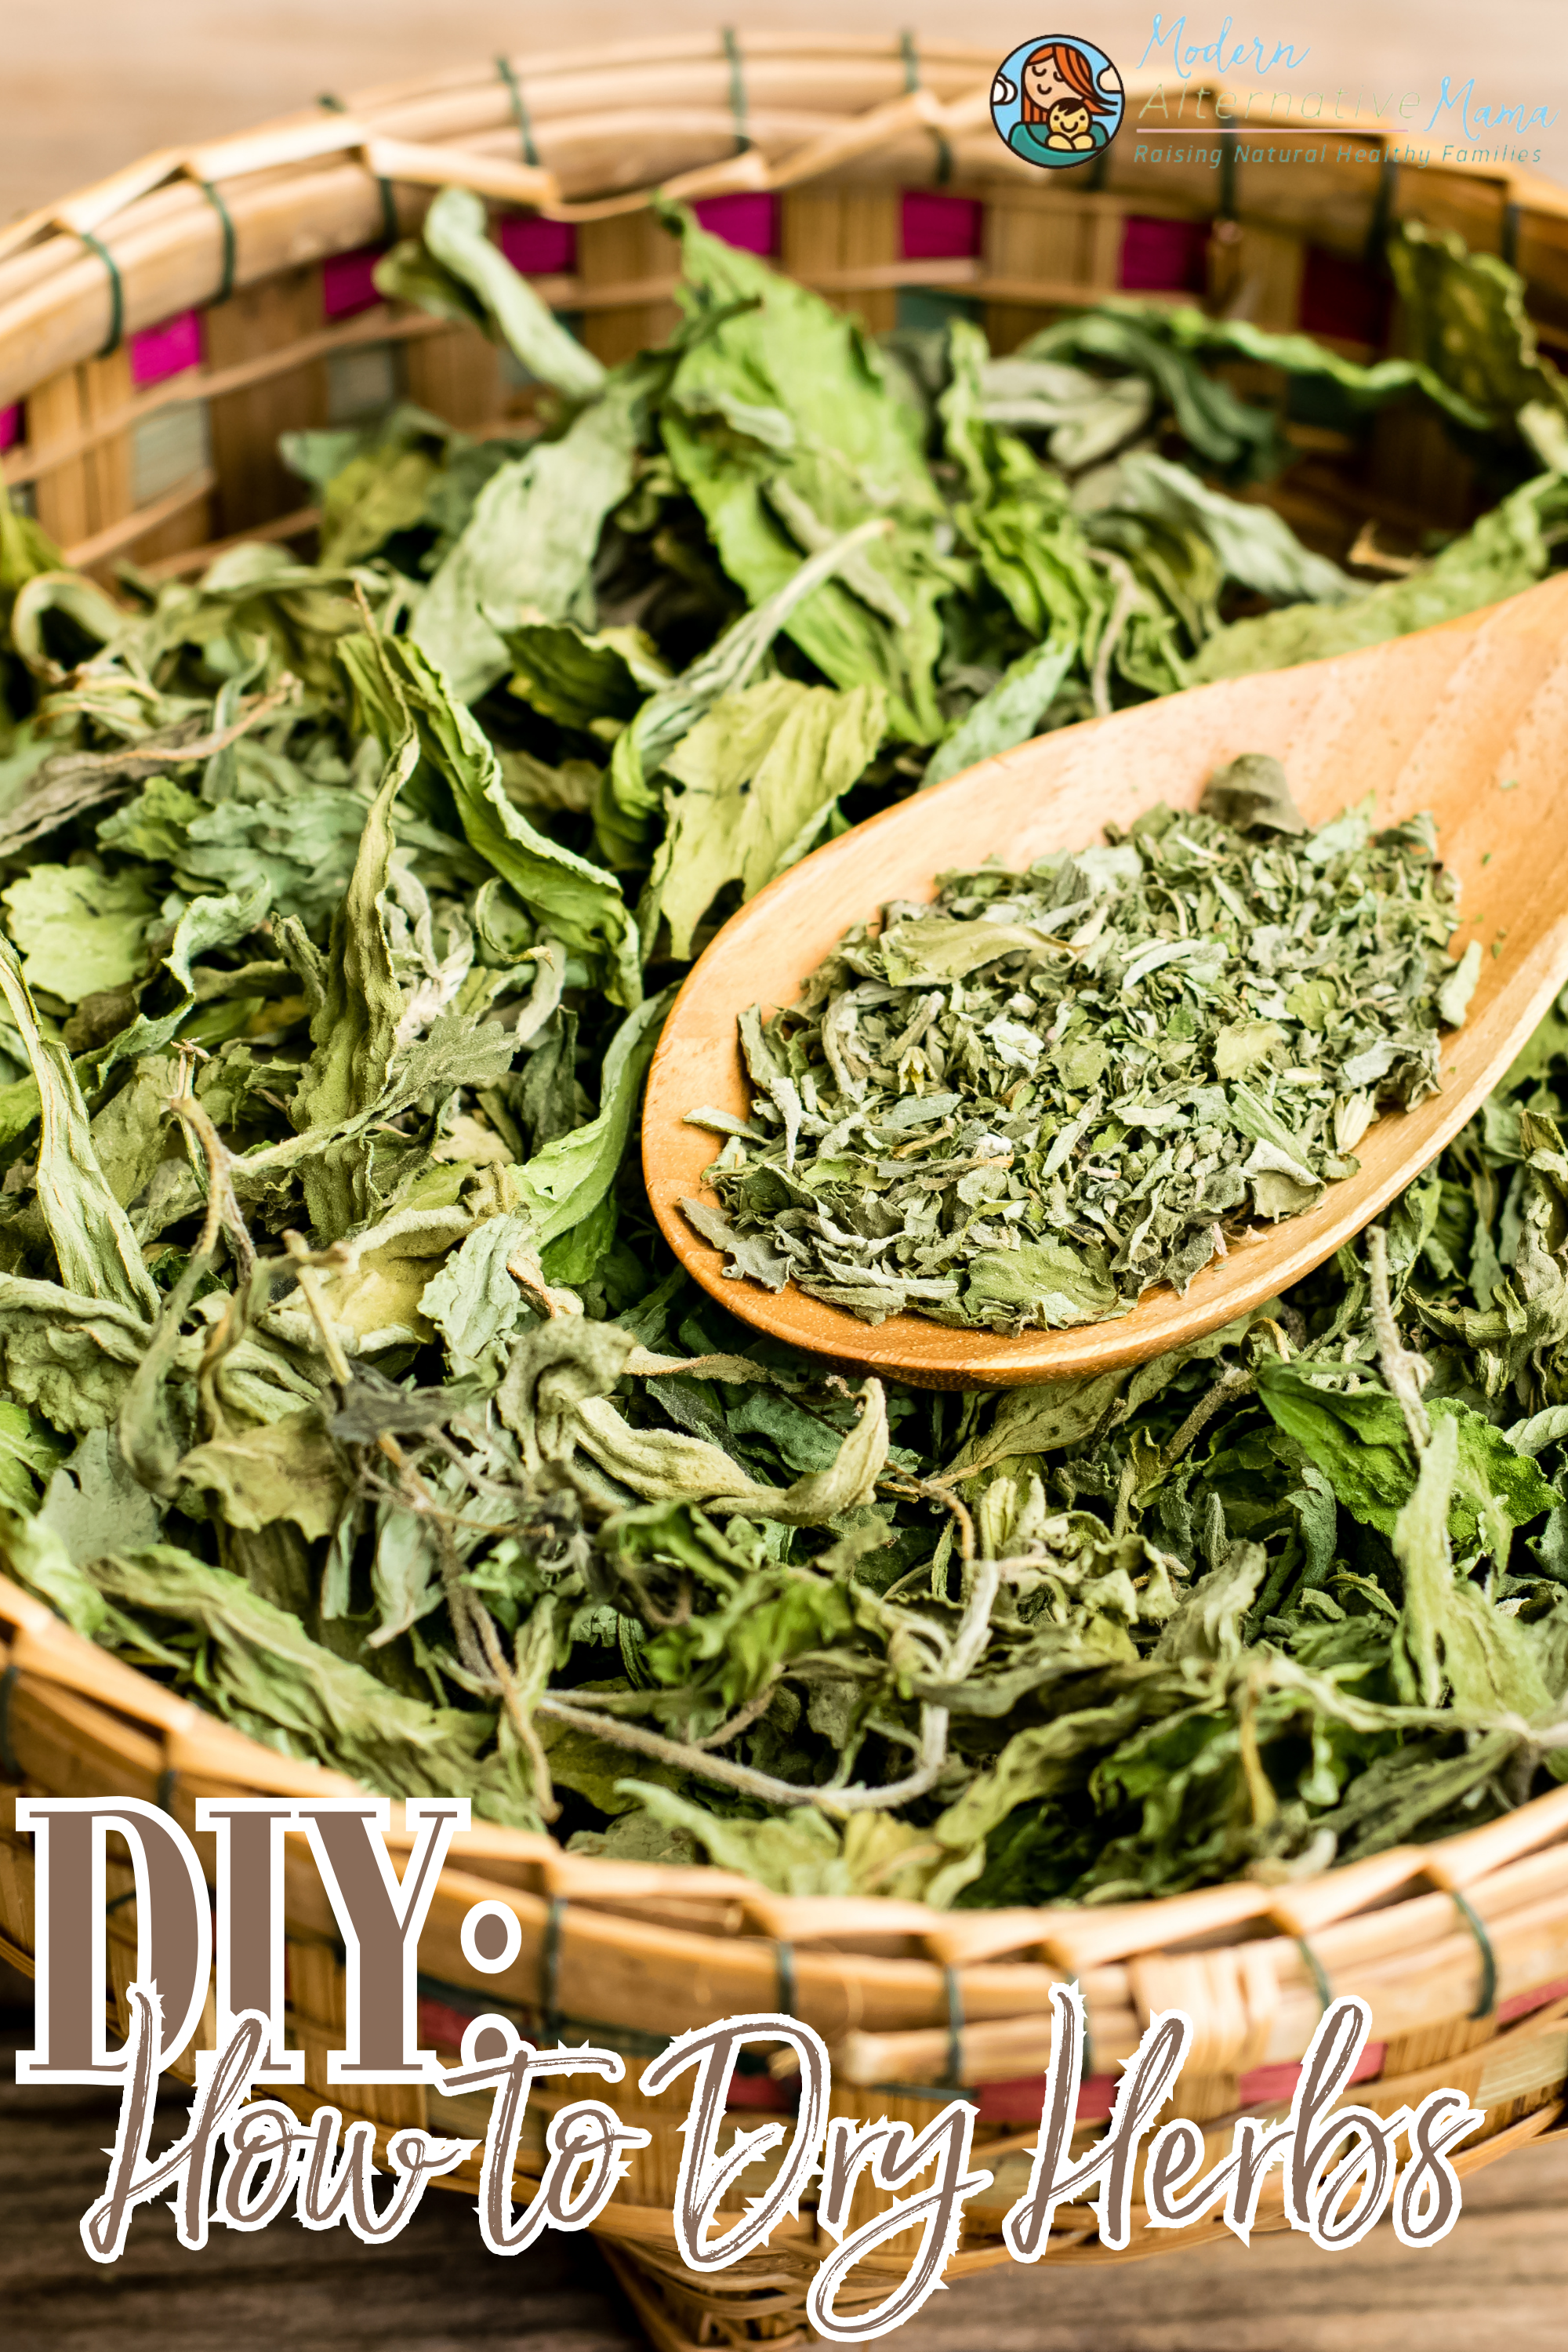
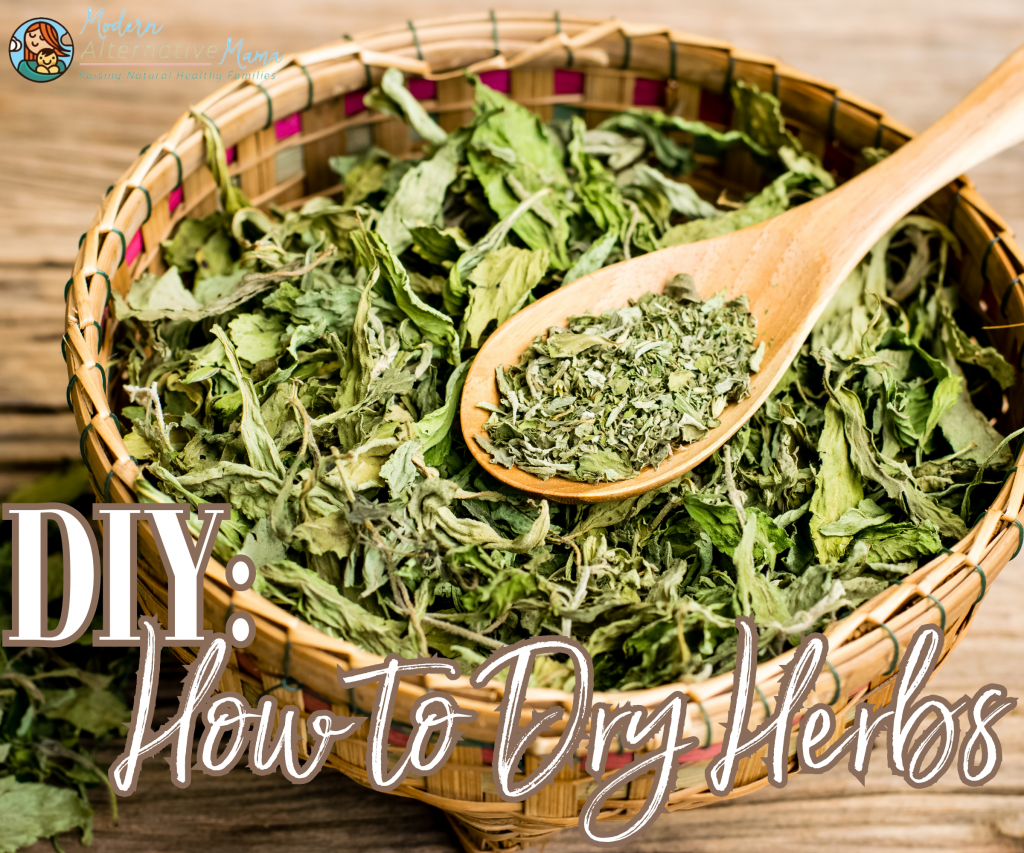
How to Dry Herbs
Herbs can be dried in many ways. I prefer using an oven or dehydrator. Other options for drying herbs are in an air fryer or sun drying on a screen outside. The only concern is to avoid temperatures over 200ºF to avoid burning the herbs. Aside from that, the process is super simple, no matter your drying method. Let’s get to it.
Step 1: Gather your herbs, separate the leaves and/or berries from the stems, and discard the stems (unless they’re being used for something else).
Step 2: Wash the herbs thoroughly and pat dry them. You want the herbs to be free from any excess water. If you need to let them sit out at room temperature for an hour, that is fine.
Step 3: Lay the washed and hand-dried herbs flat on a baking sheet (or screen if sun drying). You do not want to overlap the herbs.
Step 4: Cook/dry the herbs on the lowest setting of whatever cooking method you prefer. You do not want the temperature to be above 200ºF. My oven’s lowest temperature is 170ºF, which is perfect for drying herbs.
Step 5: Let dry for as long as it takes to reach a brittle, easy-to-crumble consistency. You do not want the herbs to be bendable. If drying berries, you want to reach a hard, impossible-to-squeeze consistency.
Cooking Note: I recommend baking for an hour to start. After the first hour is up, test the consistency with your fingers, and then add time in 30-minute intervals until you’ve reached the desired consistency.
Storage Note: Dried herbs usually have a 1-3 year shelf life. If you wish to extend the shelf life, you can store herbs in a mason jar and vacuum seal the jar.