Written by Kate Tietje
You’ve got to try making this first aid salve. (It’s one of my favorite salves, next to my sore muscle and headache salve, which we use a ton.)
A while ago, my daughter got to go hiking with her grandparents. They spent a lot of time outdoors, and she came back with a slight sunburn — I’d forgotten to send my homemade sunscreen salve with her, oops!
When she arrived home, I put this homemade first aid salve on her burn. She said it really helped.
Then my father-in-law mentioned a bit of a cut or something bothering him and asked if he could try it. I handed it over. He liked it so much that he asked if I had one he could take home!
A few weeks later, playing in the backyard late evening led to several mosquito bites. First aid salve to the rescue! With one application, the bites didn’t itch for a full 24 hours, and after a second application, they didn’t itch at all and healed quickly.
We regularly use this on small cuts, scrapes, minor burns, bumps, and any other little injury or mishap that occurs. The kids always ask for it when they get hurt.
Since it’s easy to make, I’m sharing it with you!
If you don’t want to make your own, try Earthley’s All-Purpose Salve from our store!
Why It Works
This first-aid salve combines two important oils and a few key herbs.
Olive oil is super nourishing and soothing and is healing to the skin. Castor oil dries out the skin a bit, and helps to gently draw out impurities. Dandelion is a mild pain reliever and also nourishing and healing for the skin. Lavender is soothing and healing. Calendula is also soothing and healing. Beeswax keeps it all together!
When making this, I poured some of it into tiny lip balm tubes (like these), and I always keep one in my purse. I also have given a few to friends to try. It’s pretty neat!
Now, let’s get to the recipe!
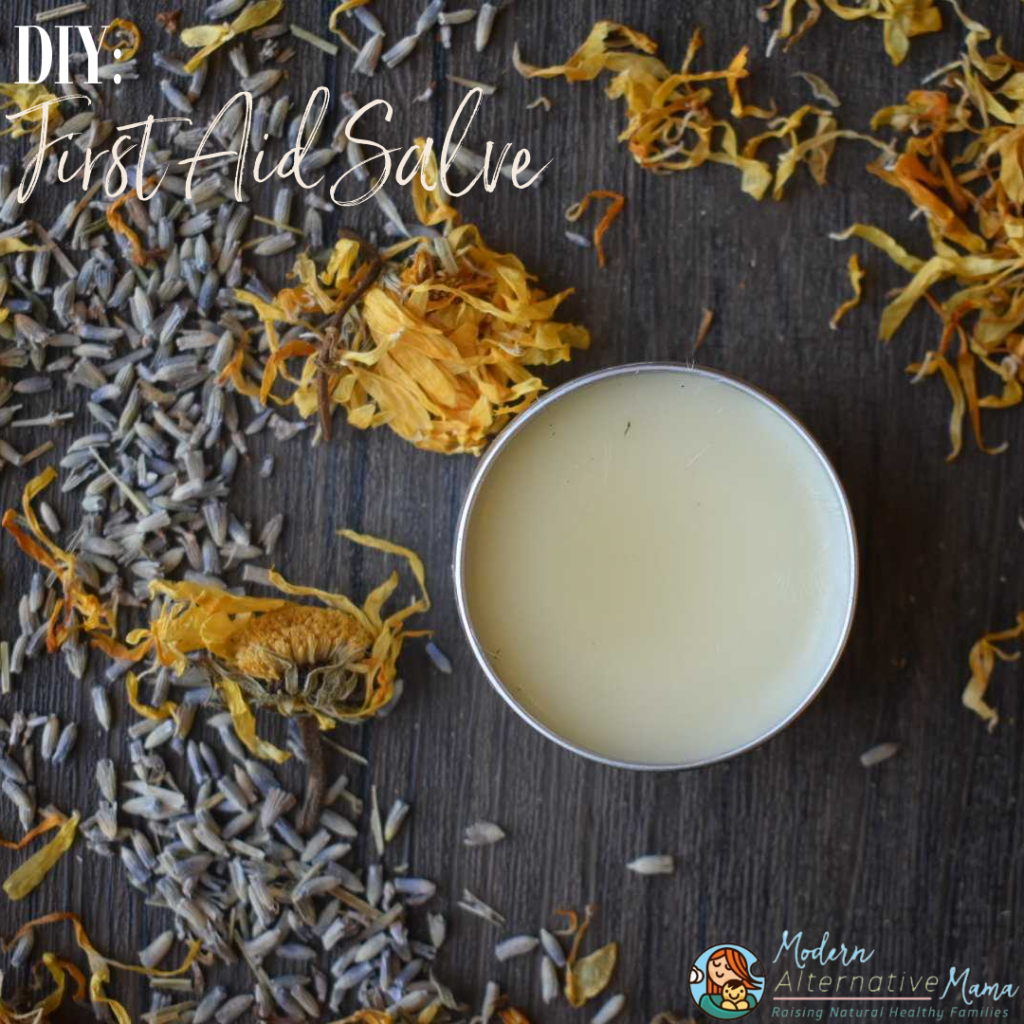
First Aid Salve
Ingredients:
- 2 oz. olive oil
- 2 oz. castor oil
- 1 tbsp. dandelion flowers (I dry herbs from my yard)
- 1 tbsp. lavender
- 1/2 tbsp. calendula
- 2 tbsp. beeswax
- 1 4-oz. tin
Directions:
Step 1: Mix the oils and herbs (everything except beeswax) in a clean glass jar.
Step 2: Put the jar in a cool, dark place for 6 weeks or in a saucepan of hot water. The water should come up the sides of the jar high enough to cover the oils and herbs but not high enough to get into the jar. Turn the stove on low so the water is gently steaming (not boiling) for 1 – 2 hours.
Step 3: When the oil is infused, pour it through a cheesecloth or an old dish towel and squeeze to strain out all the oil. Reserve the oil and discard the herbs.
Step 4: Add the beeswax to the infused oil in a clean jar. Place the jar in a saucepan of warm water on low-medium heat and allow it to sit until the beeswax is melted. Stir or swirl gently so it’s all mixed.
Step 5: Pour the hot salve into a 4-ounce tin or 2 2-ounce tins. (Or whatever combination you want to equal 4 oz. total) Let the salve cool completely before putting on the lid or moving it.
To use: Rub a small amount of first aid salve on any wound, burn, etc. Do not use it if the wound is deep or serious (but you know that, right?).
