Written by Rustina
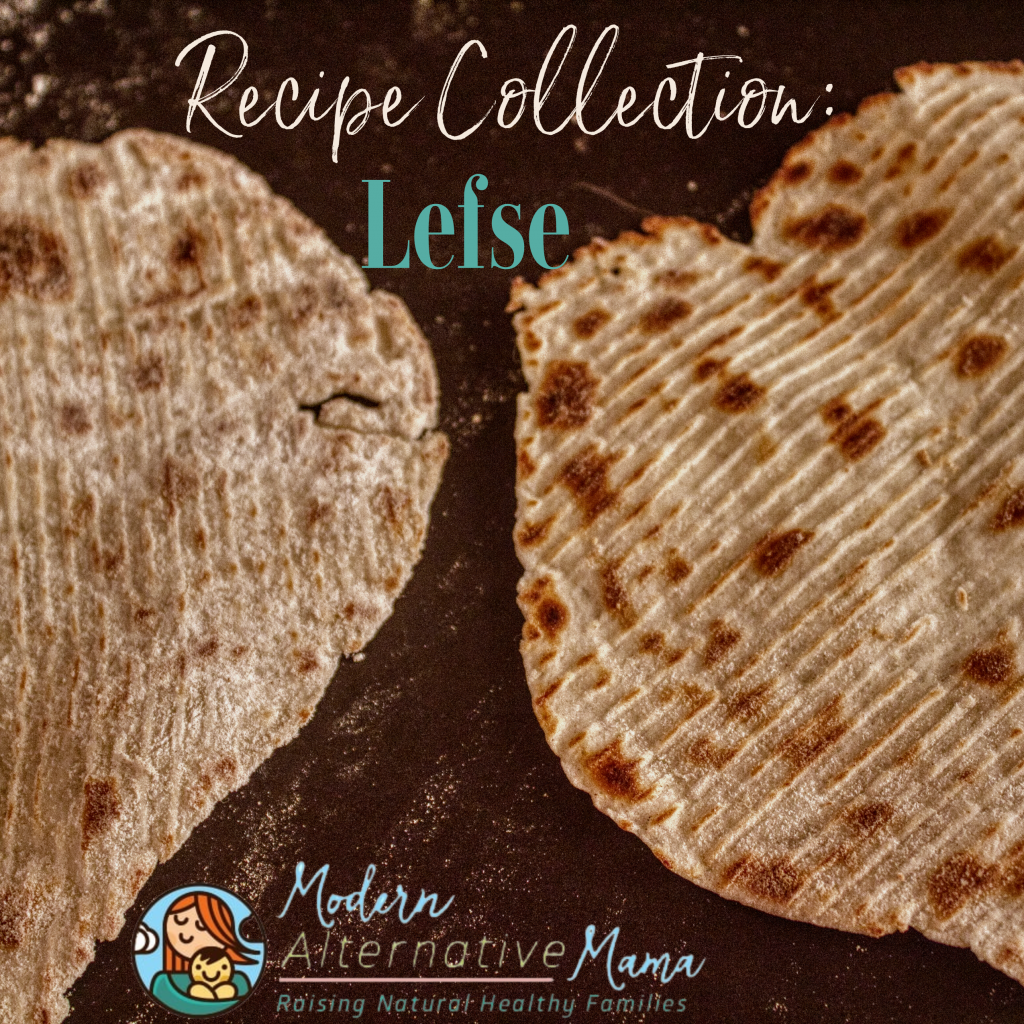
I love family traditions, and my favorite one is making lefse! Lefse is an amazing tortilla-like creation of warm potato-y goodness. Officially, this traditional potato flatbread was brought over from the Norwegian immigrants as they became Americans in the 1800s and 1900s. My ancestors came to the US in the early 20th century, and they passed down the tradition.
When I was a child, I always loved the holiday meals. However, looking back, I didn’t start to appreciate the time spent on the meal making until I was much older. Watching my parents and grandparents make lefse will always be treasured memories. Of course, the biggest excitement was when I got to try the lefse stick out for the first time! For reasons only a kid can understand, though, I refused to try lefse until I was 28. My Dad was pretty happy that I finally gave in and tried it. Although, I remember him joking about having to share it now with worry in his eyes!
Traditionally, families would work together to help make it so the work was spread out, and an assembly crew was formed. In the last few years, I have made it alone, but I think at least 3 people working together make the process much smoother and less time-consuming.
Lefse
Equipment needed:
- Large Bowl
- Wooden Spoon
- Potato Ricer
- Flour Sifter
- Corrugated Rolling Pin
- A flat, clean surface or Pastry Board
- Griddle or a large cast iron skillet
- Lefse Stick
Ingredients:
- 5 lbs. of potatoes that have been peeled, boiled, and riced
- 1 cup of unsalted butter (room temperature)
- 1 ¾ cups of all-purpose flour
- 1 tsp. salt
- 1 cup of heavy cream
Directions:
Step 1: Add your potatoes into a large bowl. Then, cover with a tea towel and let cool overnight in the refrigerator. Letting them cool overnight seems to help with structure later, and it gives your hands a break after all that ricing!
Step 2: Pull the potatoes from the refrigerator and let them warm up a bit.
Step 3: Begin to mix in the butter, salt, and heavy cream to the potatoes while slowly adding the flour through the sifter. You can use a mixer with a dough hook or by hand.
Step 4: Knead the mixture until everything is well mixed. The dough should be like a pie crust dough. It should take ball form without sticking to your hands too much and not crumble when pressed. If sticky, add a little flour; if crumbling, add a little butter.
Step 5: Put the dough into small balls (just about golf ball size is nice) to help keep a consistent size and keep your assembly line rolling! If you can’t finish rolling and griddling them all at once, put the formed balls in the bowl, cover them back up with the tea towel, and refrigerate for up to 24 hours. Then, just pull them out, let them warm to room temp, and continue.
Step 6: About this time, you should start your griddle or a large cast iron skillet, heating to 400°F. Be careful what you set the griddle on so it does not damage the table or counter top.
Step 7: Now comes the sometimes tricky part of any rolling mission: flour-to-dough ratio when rolling! Flour your work area (easiest on a pastry board with a pastry cloth). You want enough flour so your lefse will not stick, but not too much that your dough becomes flour balls. Begin to roll out your dough balls until it is about as thin as a tortilla.
Step 8: Here, you become a Jedi, wielding your lefse stick to carefully wrap and lift this delicate piece of deliciousness and roll it out on the griddle.
Step 9: Cook on the griddle until bubbles form, then flip to cook the other side so the bubbles are browned.
Step 10: Place the lefse on a damp towel to cool slightly and then cover with a damp towel until ready to serve. Using a damp towel helps retain moisture so they don’t dry out to a crisp.
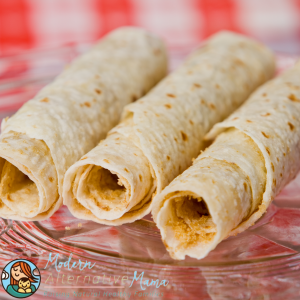
Step 11: Serve and enjoy! Some love it with just butter, some with butter and brown sugar, and some like to fill it with baked beans, more like a tortilla. The options are pretty open.
If you have leftovers, you should probably send them to me. However, if you want to store them, Lidded pie containers work great in a freezer, putting a towel on top and through the center of the pie for about 6 months. Store flat between towels if refrigerating to be consumed soon.
Lefse
Ingredients
- 5 lbs. of potatoes that have been peeled boiled, and riced
- 1 cup of unsalted butter room temperature
- 1 ¾ cups of all-purpose flour
- 1 tsp. salt
- 1 cup of heavy cream
Instructions
- Add your potatoes into a large bowl. Then, cover with a tea towel and let cool overnight in the refrigerator. Letting them cool overnight seems to help with structure later, and it gives your hands a break after all that ricing!
- Pull the potatoes from the refrigerator and let them warm up a bit.
- Begin to mix in the butter, salt, and heavy cream to the potatoes while slowly adding the flour through the sifter. You can use a mixer with a dough hook or by hand.
- Knead the mixture until everything is well mixed. The dough should be like a pie crust dough. It should take ball form without sticking to your hands too much and not crumble when pressed. If sticky, add a little flour; if crumbling, add a little butter.
- Put the dough into small balls (just about golf ball size is nice) to help keep a consistent size and keep your assembly line rolling! If you can't finish rolling and griddling them all at once, put the formed balls in the bowl, cover them back up with the tea towel, and refrigerate for up to 24 hours. Then, just pull them out, let them warm to room temp, and continue.
- About this time, you should start your griddle or a large cast iron skillet, heating to 400°F. Be careful what you set the griddle on so it does not damage the table or counter top.
- Now comes the sometimes tricky part of any rolling mission: flour-to-dough ratio when rolling! Flour your work area (easiest on a pastry board with a pastry cloth). You want enough flour so your lefse will not stick, but not too much that your dough becomes flour balls. Begin to roll out your dough balls until it is about as thin as a tortilla.
- Here, you become a Jedi, wielding your lefse stick to carefully wrap and lift this delicate piece of deliciousness and roll it out on the griddle.
- Cook on the griddle until bubbles form, then flip to cook the other side so the bubbles are browned.
- Place the lefse on a damp towel to cool slightly and then cover with a damp towel until ready to serve. Using a damp towel helps retain moisture so they don't dry out to a crisp.
- Serve and enjoy! Some love it with just butter, some with butter and brown sugar, and some like to fill it with baked beans, more like a tortilla. The options are pretty open.





Ha! I bought a rolling pin at an antique store that looked like that…. Didn’t know it was for making this! I thought it would be a cool pattern for a pie top!
Awesome find! The texture helps make it thinner pushing the dough out further. It is handy — and sometimes frustrating. Extra flour in the groves will help if it gets sticky.