Written by Kat
How many snack bags (baggies) do you go through every day? Every week? Every month?
If you’re anything like me, you probably buy them in bulk at your favorite wholesale warehouse to get a great deal because you are using them every.single.day! Let’s see…snack bags for lunches, snack bags for leftovers, snack bags for snacks.
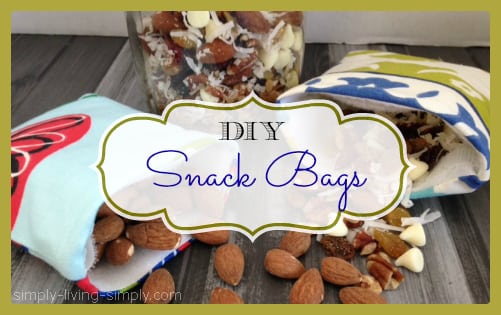
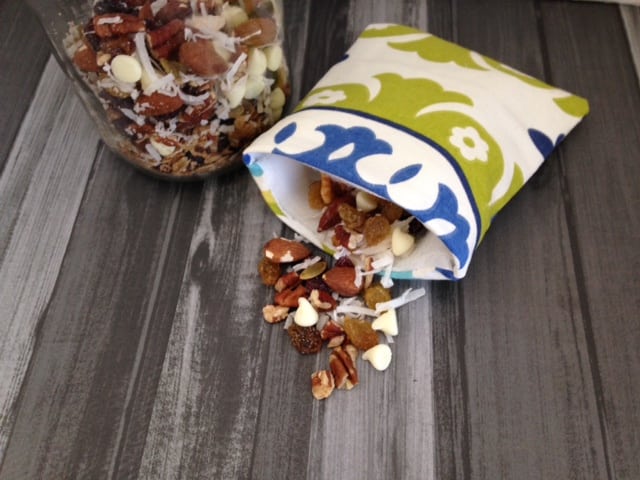
Here’s a brilliant idea: make your own snack bags! Washable, reusable, environmentally friendly, and saves you money…ding, ding, ding…winner here! Here is a handy dandy tutorial for making these extremely easy and quick snack bags.
Snack Bags
Supplies:
- Ripstop nylon fabric – I ordered mine online.
- Fabric – Choose a sturdy, medium-weight fabric in whatever patterns and colors you want.
- Velcro – Strips in white or black. Do not get the adhesive ones that will gum up your sewing machine (you’re welcome).
- Fabric scissors or rotary cutter
- Sewing machine
Directions:
Step 1: Wash and dry your fabric, trim any threads or strings.
Step 2: Cut your fabric to the size you want your snack bag to be, allowing for seam allowance (at least 1/4″). Next, cut 2 fabric pieces and 2 ripstop nylon.
Step 3: Cut your Velcro to the exact width of your fabric.
Step 4: Place the hook side of your Velcro on one side of the ripstop nylon and loop side on the other ripstop nylon fabric. Position about 1/2″ down from the top of each piece of ripstop fabric.
Step 5: Stitch Velcro in place one at a time. Make one stitch line at the top edge of the Velcro and one at the bottom edge. Do NOT go over multiple times. I found if you do this it will destroy the Velcro.
Step 6: Now place your fabric RIGHT side up UNDER the ripstop nylon fabric piece, VELCRO side down.
Step 7: Sew pieces together. Stitch between the Velcro and the top of the nylon, about 1/4″ from the top. When you reach the end of your stitch line, reverse and sew over the same line. This helps to reinforce the seam. Sew other fabric pieces, likewise.
Step 8: Take your Velcro pieces and attach them together to make sure they line up really well. (Don’t worry about the fabric lining up too much; that is fixable.)
Step 9: Leaving the Velcro attached, stitch up the entire fabric piece on 3 sides, leaving a 3″ hole so that you can turn inside out.
Step 10: Trim up strings and seam allowances no more than 1/4″ to eliminate bulk.
Step 11: Undo the Velcro and turn it inside out.
Step 12: Push the corners of your fabric section out and sew up the remaining 3″ hole in ripstop nylon fabric.
Step 13: Push the Velcro liner into the bag, and voila!
Total cost per bag: Approximately $1.
Total time: First bag – 30 minutes (learning curve). Additional bags – 10 minutes each.
Now, how easy and fun was that?! These cute bags took no time to whip up, and I feel good because I am not contributing to the plastic graveyard called a landfill, AND I am saving my family money.


Thank you for the tutorial, I really need to start making these!
Love these! So just wash these like I would with regular laundry?
May I ask your source for the Ripstop Nylon Fabric? Thank you!
This is awesome. I was going to order some reusable bags but I may just make my own instead.