Written by Rustina
Are you planning on growing any food plants this year? Many of us are stepping up our gardening game this year with all the toxins running amok in store-bought foods and rising costs. Setting up your garden beds with store-bought soil and quality fertilizers can add up at the register, too!
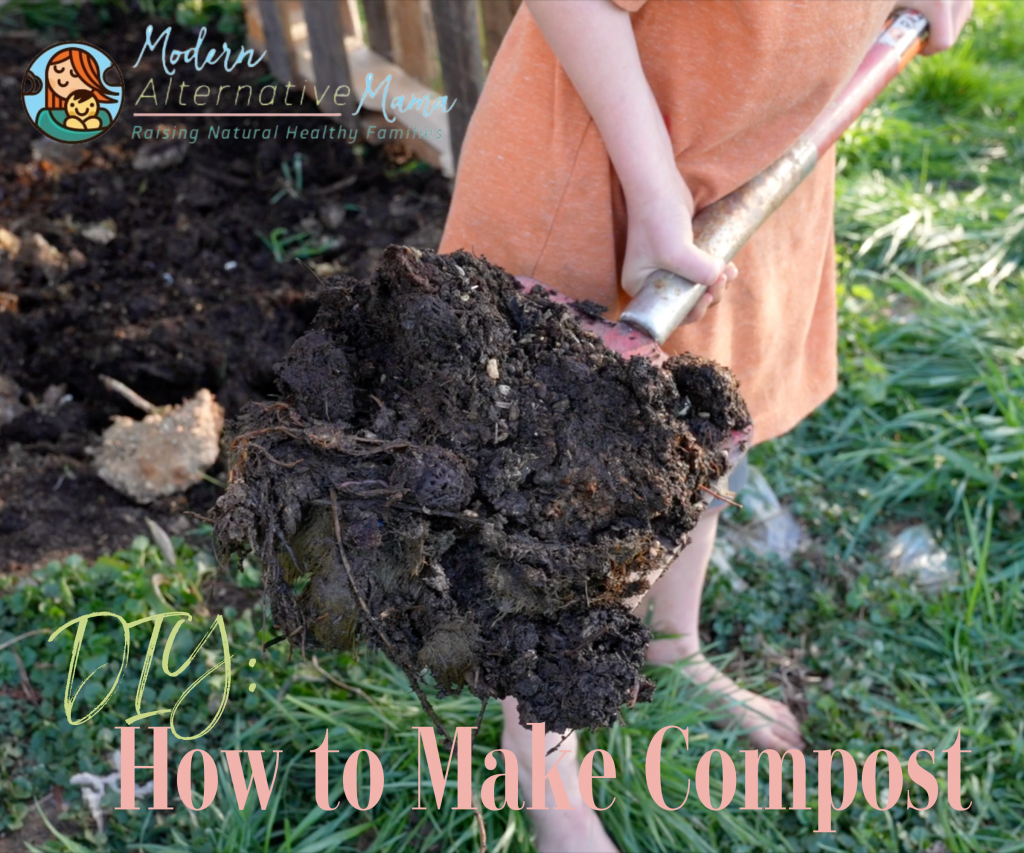
If you’re thinking about gardening, then you may want to learn about composting. Composting is an affordable (and handy) way to nourish your garden with rich fertilizer from things you would have to throw away otherwise. You get the benefits of rich organic soil to feed your plants and have less waste!
A compost pile or bin is a place to mix decomposing waste with dirt to create a rich and healthy soil for growing healthy, fruitful plants. You can use waste from your kitchen and from outside. All those piles of dead leaves serve a great purpose for dirt, too!
What to Add to Your Compost
Compost brings together 3 different layers: dirt, a brown layer, and a green layer. Compost is most beneficial with 2 parts dirt to 1 part “browns” and 1 part “greens.”
Brown layer material:
- Old dead plant dirt
- Dead plants
- Dead leaves
- Cardboard (if not colored/coated in plastic)
Green layer material:
- Fruit and veggie scraps (potato peels, ends of lettuce, carrot peels, apple cores, etc.)
- Coffee grounds
- Eggshells
- Loose-leaf tea
- Dry flour or pasta
- Live plants or grass clippings
- Other yard waste
Not all waste breaks down at the same rate. Some things can take a long time to break down, and that will lengthen how long until your compost is ready to be used. It’s best to chop up or blend any very tough scraps, like pineapple skin, citrus peels, and even eggshells, as these take a long time to break down when they are whole.
The Modern Alternative Mama, Kate Tietje, uses a system of compost buckets to sort her family’s composting materials based on what they can do for the garden.
Kate’s four compost buckets:
- Eggshells
- Citrus peels
- Banana peels
- Everything else (potato peels, veggie scraps, etc.)
Eggshells are rich in calcium, so these work best when dried and then ground into a powder (they don’t break down fast enough unless ground or blended with water — this is necessary to make the calcium available to the plants). Some people blend eggshells with water (about ½ cup eggshells to 8 cups water) and use it to water their garden for calcium.
Citrus peels are rich in vitamin C and low pH, which is good for berries. These can also be dried and then ground into a powder and used to amend the soil for any plant with a 5.5 – 6.5 pH.
Banana peels are rich in potassium and can be dried and ground. Since potassium is a macro-mineral that gardens need, it’s not likely that banana peel alone will provide enough. Kelp (which can be purchased) or wood ash (if you have a fire pit) are also good sources of potassium.
What NOT to Put in Your Compost
The no-compost list is pretty simple:
- Meat
- Bones
- Grease or fat
- Hard pits (like peach or avocado)
Most animal products shouldn’t be composted – not because they can’t break down, but because they’ll attract wildlife to your pile and be very stinky. If you have animals, you can compost their waste separately. It needs time to break down so that it doesn’t transfer unhealthy bacteria from the animal’s digestive tract to your garden.
Even if you don’t have much space, having a compost bucket in your kitchen and a small pile or can outside your back door is a great way to create rich soil for free!
How to Make Compost
Supplies:
- 4 pallets
- Several large zip ties
- Dirt (either dug up or bagged)
- Food scraps
- Leaves and/or grass clippings
- A shovel or hoe
Directions:
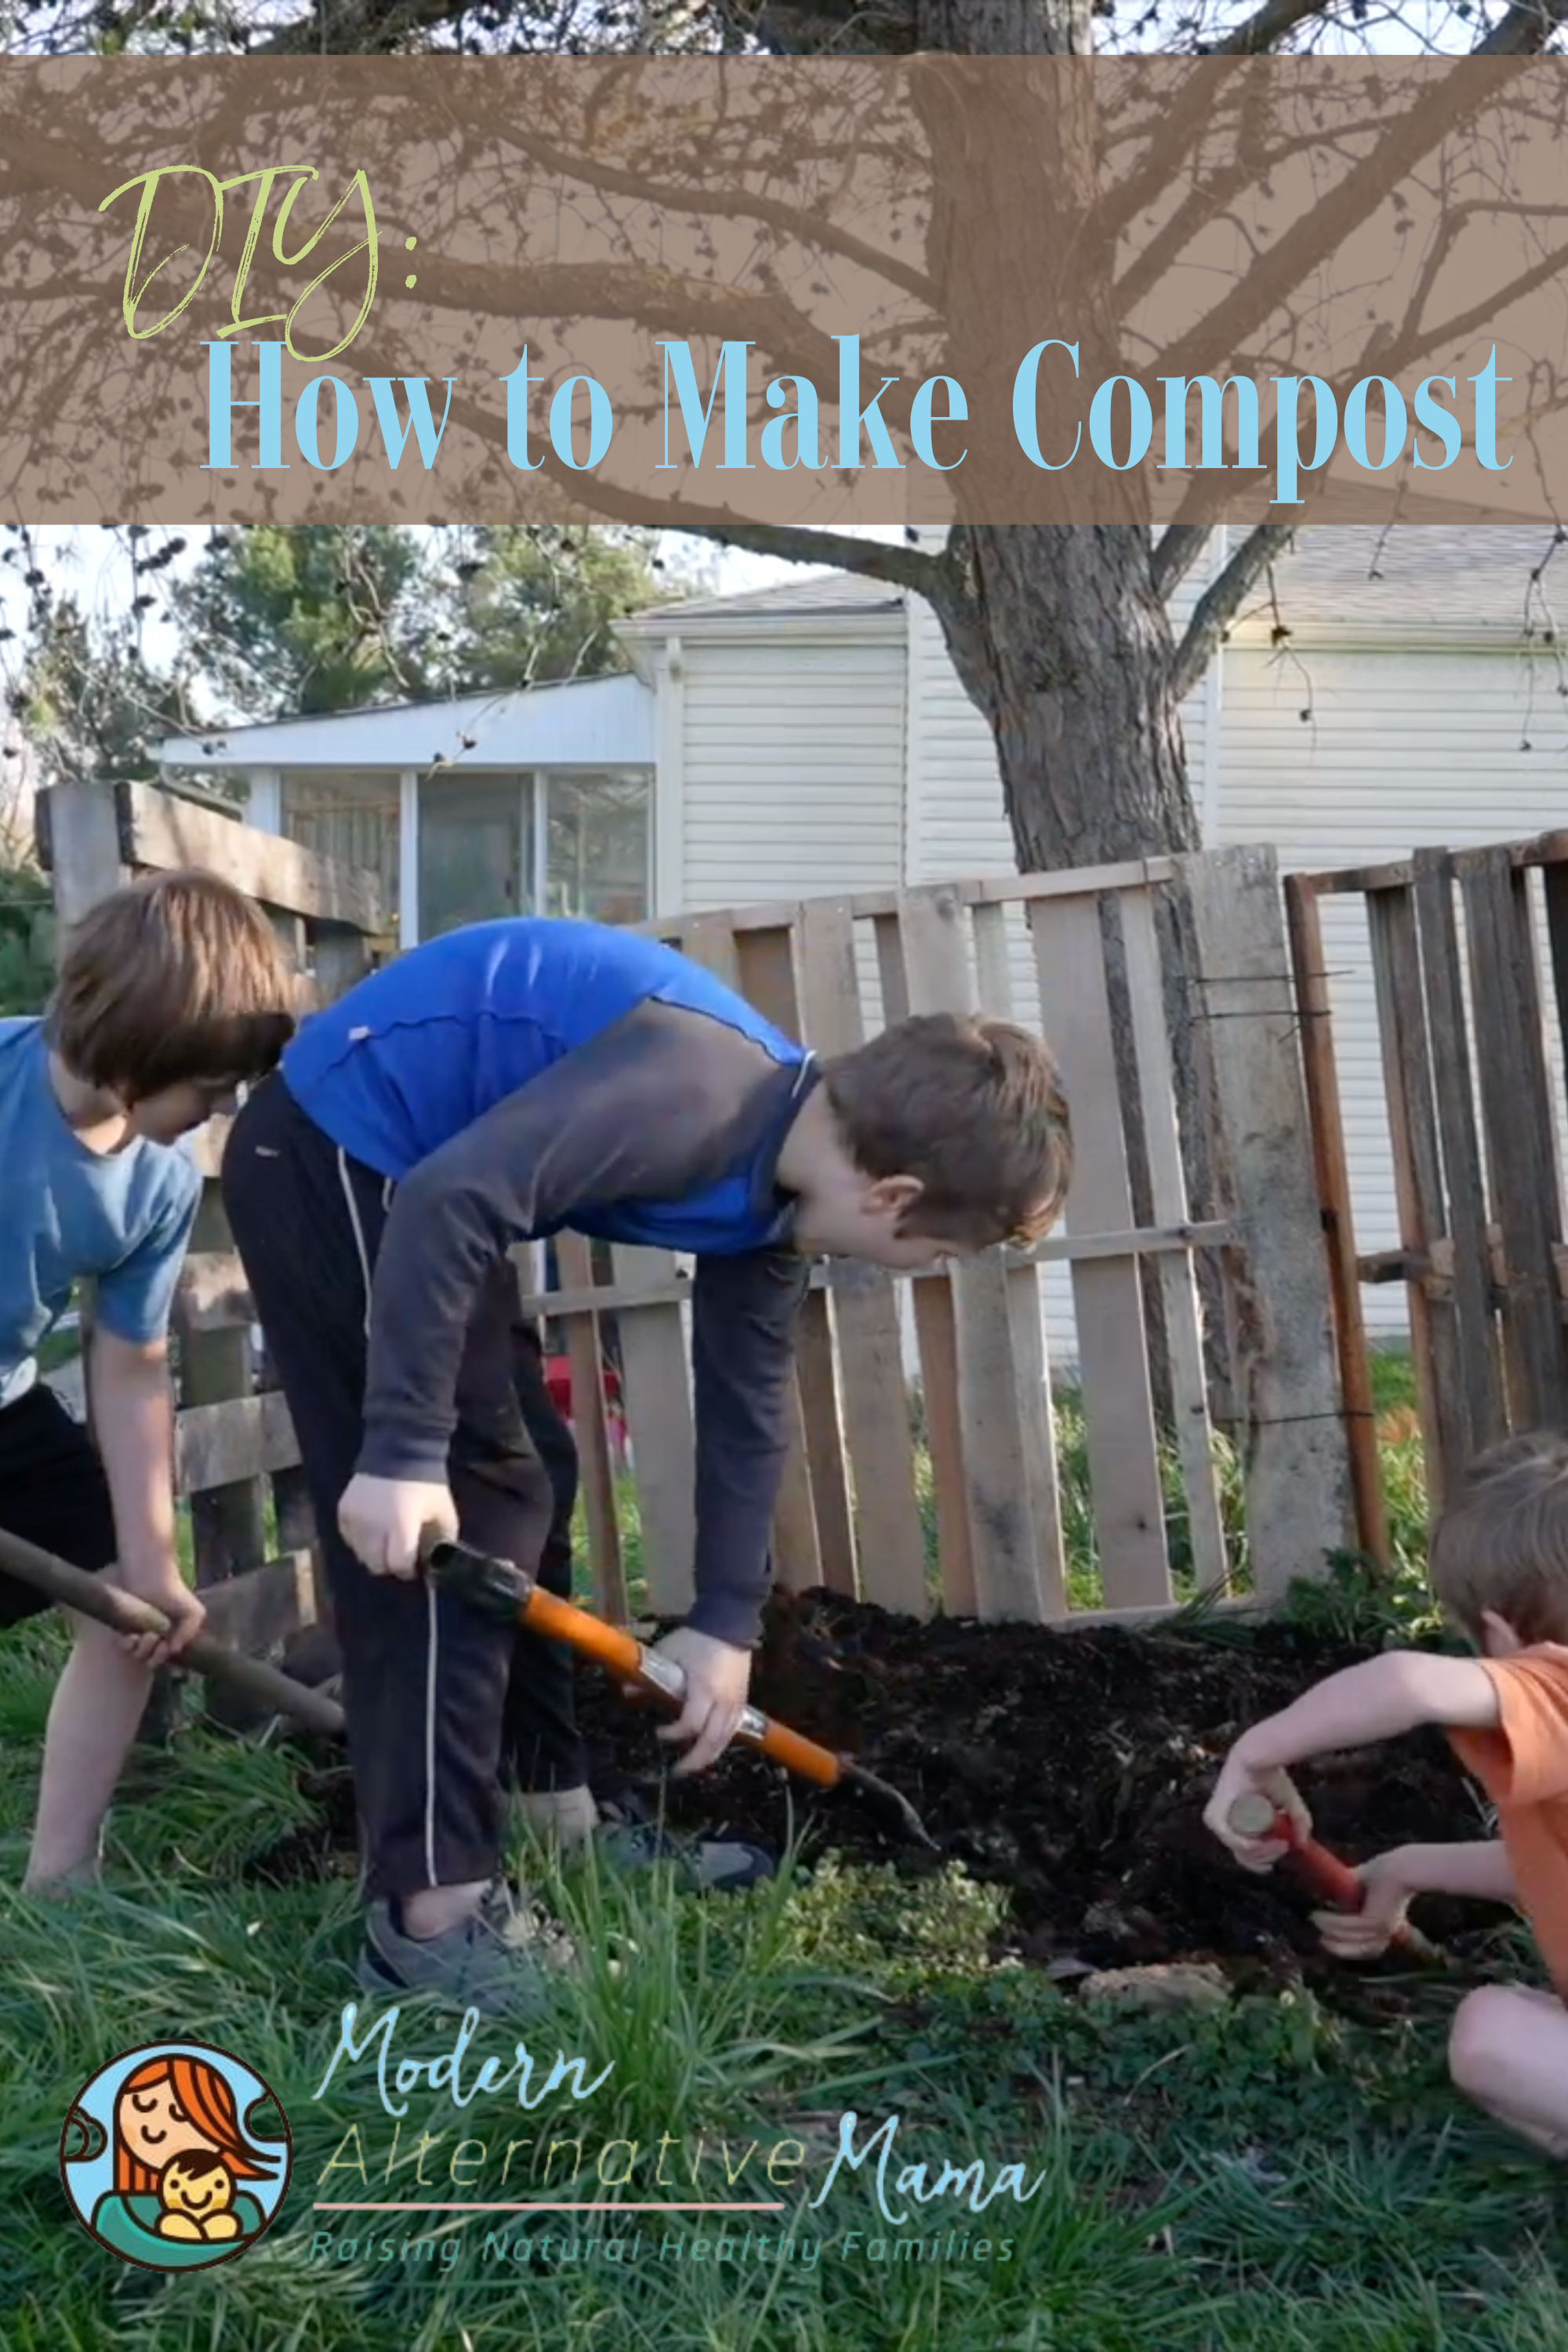
Step 1: Stand up pallets in the form of a square. You can utilize the dirt under where you are placing the compost pile and dig it up underneath for extra stability. Pallets are great for the necessary air holes/slots.

Step 2: Zip tie them together – You’ll most likely need to combine multiple zip ties. (Kate ended up using 4 together for a good hold.) Tie them together in 2 – 3 different places for strength and pull them nice and tight.

Step 3: Add a layer of dirt, a layer of “browns,” a layer of “greens,” and another layer of dirt.
Step 4: Then add water to moisten the dirt well. Stir or turn it so everything is mixed well.
Step 5: Cover with a tarp or layer of dried-up leaves to keep in heat (a key element for decomposing).
Step 6: When you add new material (usually about once a week), stir it up again and moisten it if needed.
Watch Kate’s video of how to put it together below:
Substitutes:
- Chicken wire secured around four posts.
- Recycled pallets wrapped with chicken wire.
- Old plastic totes with drainage holes drilled in the lid and along the sides.
- 5-gallon buckets with drainage holes drilled in the lid and the bottom (this works well for vermicomposting with red wiggler worms).
Notes
#1 Maintenance
However you set up your compost pile/bin, you will need to stir or turn it weekly for the quickest and best turnaround time.
#2 Moisture
Moisture helps break down the waste and keep the healthy organisms growing. So be sure to water it every so often. It doesn’t need to stay drenched, but moist is nice.
#3 Time
There isn’t a specific time frame for your compost to “be ready.” Some like to tend to it for a certain amount of months or a year. It is “ready” when what you have put in it has decomposed down to a dirt consistency.
#4 Using Your Compost
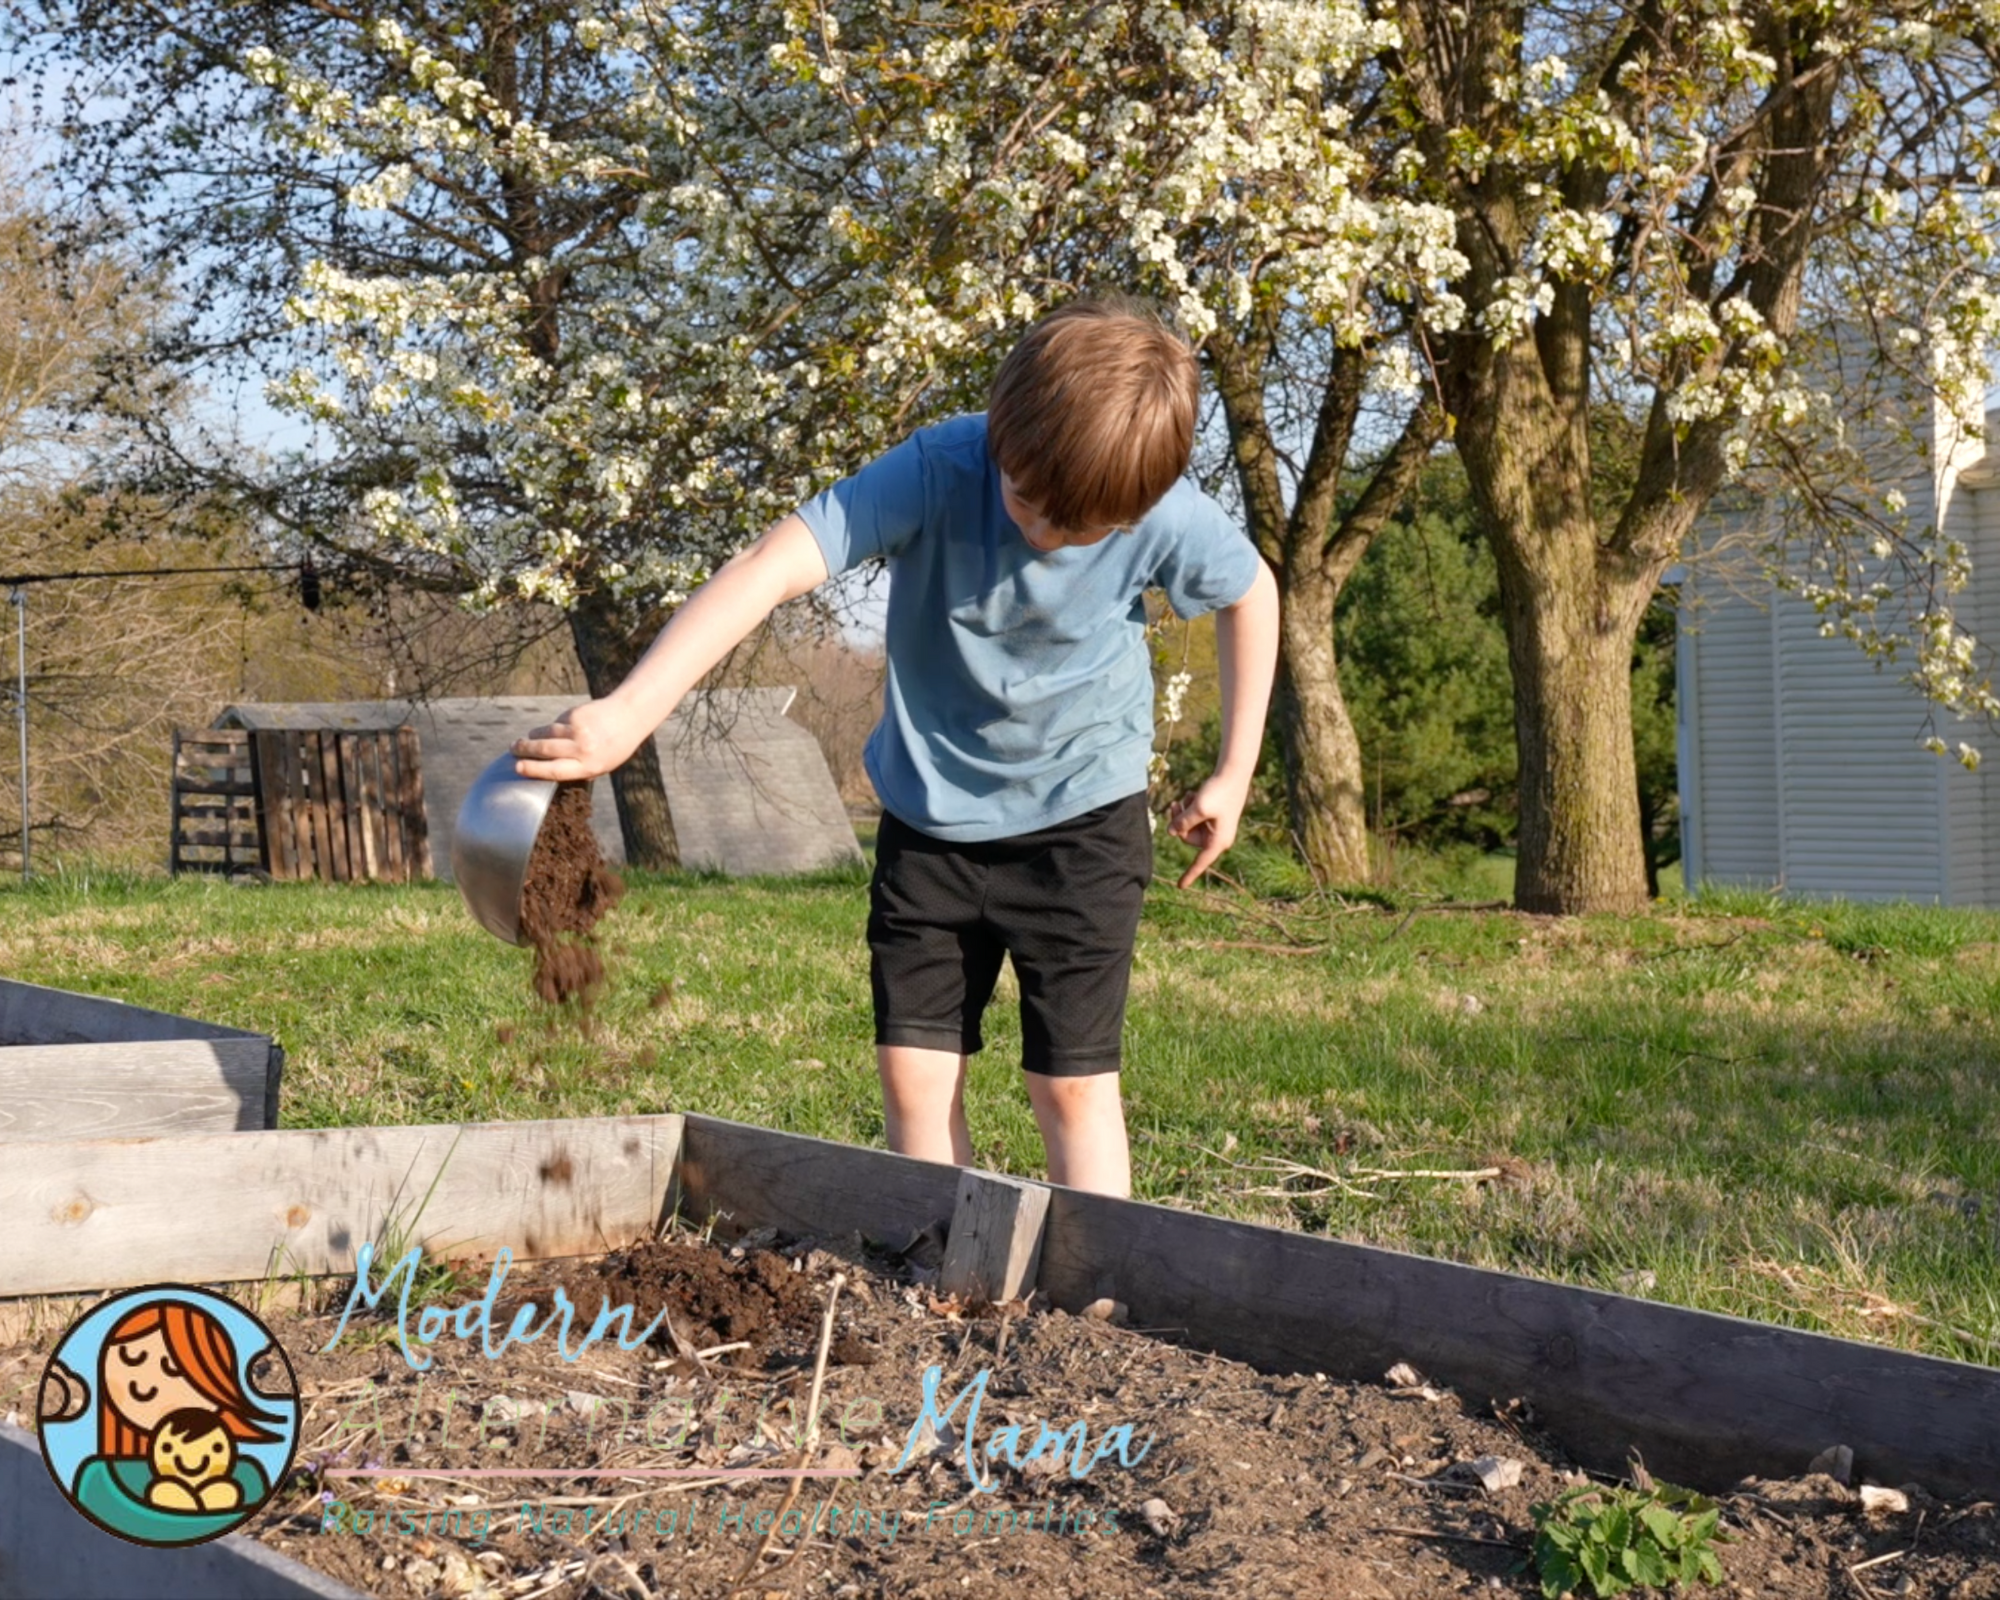
Once the material has reached a dirt consistency, you can use it! It works great anywhere:
- Garden beds
- Pots (usually mixed with peat moss or something similar, especially if the drainage of the pot is not the best)
- Mix into your existing soil on the ground
- Add around each plant as you place it in the ground
There are some really fancy composting bins and machines out there, but DIY compost bins and piles work just as well! You can make a nice, simple, and effective one without spending a whole lot of money!
