I love cloth wipes.
Now, that seems like a silly thing to say, no? But it’s true. There are so many reasons they are better than disposable wipes. Really. Like:
- They are softer
- They are more absorbent and can clean bigger messes (a 4+ disposable wipe mess is usually 1 wipe mess for cloth)
- They can be warm, naturally (run under warm water just before using — makes finicky toddlers happier)
- They are much more frugal
- They are nice for mama, too, in the early weeks postpartum when everything’s still sore!
I’m sure there’s more, but isn’t that reason enough??
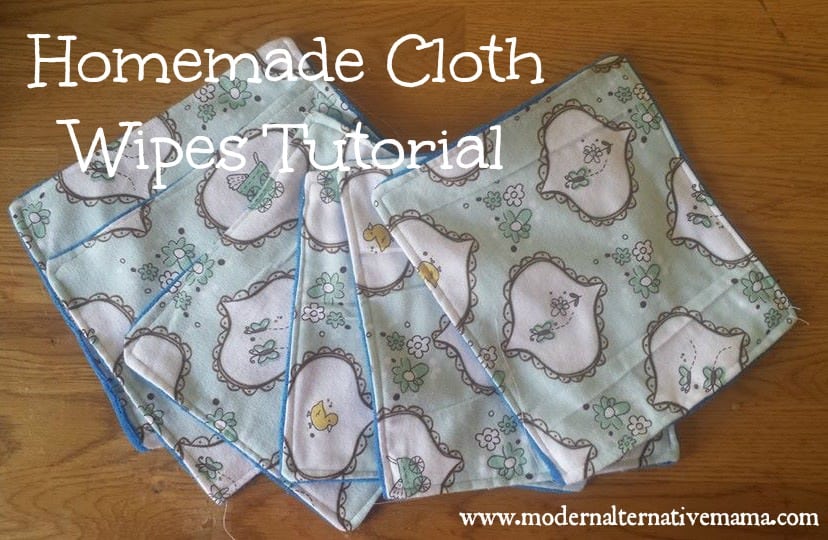
I am making two different sets of these wipes, currently. The ones pictured above, which are a combination of flannel and terry cloth, are for the babies. I’m also making ones that are flannel on both sides, which will be for the aforementioned postpartum uses. Seriously…so worth it. Who wants bits of toilet paper stuck to an already sore area?!
Of course, if you’re past the baby stage, these are also excellent for family cloth, or even just cleaning up random messes around the house. And they could not be simpler to make. This would be an excellent first project for someone who is just getting started with sewing.
Cloth Wipes
You will need:
- Soft fabric (I choose flannel and terry cloth)
- Thread
Plus your sewing machine and a pair of scissors. Here we go!
Directions:
Step 1: Cut out some rectangles. It doesn’t matter what size they are, as long as they are all roughly the same. Mine are about 8″ x 8″ square…or almost square.
You’ll need 2 for every wipe that you’re making. I cut enough for 21 wipes. I’d recommend 18 – 24 for a baby in cloth diapers.
Step 2: Then, put two rectangles together, right sides facing in (pretty sides touching). Sew around three sides of this rectangle, using a basic straight stitch.
If your pieces don’t quite match up, it doesn’t matter. After sewing, cut off any extra fabric so it looks nice and neat. This is very forgiving.
Step 3: Then, flip your rectangles right side out, so the pretty sides are now showing. Tuck the open ends inside, and sew across it to close. You could stop here, but I like to continue sewing around the entire rectangle so every side looks the same. This is called topstitching, and I think it makes things like nice and finished.
That’s it! You now have one wipe done. That was easy, right? Keep doing this until you have finished all your wipes. Then, you should (ideally) wash them before using them. Awesome.
Do you use cloth wipes? Have you ever sewn your own before?
SaveSaveSaveSave


I use homemade cloth wipes, too, and I love them! I just use two pieces of flannel (or one bigger piece, folded in half), wrong sides together, then zigzag stitch all the way around them. That’s it! They’ll fray a bit the first time or two that they’re washed, which I just trim off, but then they’re good! They’re absorbent (like cloth diapers, flannel gets more absorbent after several washes), soft, cheap, quick and easy to make, and they last a long time before they get worn out.
This is my method too Annaleah – a quick zig-zag stitch around and then trim off whatever bits of thread fray in the first couple washes. I do some with a single layer of flannel and some with a double layer so I can grab whatever I need according to the size of the mess. 🙂