Written by Kate Tietje
If you’re a cloth diapering mama, then you know that a wet bag is super helpful. (If you aren’t a cloth diapering mama or are just considering it and don’t know what I’m talking about, pay attention!)
A wet bag is a waterproof bag that holds your dirty diapers until wash day. They come in multiple sizes, from a large bag that lines a trash can to a travel bag that holds just a few diapers and is tucked into the diaper bag. It can also be used for wet or dirty clothes on the go so you don’t mess up your diaper bag or car — kind of handy for moms with kids of all ages! (Think of mud, sweat, and who knows what else on the clothes. Kind of nice to have since we’re heading into spring and outdoor play.)
Anyway, these can be kind of expensive, and they are just reusable “trash” bags. Who wants to pay big money for them?
Luckily, making your own is really easy. And, you can customize the sizes of your bags to fit whatever space you want — a particular trash can, inside your diaper bag, etc. That is what I really like! These will cost maybe $5 each (for a large) and much less for a small.
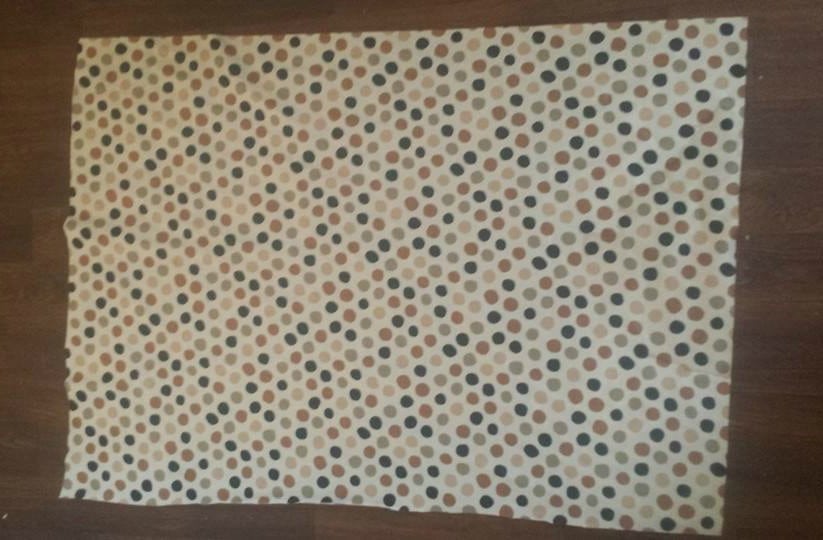
I recommend using 1/2 yard of PUL fabric for a large as a starting place. 1 yard of PUL is 36″ x 60″. Cut in half, it is 36″ x 30″. Fold it in half; your finished bag will be 18″ x 30″. This is a great side for many trash cans, although it may not be wide enough for others. You can use a soft tape measure to find the circumference of your trash can if you want to make your wet bag fit.
A travel-size starting place would be to cut your PUL into 4 pieces. This would give you each 18 x 30 to start, and folded and finished, about 18 x 15. Some prefer even smaller than that — a finished size of about 12 x 12 would also be good. Feel free to cut your PUL however you want.
Anyway! Today, I will show you how to make a large size.
Wet Bag Tutorial
You will need:
- 1/2 yard PUL
- Thread
- 20″ zipper
Directions:
Step 1: First, get your PUL. If you have a full yard, like I did, cut it into two pieces.
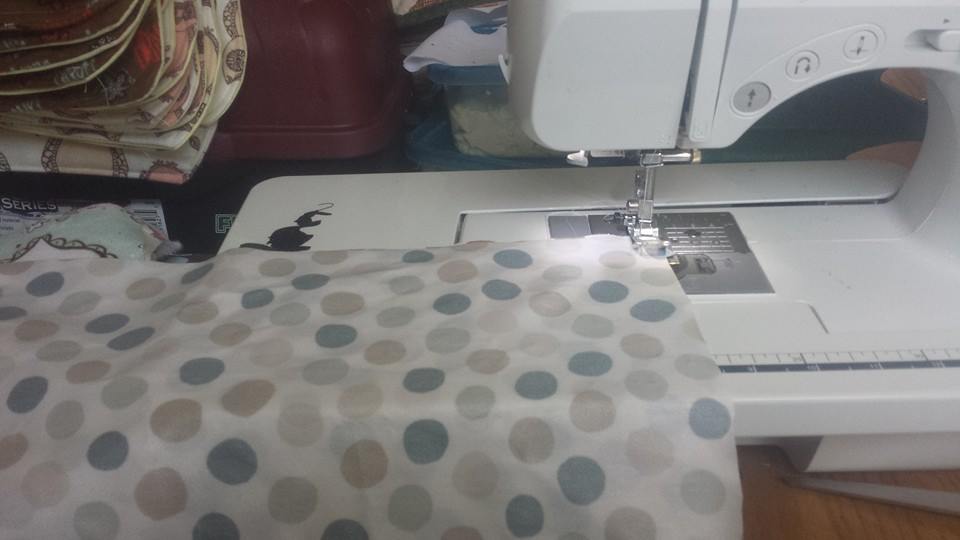
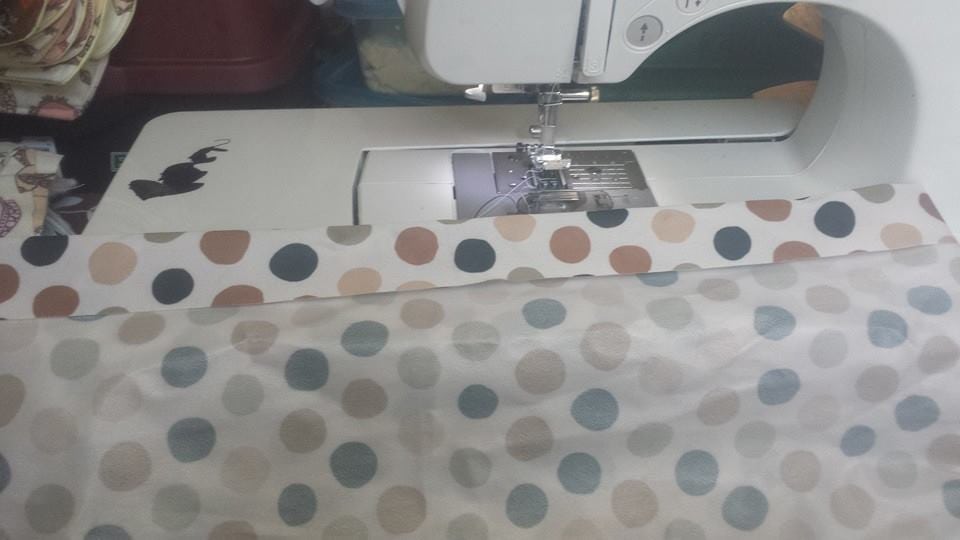
Step 2: Fold this in half, with the right sides together. Then, get ready to sew down the long side you have created.
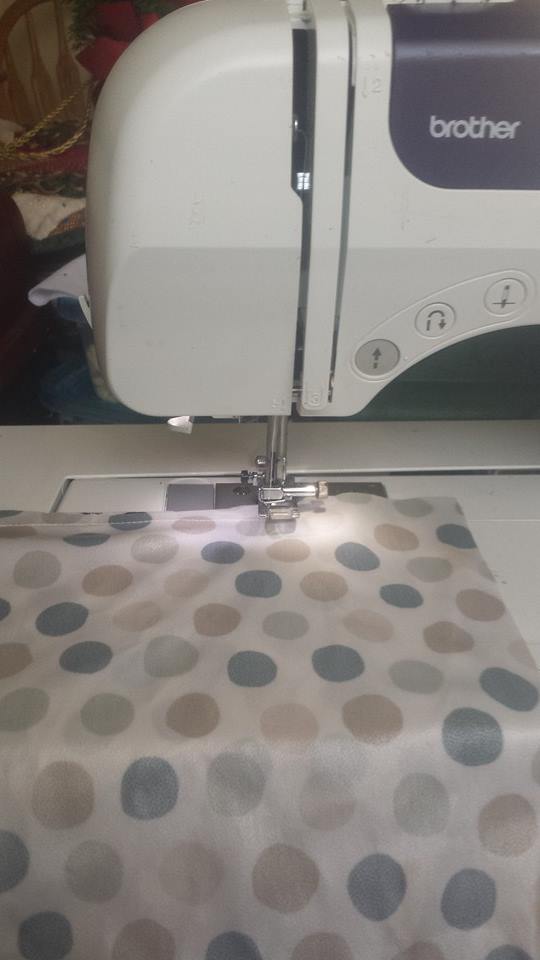
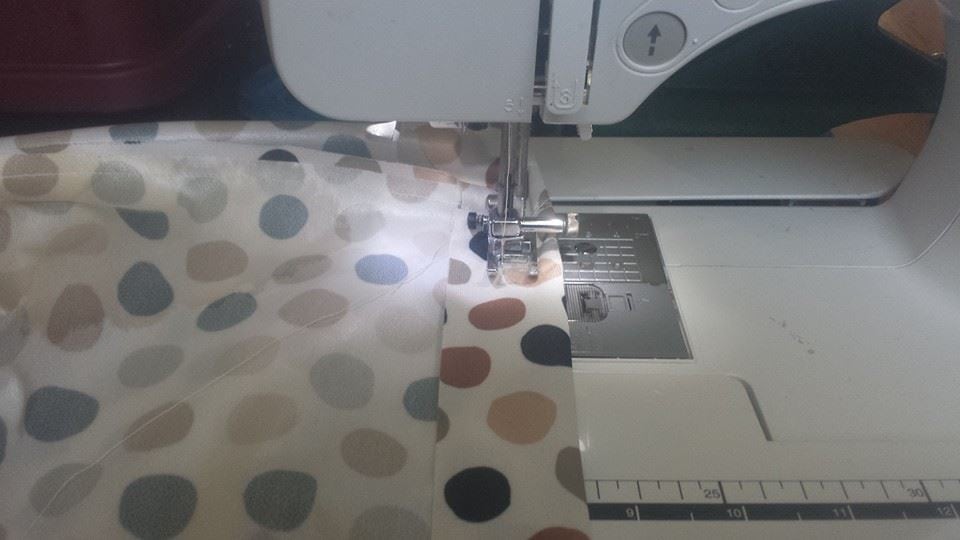
Step 3: If your fabric is not completely even, it may not line up at the bottom. That’s okay — stop about 1/4″ above where the two sides stop meeting, and turn so you can sew along the bottom of the bag.
As you see, mine didn’t line up quite right. Really, it’s okay. Cut off the extra fabric after you have sewn the bottom. You should run into the fold after you have sewn across the bottom.
That’s it for the main sewing! You could just stop here, if you wanted, and turn it right side out. You now have a very basic bag.
But we’re not done yet.
Step 4: Let’s fold down the top about 1″ and hem it so it looks pretty.
Step 5: Now that the top is hemmed, we will install a zipper. You may not need or want one — I honestly don’t use mine much because the bag is open inside a trash can (with a top lid) and then goes straight into the wash. A zipper is more helpful on travel bags, or if you don’t have a trash can, so you can’t smell the dirty diapers inside!
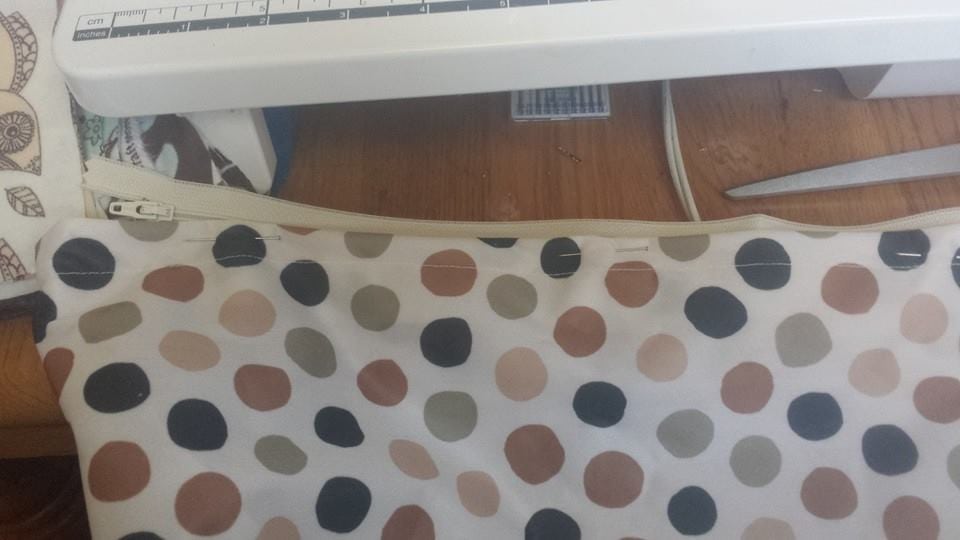
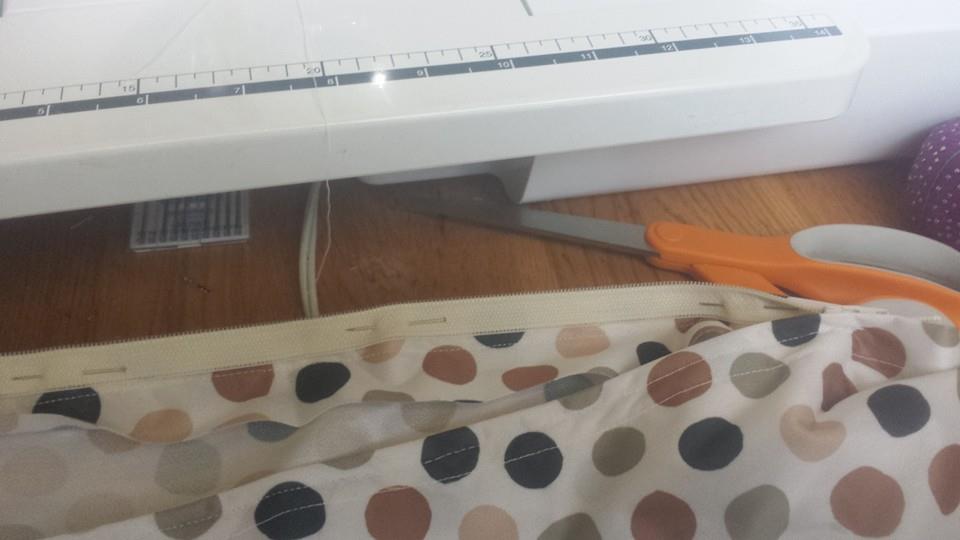
Step 6: Adding the zipper is easy. First, pin one side of the zipper to the top of the bag. The zipper’s fabric should be about 1/4″ below the top of the bag. Here’s mine, pinned:
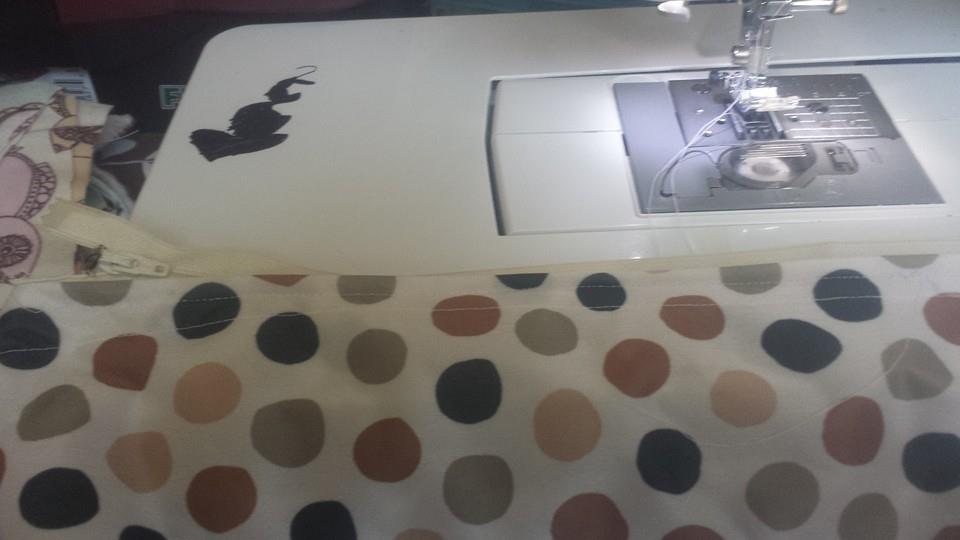
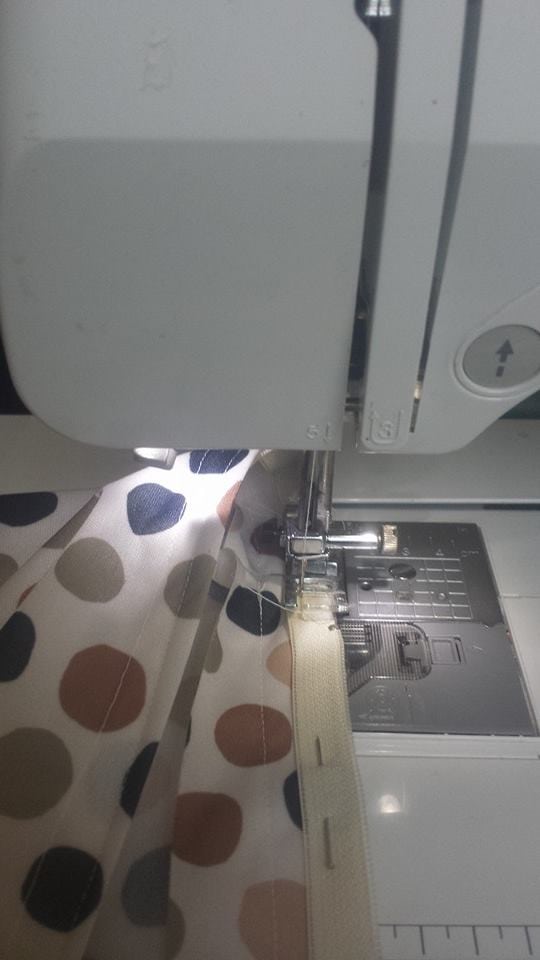
Step 7: Sew along the zipper on this side. Your zipper is half done!
Step 8: Open the zipper now (unzip it). Pin the second side as you did the first, ensuring it is facing the right direction and is not twisted. Starting at the bottom of the zipper and working up will be easiest.
Step 9: Sew down this side as well. Then, your bag is done!
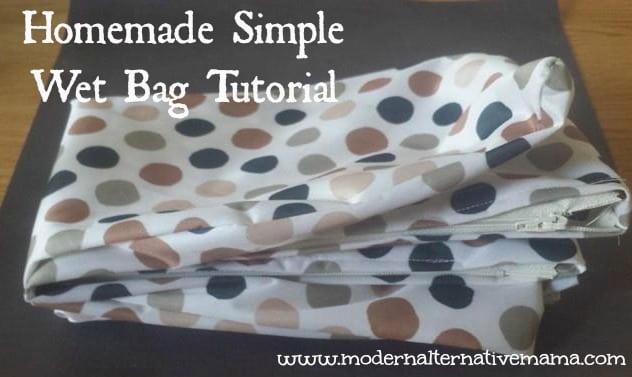
Done! How easy was that? This might take you only 15 – 20 minutes. And, if it’s a little distorted, well…who cares? It’s not something anyone will see, and it’s just to hold dirty diapers.



[…] diapers, simply toss these into the dirty diaper bin and wash with those. If you don’t, sew yourself a small cloth wet bag and keep your pads in there until it’s time to wash. You can travel with a small bag in […]
[…] bag (if using cloth nappies) – make your own if you’re feeling […]
[…] Small travel wet bags […]