Butter. It’s a wonderful fat. In fact, if you’ve read our blog, Why You Should Never Eat Vegetable Oils & How to Choose Healthy Oils Instead, you know it’s actually a healthy fat.
However, buying good butter (grass-fed, organic) is expensive. However, making it yourself is much cheaper! And it’s easy, too. This is a great project for little ones or homeschooled kids to learn where their food comes from.
Today, I will tell you how to do it, step by step.
Choosing quality ingredients matters. I buy a 1/2 gallon carton of whipping cream (local, grass-fed, and low-temp pasteurized because that’s the best available to me); if you have access to raw cream, even better! Ultra-high-temp pasteurized cream may not work, so choose regular pasteurized if that’s all your store has.
I get about 3 lbs. of butter from this 1/2 gallon carton, which costs about $13. Not all cows will produce cream with such a high ratio of butter to cream (75% of mine turns to butter), but I’m lucky. 🙂 So this breaks down to being a little over $4/lb.
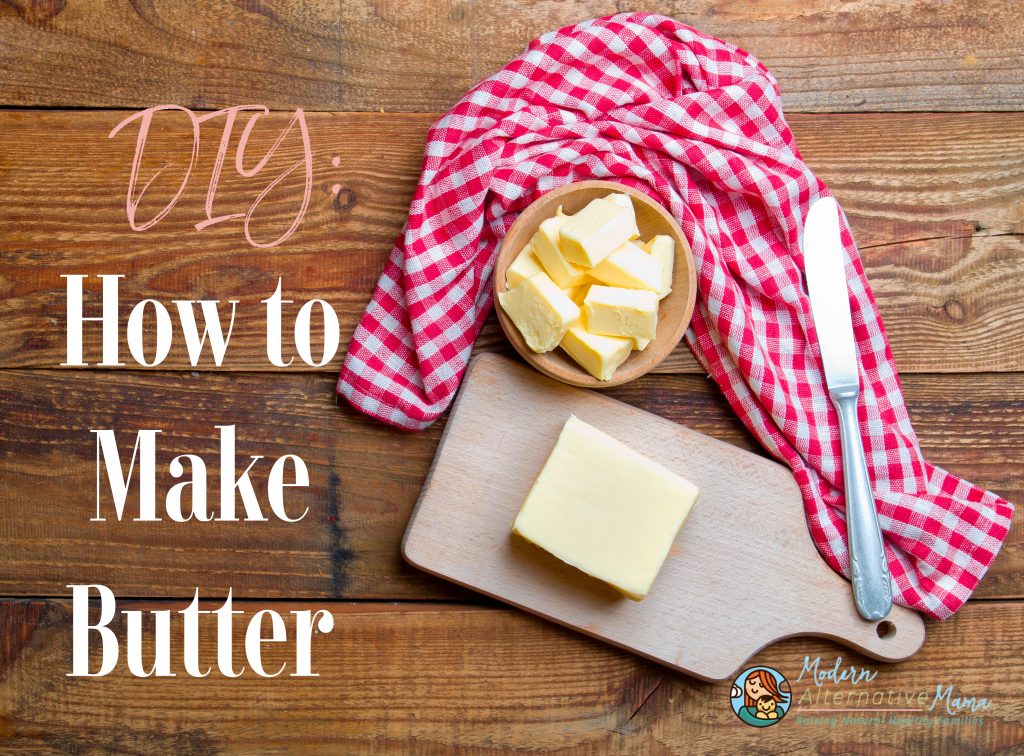
How to Make Butter
Ingredients & Materials:
- Whipping cream (any amount, NOT ultra-pasteurized)
- A blender or food processor
- Water
- Salt (optional, but adds flavor and helps preserve it)
- A glass dish
Directions:
Step 1: Pour the whipping cream into your blender (or food processor).
Step 2: Turn it on LOW. On my Vitamix, 3 is the best setting. If I turn it too high, it will whip the cream until thick, then get stuck and be unable to move further. When that happens, I turn it off and use a long tool to loosen it repeatedly. When it’s on low, it’s agitating it enough to keep it moving without making it too thick and doesn’t get stuck.
Step 3: Watch for the cream to thicken and separate from the buttermilk — there will be a thin white liquid and a thick yellow solid.
Step 4: Pour the buttermilk out and save it for baking.
Step 5: Transfer the butter into a clean bowl — traditionally, unfinished wood. Add a small amount of cold water to the bowl and mash the butter around for a while. The water will turn white (this is the remaining liquid milk). Repeat this process until the water stays clear. If you don’t, the butter can go rancid faster.
Step 6: Store the butter in a glass dish in the fridge or freezer until needed.
There it is! You’ve made butter!

LOVED your tutorial. I facebooked it.
I can’t wait to try this! Thank you
I’ve made butter a few times with our local milk. We are so lucky to have a local all-natural milk source 20 miles from our home 🙂
I’ve made it in my stand mixer, but I think I’ll try it in the blender or food processor next time
Here’s how I make my butter: I go out to the barn and get fresh, raw milk from my favorite cow. I bring it home to my cream seperater and seperate the cream from the milk. I put two cups cream in my vita mix and blend on highest speed till the sound of the mixer changes. Then I scrap the sids of the container and put the machine on 5 (half power) and whip for 5 seconds or just till you can hear that it’s not blending. (Sometimes as little as 2 seconds.) Each time it stops blending I scrap the container again and put the mixer back on. I do this about 7 times. Then I have butter.
I write this because I realize we all have different vita mix machines. I mean, that some older models do it differently then the newer models. I know this because I had an older one for years and just recently bought a newer one. So for some people my instructions might work better and for other people your instructions might work better.
This is a great post. I hope it gets people making their own butter more often as yes, it is so easy and so rewarding and less expensive.
Could you do a post about the Vitamix? Year after year now, when the CA mid-state fair rolls around, I think of buying one. Then I hear the price and I choke. Online, without the bells and odd gadgets, it was a little less $$$, but still! So, if you’ve got Got-to-Have-It opinions, I’d love to hear them. Thanks.
My Vita Mix is 11+ years old and I ended up using a combination of the original tutorial and the modifications posted by Lacey. After it got to a really nice whipped cream stage my blender got bound up at the 3 setting. I'll own up I had bumped it up to about 3.5 because I was getting impatient. So I came back here and saw Lacey's post. I then scraped it down and turned it up to 5 and followed her directions. It very quickly separated and I had butter! I keep finding new ways to use my Vita Mix. I love it!
How long will the butter last in the refrigerator? Thank you. Can't wait to try it. We've done it by hand, shaking it in a jar. This looks much easier!!!
We make our own butter using raw milk. It's expensive though, so sometimes we have to buy non-raw butter at the store.
Do you mean ironically it is LOW in fat? Ironically it is high in fat does not really make sense for a butter product…ok, that bit of nit picky-ness aside, I love this post and am lookig forwrad to trying this out myself!
Rebecca,
No. The buttermilk "should" be low in fat because the butter itself is the milk fat, which has been removed. The resulting liquid should not have much fat left. But, it does!
I posted last year when I was able to buy raw link from the farmers market. Sadly those farmers no longer attend the market. So my choices are pasteurized, not homogenized cow milk, or raw goat milk. Can you make buter with raw boat milk?
Thank you so much for the tutorial! I just made my first batch of butter! I used raw cream would that have made a difference as to why my butter was at the top and the buttermilk was at the bottom? I kept waiting for it to switch places and it never did. I whipped the first batch too much waiting for it to trade places with the buttermilk and since it never did and I blended all my butter into… heavy whipping cream? Not sure what it is since it is thick milky cream now. lol Any good ideas of what to do with it?
If you still have your first batch whip it some more. It will turn to butter. I had that happen before. I unknowingly stopped the process before it was finished.
Thanks for this post! I’ve seen so many tutorials on how to shake cream into butter as a fun kid activity but that didn’t seem very practical based on the amount of butter we eat. I also appreciate you saying how much butter you get from the cream. This seems much cheaper than the Organic Valley pasture butter I buy for almost $10/pound. (And I can support my local diary by buying their whipping cream!)
Wow, this is much easier than some of the other tutorials I’ve seen. I don’t have a Vitamix–don’t even have a blender, but I do have a magic bullet, so I’ll have to give this a go. If not, I would think I could do this in my KitchenAid stand mixer? I love that you never take the butter out of the blender, but wash it in there–I’ve seen folks hand-kneading the stuff, and I must say, that would probably never work for me.
What if I wanted to culture the cream first and have cultured butter? would that involve culturing with some yogurt whey or some other fashion? I have a cow share, and by the time we pick up our raw milk, it can be a couple days old, and certainly refrigerated, so letting it simply culture on the counter like folks do with truly fresh-from-the-cow milk is not an option for us. We love love love the taste of cultured butter, but it’s pretty spendy at the store as well.