Written by Lindsey and Rustina
The world of natural dyes is so fun and fascinating! From berries to leaves to roots, humans have been using the resources around us to bring color to our everyday items. In line with what feels like an ancient tradition, we wanted to try to use these same methods to dye a more modern tradition, Easter eggs!
We dug into how food is used for natural dyes and wanted to share our experience and results with you!
Why Foods Can Color Eggs
There are many compounds in food that produce colors. These same compounds can be used to make natural dyes. Some compounds that produce colors are carotenoids, flavins, melanins, quinines, and tannins. There are other compounds as well. It is great that there are so many possibilities so we do not have to rely on artificial food dyes with their potential side effects.
The colors of each of these compounds can be altered by changing the pH. This is where the use of vinegar and baking soda comes in! For example, another compound that provides color pigmentation in foods called anthocyanins has different stability levels in different pH levels. They are more stable at acidic levels, bringing out more red pigment. The higher levels, or more alkaline levels, create a less stable and, therefore, more lightened coloring effect, especially for blues (baking soda creates more alkalinity).
Pop or Flop?
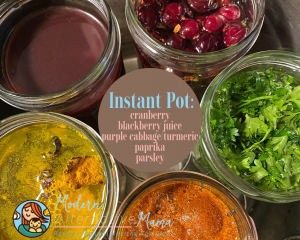
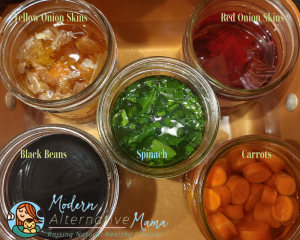
To create our natural food coloring, we used the following:
- Cranberry
- Blackberry juice
- Purple cabbage and turmeric
- Paprika
- Parsley
- Red onion skins
- Yellow onion skins
- Spinach
- Carrots
- Black beans
- Black tea
- Coffee
- Grape juice
- Red zinger hibiscus tea
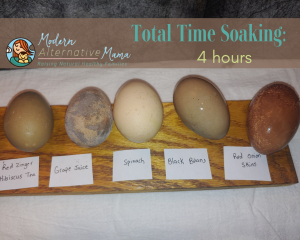
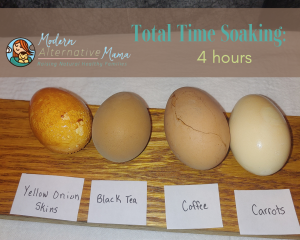
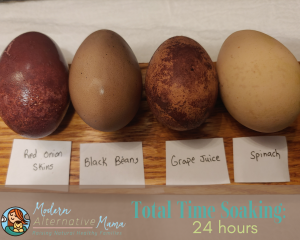
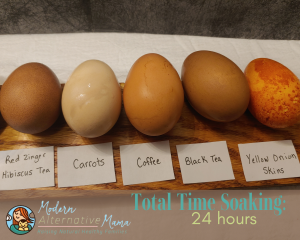
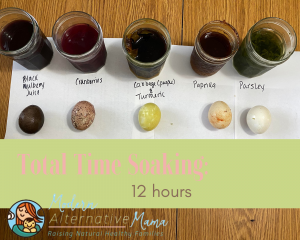
The first four images were brown eggs, and the last image was white.
Color Extracting Methods
These dyes can be used for coloring eggs, fabric, wool, yarn, paper, or whatever you wish to dye! For more tips and inspirations, check out this video!
Fresh Food Color Extraction:
Step 1: Put 1 cup of chopped up, fresh herb/fruit/vegetable in a small pot on the stove or an instant pot.
Step 2: Add 1 cup of water and simmer for 1 hour.
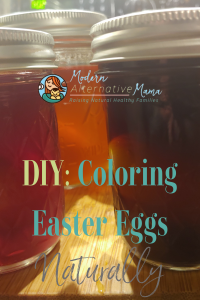
Step 3: After cooling, strain and pour into a jar.
To use or store: It can be used right away or put in the refrigerator to store for 1-2 weeks (depending on the properties of the herb/food).
Dried Food Color Extraction:
Step 1: Put ¼ cup of powdered or ½ cup of small, finely chopped herb/fruit/vegetable in a small pot on the stove or an instant pot.
Step 2: Add 1 cup of water and simmer for 1 hour.
Step 3: After cooling, strain and pour into a jar.
To use or store: It can be used right away or put in the refrigerator to store for 1-2 weeks (depending on the properties of the herb/food).
Multi-Food Color Extraction:
If you have multiple that you want to do at once, you can do a makeshift double boiler with multiple jars.
Step 1: Put 1 cup of chopped-up, fresh herb/fruit/vegetable in a wide-mouth jar.
Step 2: Add 1 cup of water to each jar.
Step 3: Place the jars in a wide pot of water (aiming for water ½ up the outside of the jars deep. Use the rings from the lids on the bottom of the jars to provide a thin spacer between the jar and the pot.
Step 4: After the jars are inside the pot, turn the burner to low-low/med, and let simmer for 1 hour.
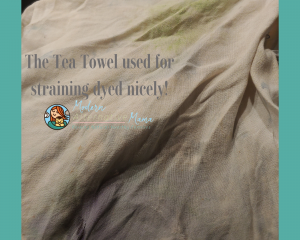
Step 5: After cooling, strain and pour each into a new jar. You can use a tea towel with a lid on it as a strainer. Squeeze out excess water from the herbs/food also.
To use or store: It can be used right away or put in the refrigerator to store for 1-2 weeks (depending on the properties of the herb/food).
How To Use the Dyes
You can use the dyes as soon as they cool or place a lid on the jars and store them in the refrigerator for 1-2 weeks. These can be used for eggs, fabric, paper, or any craft that uses water-based dyes.
Tips for better coloring:
- Soak the eggs in the dye overnight
- Add vinegar for better results
Other Ideas to Add to Your Eggs
To add some texture or fun to your naturally dyed eggs, try some of these ideas:
- Add enough rice to the dye before adding the egg so the egg is surrounded once submerged.
- Wrap the hard-boiled eggs in the skins, leaves, or petals as they simmer.
- Press a flower against the egg before placing it in the dye or while it is wet.
- Draw an image with beeswax or candelilla wax.
- Mix the colors to create a custom color – or a more vibrant color!
Notes:
From Lindsey: As the way things go for moms, the day I decided to try this experiment was also the day the oven decided to stop working. I turned to my instant pot, hoping to deliver similar results to the stovetop options. I cooked my eggs in the instant pot as well as the dyes.
From Rustina: The dyes worked lovely on the fabric, but I was slightly disappointed (or maybe too impatient, lol) with the egg coloring. I have mostly brown eggs from my chickenswhichat probably also had a role in the coloring (I aimed to use the lightest shades of tan, though).
Conclusion
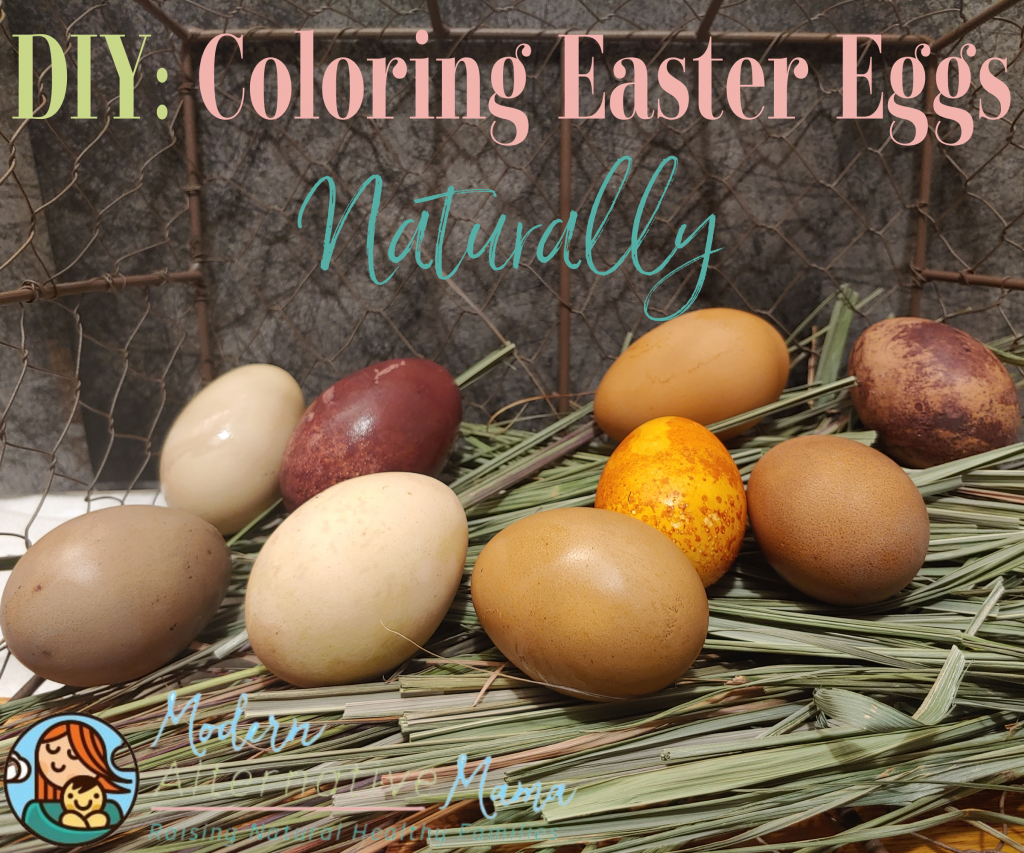
Pop or flop, dying eggs with food was a total learning experience for everyone! Even though we had done some research before dying, we were still surprised by the outcomes. For both of us, the experiment was extremely underwhelming. Almost none of the colors worked, and the ones that did had the potential to wipe off.
But we’ll both say this: kids giggling at the (somewhat putrid) smell of various fruits, herbs, seasoning, and veggies all mixed together is priceless. We laughed at how disappointing the colorings were, and it feels good to check an experiment off the list.

