Written by Lindsey and Rustina.
Every once in a while, you’ll see a tidal wave trend hit the internet. No one can explain where it came from or why, but they want to jump on their boards and ride that wave. That was me and the sourdough craze. I saw enticing pictures of beautifully crafted loaves, and I, too, wanted to try this trend.
Truth be told, I’ve been wanting to try sourdough for a while. We are mainly gluten-free (sensitivity issues like psoriasis and constipation, but not a serious diagnosis like celiac). We had tried wheat sourdough in the past and still had our symptoms, so I knew that if I were going to do sourdough, it would have to be gluten-free. This terrified me a little. I had heard that sourdough was hard to make and gluten-free sourdough was even harder. But this tidal wave of success stories had bolstered my confidence, and I was ready to try!
Resources
First, I did a little research. What kind of starters were out there, and were some easier than others to work with? I settled on two starters from two different companies. I figured if I failed, I’d have a backup. I settled on a sorghum and brown rice flour blend from Positively Probiotics. For a backup, I used a brown rice flour starter from Cultures for Health. You can even make your own sourdough starter.
Starter
I really wanted to rise to the occasion (hehe, be ready for more baking puns!), so I gave my starters more than enough time to be healthy and active. I live in a colder state (Wisconsin) and keep my house at a chill 65ºF (don’t judge), so I had to really encourage my starter.
There are a couple of different ways you can do this. Some put it in their microwave (if you have one) with the light on. Others put it in the oven with the light on (be careful not to accidentally bake it, though). I ended up putting a heating pad in the bottom of a basket where I stored my starters and gave it a warm-up during the day.
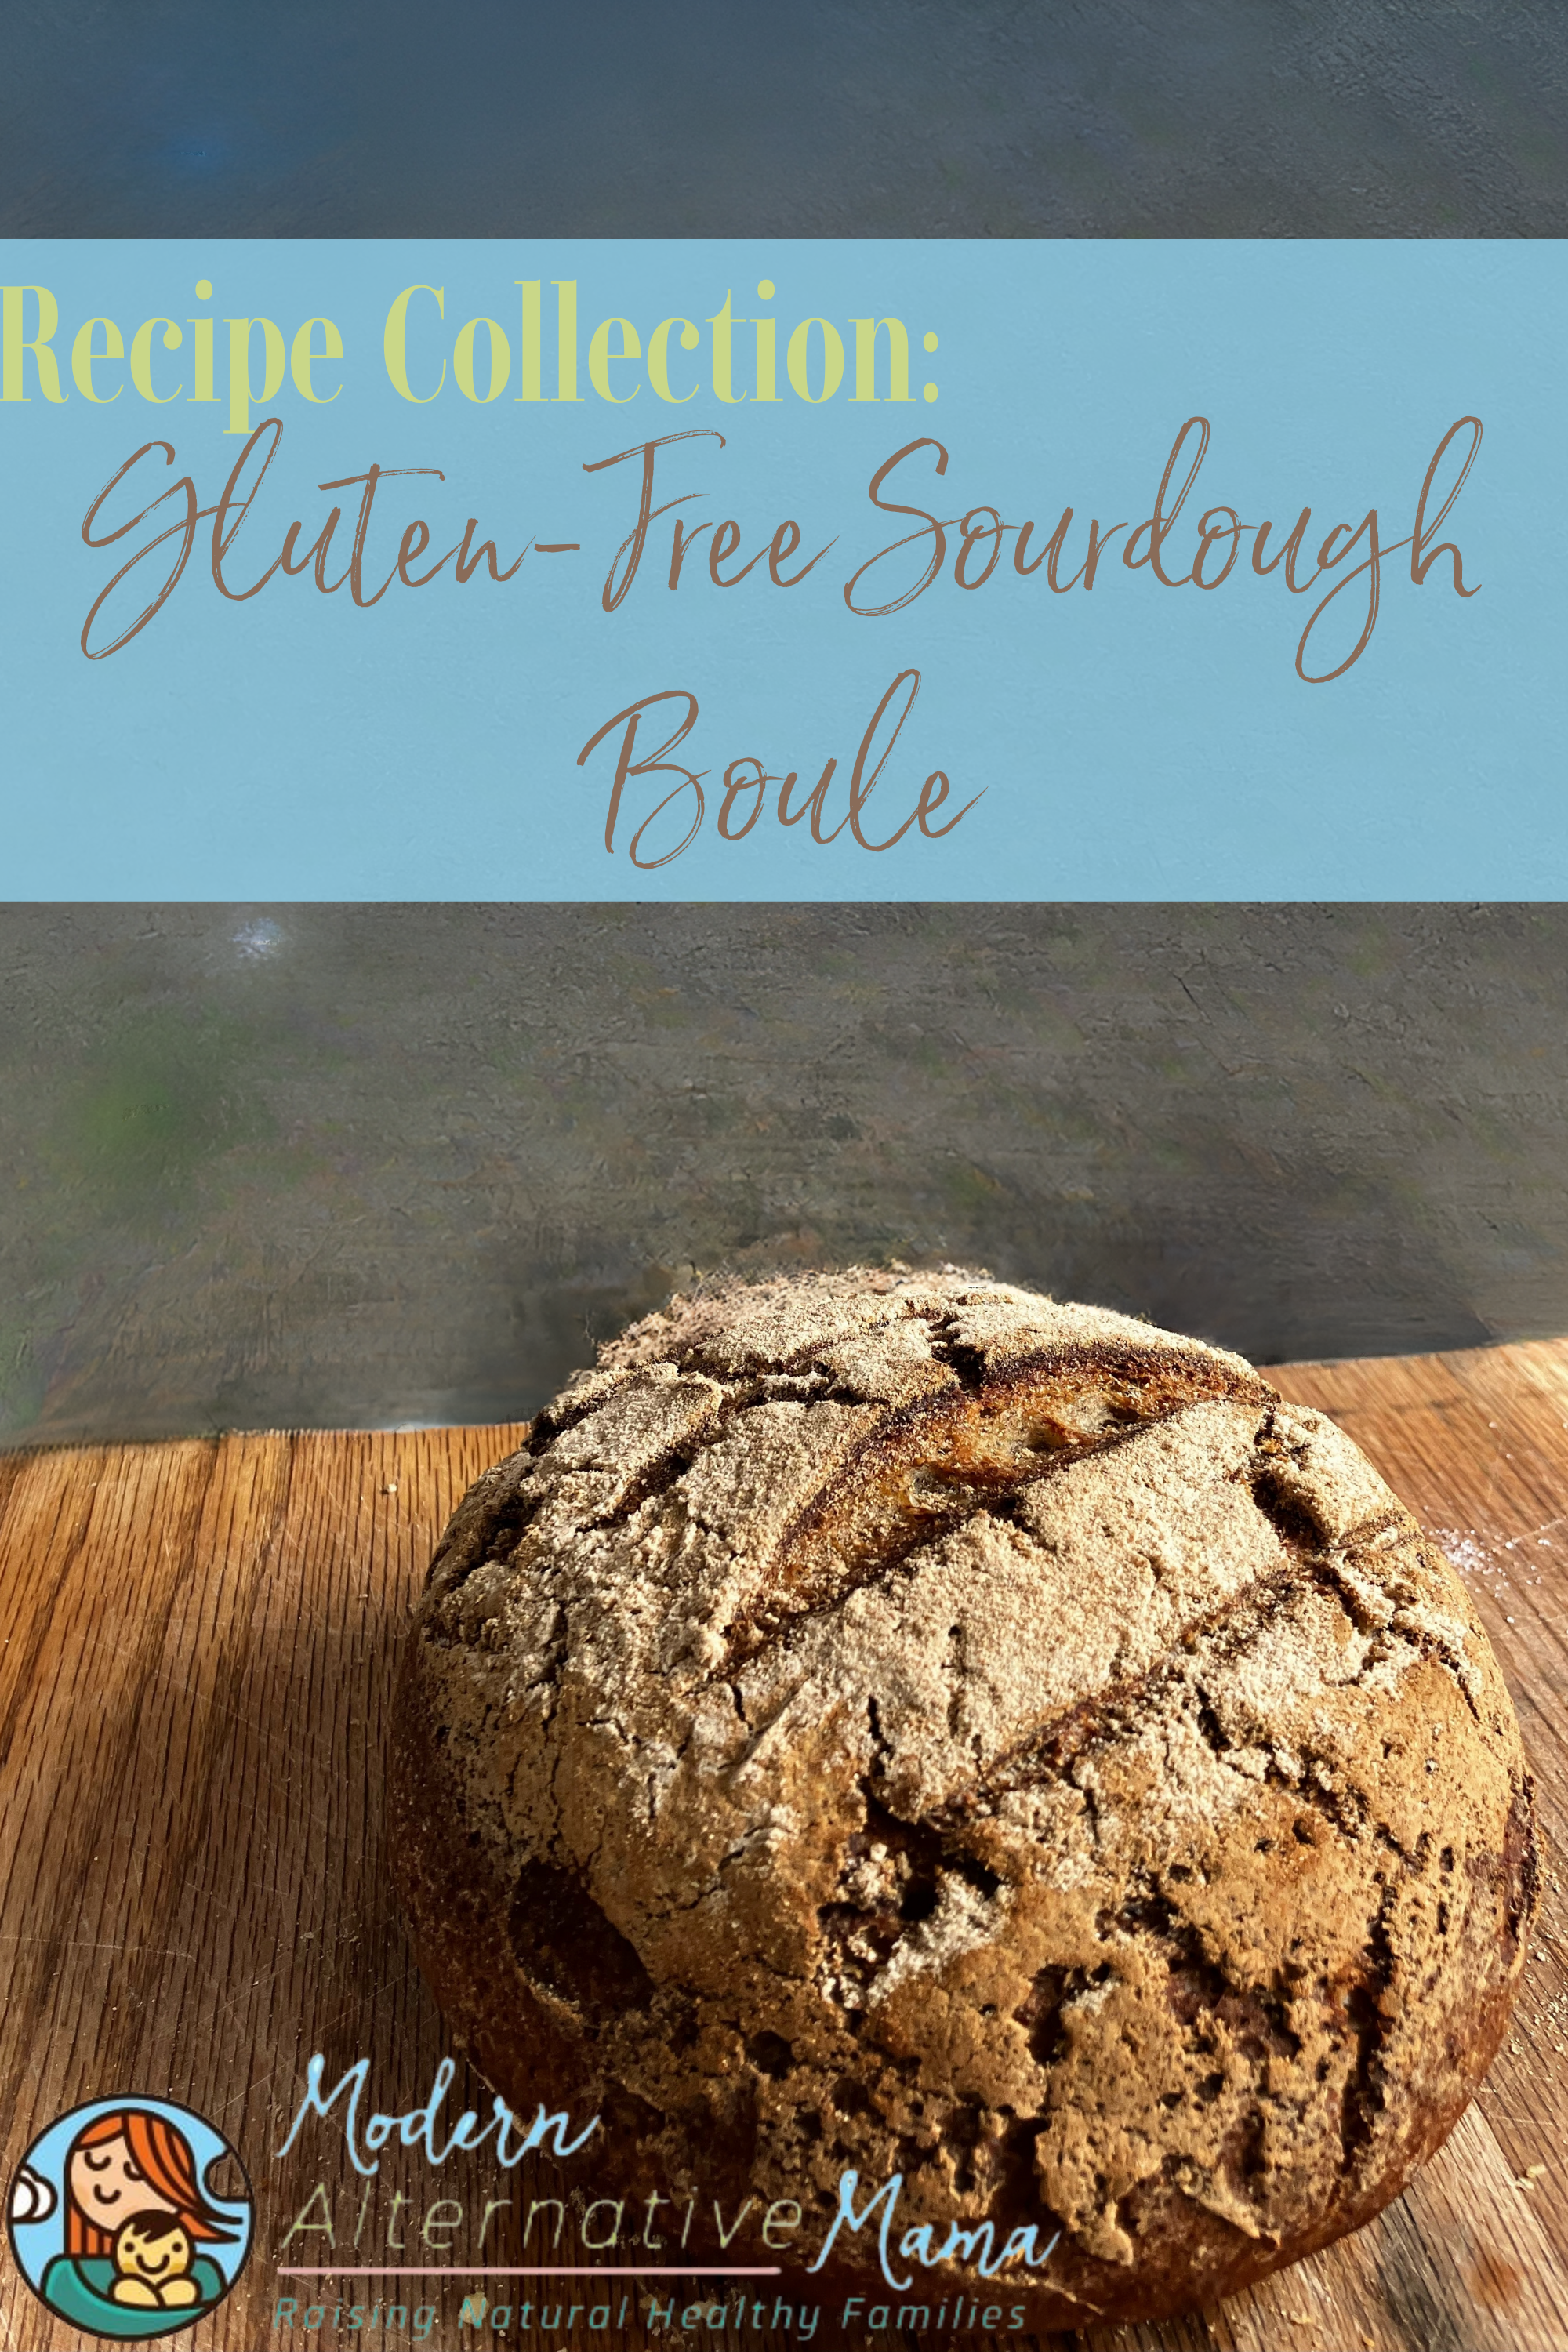
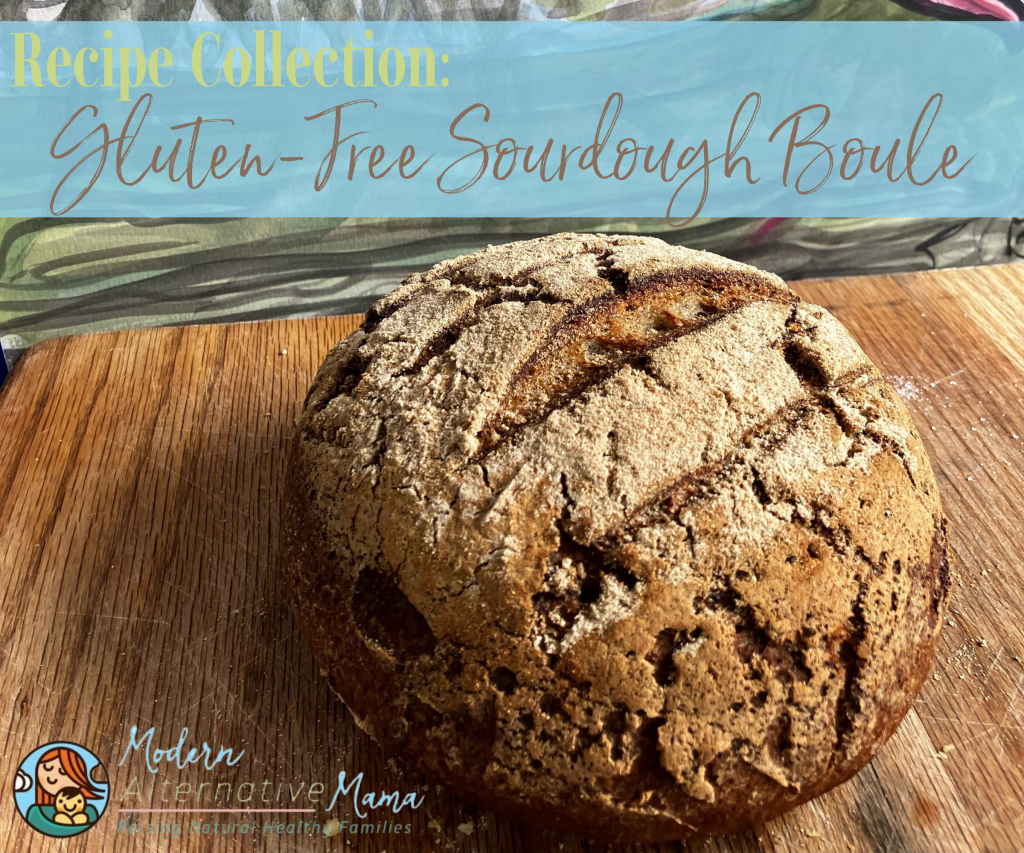
Gluten-Free Sourdough Boule
Before we get started, here are a few recipe notes:
#1: most bread-making recipes are done by grams for a more precise (and usually better) outcome. Since not everyone has a kitchen scale, we chose to do this in the closest tablespoon, teaspoon, or cup measurement.
#2: This is a 2-day process from active starter to the boule. You will want to time it so you can work on it during the intervals in steps 4 and 5.
Ingredients:
- 7 ⅓ tbsp. of gluten-free sourdough starter (make sure it’s at least doubling in size)
- 1 ¾ cups of gluten-free flour (a blend of mostly brown rice flour, millet flour, sorghum flour, and just a little buckwheat flour is recommended)
- 3 tbsp. psyllium husk
- 1 ¾ tsp. of sea salt (or just a little less if desired)
- 1 ½ – 2 cups of lukewarm warm (when adding the water to the dough, it will depend on the temperature, humidity, and even sea level of where you are, so always add the lower amount, and then add more if needed to ensure your dough doesn’t get too sticky)
- Optional: 1 tbsp. honey for taste (the sourdough “likes it” as a continued feeding while it also rises! If you have ever had Amish-made bread, chances are that honey is that delicious hint that you loved in it – or maybe that is just me…)
Supplies:
- A large bowl
- A breadboard
- Parchment paper
- A Dutch oven (or two cast iron pans that are the same size – this is to help keep moisture levels optimal during the beginning of the baking process)
- Flour or tea towel (or anything lint-free, 100% cotton)
- Oven mitts that are very thick or rated for high heat – the Dutch oven will be very hot!!!
Directions:
Step 1: Prepare your sourdough starter. You want to use a starter that has reached “peak activity” (when fermentation has been well-established and is at least doubling in size without deflating). You want to keep the starter at or around 75ºF for best-rising results. You can read more tips from our blog, How To Make Your Own Sourdough Starter.
Step 2: Mix the flours, psyllium husk (thickening agent), and salt in a large bowl. Be sure to mix it well so the psyllium husk is evenly spread out in the mix (that way, it all thickens at the same rate).
Step 3: Add your sourdough starter to the dry ingredients along with the base amount of lukewarm water and honey (if desired). The water should be about the same temperature as the starter, or it will cool the activity of the yeast, resulting in less fermentation and rising. Mix and knead the mixture, adding a little more water as needed to get a dough-like consistency (wet, not really sticky, but not powdery dry either). If you have a stand mixer and dough hook, that works, too. The goal is a nice, smooth ball.
Step 4: Return the dough ball to the bowl and cover it with a damp (not soaked) tea towel or similar. The dampness helps hold moisture in, reducing the risk of drying out. Now, place it on the counter in a warm spot (again aiming for about 75ºF warmth) for 3-4 hours. If warmer, closer to 3 hours. If cooler, closer to 4 hours.
Step 5: After 3-4 hours of warm rising, now it is time to place it on a flour-sprinkled towel in a bowl or bread basket (and cover it once again with a damp towel) to go in the refrigerator for 7-12 hours. Going past the 12 hours may slow the process and reduce the results of the bread. Since this is gluten-free, it will not rise as much as bread doughs with gluten, so do not be surprised!
Step 6: Preheat the oven with the Dutch oven inside to 475ºF before getting the bread dough out of the refrigerator. You also want the Dutch oven (or two cast iron pans of decent depth) to be heated up in the oven. That way, your bread will begin baking and rising immediately without deflating and creating uneven bread.
Step 7: Once the oven is preheated, remove the bread dough from the fridge. Cut a piece of parchment paper that will fit across the Dutch oven. Remove the damp towel and replace it with the parchment paper. Set your breadboard or a large plate on top of the parchment paper. Holding tightly to the board and bowl, flip it over so the dough is on the parchment paper on top of the board. Sprinkle a very small, fine amount of flour on top. Some people also like to “score” the bread (making a cut about a quarter inch deep) to “draw” a design or do a few fork pokes. This isn’t necessary, but it can also add air and help give it a pretty rise.
Step 8: Now, it is time for the fun part. REMINDER: Removing the Dutch oven will be VERY hot – at or near 500ºF! Use extreme caution and good oven mitts!!! Pull out the oven rack, remove the Dutch oven, and place the lid on a heat-safe surface (it, too, will be very hot). Lift the board with your bread up so you can slide off the parchment paper so the bread dough lands nicely in the Dutch oven – again, be careful. Did I mention it was hot? Let’s not ask how I found that out…😬
Step 9: Return the lid to the Dutch oven (or place the second pan upside down over the top) and very carefully return it to the oven. Set your timer for 35 minutes.
Step 10: At 35 minutes, remove just the lid of the Dutch oven and set it down somewhere safe to cool. Let the rest continue baking for another 25 minutes (so set the timer again immediately) until it is finally done! Remove from the oven, carefully, and place the parchment paper and bread on a cooling rack for a couple of hours at least.
To Use and Store
It will have the best taste the first couple of days; after that, it will taste less fresh so that it may make better toast than bread slices.
It can be wrapped in a towel (or two) or placed in a bread box. Airtight containers can lead to quick molding in sourdough bread.
Slices of half loaves can be frozen and taken out to thaw as needed.
Starter Discard Ideas
While activating your sourdough, you will have what some refer to as discard. This is the part that you remove and replace with more flour and water when you are “feeding” your starter. You can make all sorts of things with your discard! I’ve made sourdough waffles, crackers, and biscuits (these can be a little bit on the denser side).
There are loads of things you can do with your starter; here are some links for ideas:
https://homesteadandchill.com/category/food-ferment/sourdough/
https://culturesforhealth.com/blogs/recipes/gf-sourdough-recipes
Gluten-Free Sourdough Boule
Ingredients
Method
- Step 1: Preparing your sourdough starter. You want to use a starter that has reached “peak activity.” That is when the fermentation has been well established having risen about double the size as it was originally but yet not “deflating” back down.For best rising results, you want to keep the starter at or around 75 degrees F. You can read more tips at How To Make Your Own Sourdough Starter.
- Step 2: Mix the flours, psyllium husk (thickening agent), and salt together in a large bowl. Be sure to mix it well so the psyllium husk is evenly spread out in the mix (that way it all thickens at the same rate)..
- Step 3: Add your sourdough starter to the dry ingredients along with the base amount of lukewarm water and honey (if desired). The water should be about the same temperature as the starter or else it will cool the activity of the yeast resulting in less fermentation and rising. Mix and knead the mixture together, adding a little more water as needed to get a dough-like consistency (wet, not really sticky, but not powdery dry either). If you have a stand mixer and dough hook, that works also. The goal is a nice smooth ball.
- Step 4: Place the dough ball back in the bowl and cover with a damp (not soaked) tea towel or similar. The dampness helps hold moisture in reducing the risk of it drying out. Now, just place it on the counter in a warm spot (again aiming for about 75 degree warmth) for just 3-4 hours. If warmer, closer to 3 hours. If cooler, closer to 4 hours.
- Step 5: After the 3-4 hours of warm rising, now it is time to place it on a flour-sprinkled towel in a bowl or bread basket (and covered once again with a damp towel) to go in the refrigerator for 7-12 hours. Going past the 12 hours may slow the process and reduce the results of the bread. Since this is gluten free, it will not rise as much as bread doughs that do have gluten so do not be surprised by that difference!
- Step 6: Preheat the oven with the dutch oven in it to 475 degrees before getting the bread dough out of the refrigerator. You want the dutch oven (or two cast iron pans of decent depth to be heated up in the oven as well. That way your bread will begin baking and rising immediately without deflating and creating an uneven bread that will back unevenly as well.
- Step 7: Once the oven is preheated, remove the bread dough from the fridge. Cut a piece of parchment paper that will fit across the dutch oven. Remove the damp towel and replace it with the parchment paper. Set your bread board or a large plate on top of the parchment paper. Holding tightly to the board and bowl, flip it over so the dough is on the parchment paper on top of the board. Sprinkle a very small, fine amount of flour on top. Some people also like to “score” the bread. That is making a cut (about a quarter inch deep) to “draw” a design or doing a few fork pokes. This isn’t necessary, but can also add air and help give it a pretty rise.
- Step 8: Now it is time for the fun part. REMINDER: When removing the dutch oven, it will be VERY hot – at or nearing 500 degrees hot! Use extreme caution and good oven mitts!!! Pull out the oven rack, remove the dutch oven, and place the lid on a heat safe surface (it too will be very hot). Lift the board with your bread up so you can slide off the parchment paper so the bread dough lands nicely in the dutch oven – again be careful. Did I mention it was hot? Let’s not ask how I found that out…
- Step 9: Return the lid to the dutch oven (or place the second pan upside down over top of it) and very carefully return it to the oven. Set your timer for 35 minutes.
- Step 10: At 35 minutes, remove just the lid of the dutch oven, and set it down somewhere safe to cool. Let the rest continue baking for another 25 minutes (so set the timer again right away) until it is finally done! Remove from the oven, carefully, and place the parchment paper and bread on a cooling rack for a couple of hours at least.

I would love to have the grams for the actual starter! Could you give that please? Thank you ❤️
While I try to find the information for this specific starter, here is a link to Kate’s Sourdough Starter blog that may help you: https://modernalternativemama.com/2012/01/06/diy-how-to-sourdough-starter/