Written by Kate Tietje
At this point, I have about two and a half months (or so) before my fifth baby arrives. I’ve been sewing like a mad woman, trying to finish all the projects before the baby’s arrival. Most of the projects are actually for the baby. But this one isn’t.
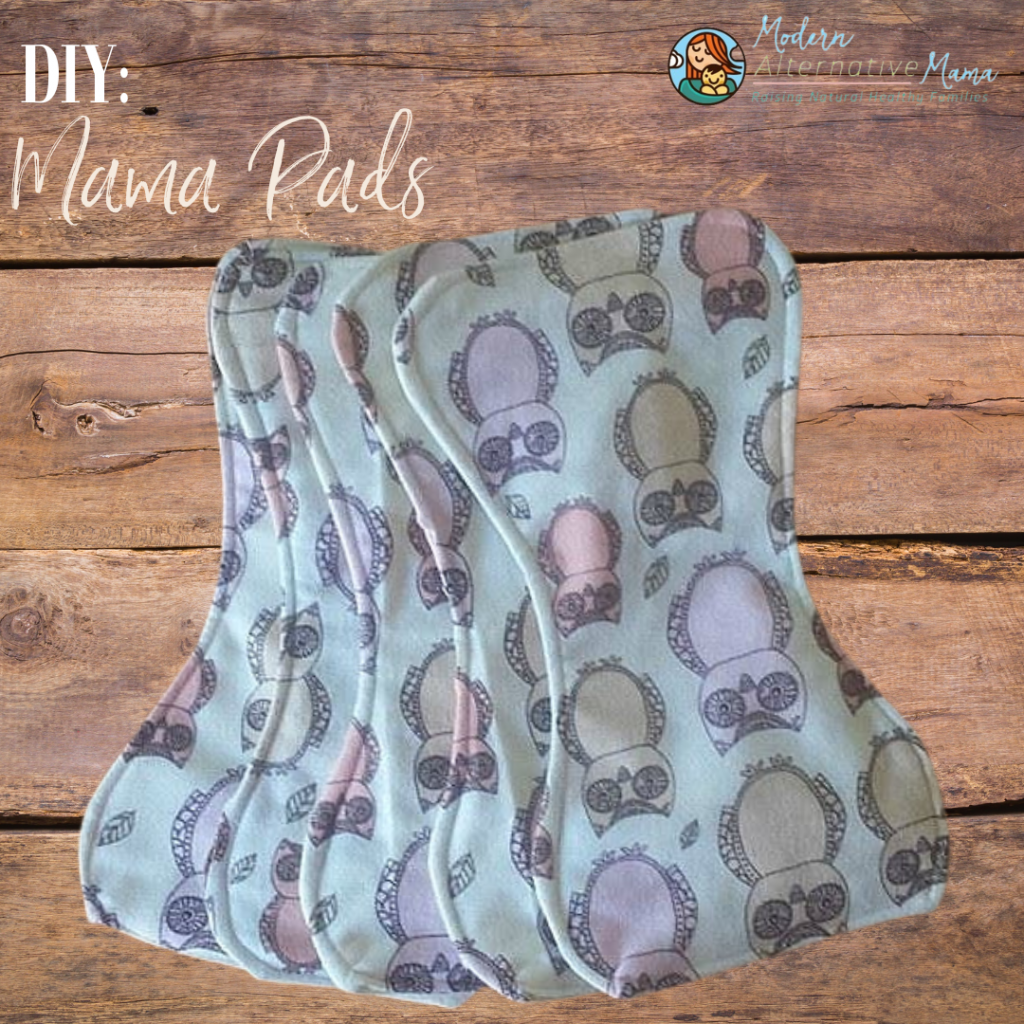
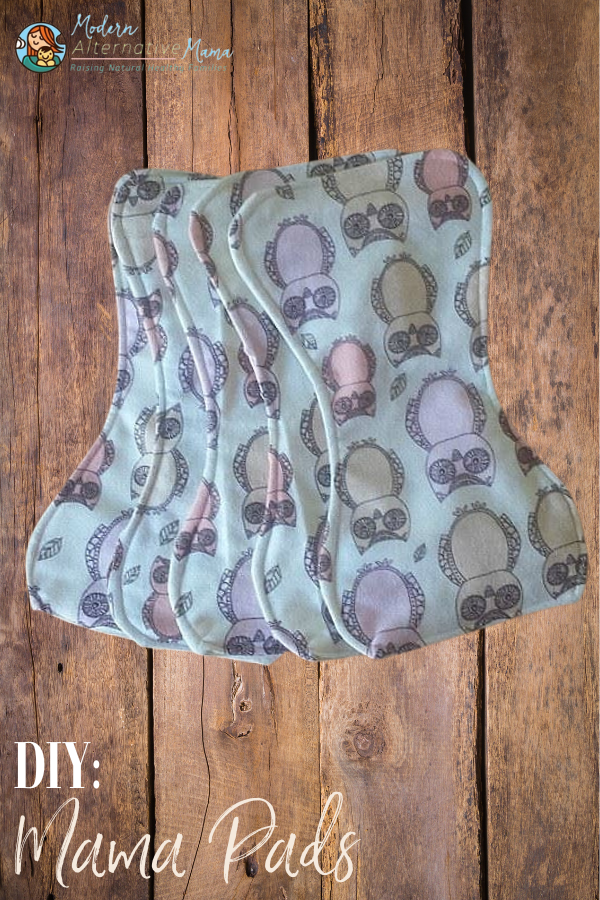
Mama pads — also known as mama cloth or homemade cloth pads. I’ve been using them since my second was born (and he’s almost 6 — yikes, time has gone fast) and prefer them to disposables. Plus, they’re much more frugal since you buy or make them once and then have them.
Of course, I lost the set I already had when we left our home last summer due to a serious mold issue. But that’s okay because I was ready for an update. The original set I made wasn’t quite wide enough, especially the larger ones (the small ones didn’t really need to be wide). Plus, I wanted to add some specifically for postpartum use. I used disposables for the last two babies for the first 2 – 3 days and then switched to cloth. This time, I don’t want to need to do that.
So, I have homemade mama pads in three sizes! They are flannel on top for absorbency and softness and PUL on the bottom, so they are waterproof. After the pads were finished, I went back and sewed wings onto them. Some patterns do the wings as part of the original piece, but I think this wastes fabric and makes it harder to sew. I’m a multi-piece girl.
The three sizes are:
- Mini (8″ long, 2 layers thick)
- Regular (12″ long, 3 layers thick)
- Postpartum (15″ long, 4 layers thick)
Those postpartum ones are big. You would only need them for postpartum use or if you are a heavy bleeder and want them for overnight. They almost look like diapers; they are so big. In fact, my husband thought that’s what they were, except they were the wrong shape.
Anyway! These are fairly easy to sew and require only two different pattern pieces. (The pattern is not here yet, but I promise I will add it soon!) A snap press or pliers would be very helpful, but you could simply sew on Velcro if you prefer. Either way, you’ll have some great homemade mama pads that don’t take too long, work wonderfully, and last for a long time.
Homemade Mama Pads
You only need basic sewing skills and a sewing machine with a straight stitch to sew these. Homemade mama pads are very easy.
You will need:
- Flannel (about 2 yds to sew a set of 12 – 18, depending on size)
- PUL (about 1/2 – 1 yd)
- Thread
- Snaps or Velcro
Directions:
Step 1: First, you need to cut out your pattern pieces. For mini, you will cut 1 of PUL and 2 of flannel. For regular, 1 of PUL and 3 of flannel. For postpartum, 1 of PUL and 4 of flannel.
Step 2: Then, we need to stack it up. For mini, put PUL dull side up, then lay flannel on it pretty side down. For regular, put a layer of flannel pretty side up, then a layer of PUL dull side up, then the remaining two flannel layers pretty side down. For postpartum, start the same as regular, but lay three layers of flannel pretty side down on top (instead of 2). This is so your outermost layers will be PUL and flannel when you flip it right side out.
Step 3: Start at the top of the pad and sew all the way around it, trying to catch all layers.
Step 4: Cut off any extra fabric around the edges to be about 1/4″ from the stitching. Then, flip it right side out.
Step 5: Tuck the open edges inside. Sew across this to close the pad. Then, keep sewing all the way around, about 1/4″ from the edge. This is called top stitching, making the pad lay flat and look pretty.
Step 6: Now, use flannel scraps to cut your tabs. This is one of them.
Step 7: Fold your tabs with right sides together and sew around them. Sew most of the way around, starting and stopping like this.
Step 8: Then, flip the right side out. Tuck the edges inside, then attach them to the back of your pad, trying to sew along the same line as before (where you did the top stitching).
Step 9: You could choose to top stitch the tabs, too, if you want, but it’s not necessary. I did it to make it pretty and look even and nice.
Step 10: Attach your tabs to the pad. I like to sew along the topstitching as much as possible so it matches up.
Step 11: Then attach either your snaps or your Velcro. I’m choosing snaps. I didn’t get a picture of that…sorry. Fold your tabs over and see where they meet naturally, like this:
Step 12: Then, simply place your Velcro or snaps so that they meet where the tabs overlap. That’s really simple, and frankly, if it doesn’t line up quite right…who cares? No one’s going to see this.
That’s it — your homemade mama pads are done!
How cool is that? It is softer, easier to use, better for you (no bleaching chemicals against your lady parts), and so frugal. And pretty! It’s a no-lose situation.
If you have a baby in cloth diapers, simply toss them into the dirty diaper bin and wash them with them. If you don’t, sew yourself a small cloth wet bag and keep your pads in there until it’s time to wash. You can travel with a small bag in your purse for changes on the go, but I prefer to change before I leave and try not to need another until I return — it’s easier. Homemade mama pads really are pretty simple!

I have read about these. But my drawback is that is seems like it would be gross to wash them out. I do cloth diaper, but this seems different. Did you have a hard time getting use to them?
I’m with you, Priscilla. My first thought was, “How and WHERE do you wash these out?” It doesn’t seem like a good idea to just throw them into the washer if you’re a heavy bleeder.
Pattern please! I want to make myself a set for postpartum. I normally use a menstrual cup with cloth pantiliners for a normal period, but I’m due with our first in September and want to make and use cloth postpartum pads.
I used cloth pads after both my children were born but I was actually already using them for my regular periods anyway. I love cloth pads for so many reasons: more comfortable, no irritating synthetic parts, cleaner for the planet, cheaper, you never run out or have to dash to the store.
But my confession is that I didn’t make mine, I bought them from a local lady who makes them.
As far as the yuk factor of handling them, it isn’t really an issue. Mine are put in a dry pail with a lid and then washed in the machine. I’m not hand rinsing the blood out of each pad or anything like that. They hang on the line once washed and are then put away for next month. Easy peasey!
These look great. Ive been cloth diapering and i switched to cloth and love it. I love being able to mqke somethig i can use that suits my needs. I will be making for my girls. I made my own postpartum pads love them. Will be using them for night day heavy use
Pattern please! Due with baby #4 in 30 days and would love to make these easy pads! I already have all the material!
Am I missing a pattern somewhere? I am new to cloth pads and would like to start with them when I have my second baby in a few months. I want to make them myself though, this looks like a great technique!
I would love the pattern for all three sizes, please send me a link… I couldn’t find it on the article. Thank you
Is the pattern somewhere on here? Couldn’t find a link and this is what I’m looking for!!
Hi, Would I be able to get the pattern for these? Thanks 🙂
Hi, I would like to make these for my upcoming birth. Do you have a pattern available? Thank you!
Hi Beth! We are working on a specific pattern and hope to have it up soon. In the meantime, if you want to try and draft the basic shape yourself, the postpartum pads are 15″ long an 4 layers thick.
Hi Kate, I would love to make these put can’t seem to locate your pattern! please direct me to where I can find it! Thanks!
Hi Brenda! We have a specific pattern in the works and hope to have it up soon 🙂
[…] sewed my own cloth pads — which I thankfully finished a few weeks ago. The biggest ones, the ones that I called […]