Written by Kate TietjeThey were so uneven that it looked like an earthquake had hit! We decided no patio was better than THAT, so my hubby moved the paving stones to the garage until we could properly prepare the ground.
Once he had about half of them hauled to the garage, I looked at the stacks he had made and suddenly had an idea. My ever-patient husband hauled the stones back to the backyard and helped me dig out a rectangle of sod right up against the house. We packed down the dirt and began building our raised garden bed!
That bed was in constant use, and we loved it so much that we planned to do the same thing in any other house we lived in — and we did!
Here’s why:
- It’s extremely durable. These stones aren’t going to rot or splinter like wood eventually will.
- It’s non-toxic. Many woods are treated with chemicals that aren’t healthy. Wood and plastic can leach toxins into your soil that end up in your food!
- It’s comfortable. If you have knee or back problems (or if you’re gardening when you’re 8 months pregnant, like I was!), you can just sit right down on the stones.
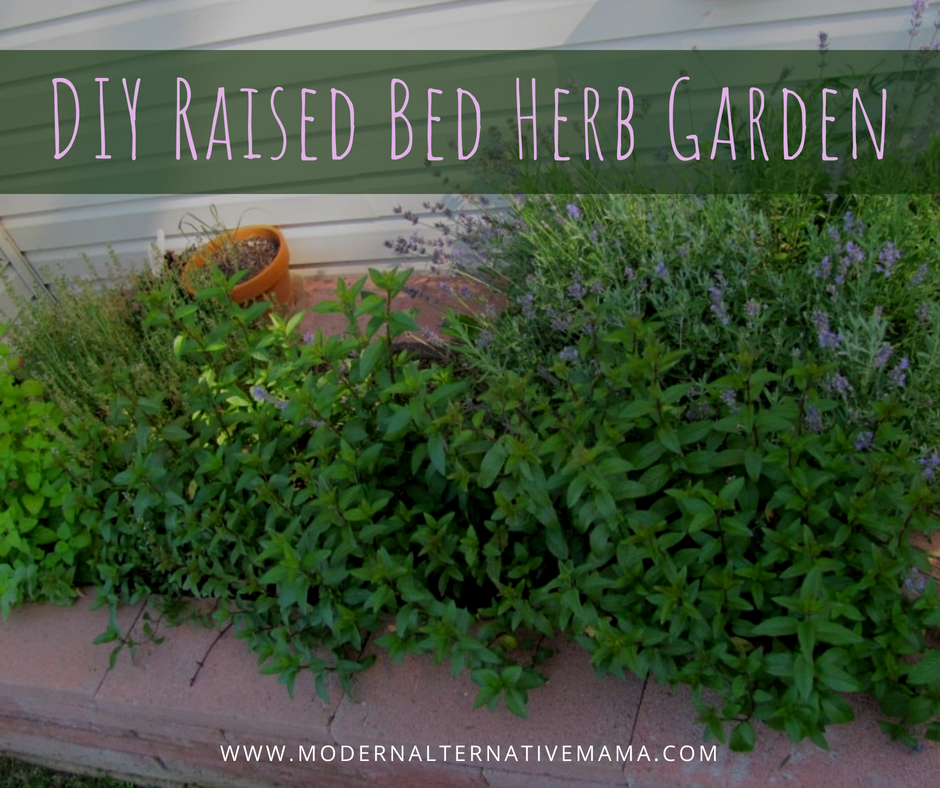
- It’s pretty. Even these cheap red paving stones look cute like this!
- It can be cheap. If you have the stones just sitting around like we did, it’s almost free. If you don’t, look for clearance.
- It is customizable. Not only can you buy stones that complement your house and landscaping, but you can make different shapes. Curved stones will give you a round bed, and straight-sided stones can give you a square, rectangle, L shape, or even an X shape! Be creative!
- It contains the plants. We have a few invasive herbs that are now safely contained in the raised bed rather than trying to grow out of the garden and into the yard.
- It keeps out the weeds. In these four years, we’ve had almost no weeds, and the ones that did pop up were easily pulled.

Raised Garden Bed
Making a raised garden bed is amazingly easy, so let’s get to the steps.
Step 1: Dig out the sod and pack down the dirt. We used one of the pavers to pack the dirt by dropping it from a foot or so high. Worked great!
Step 2: Set the first layer of stones, ensuring each is level. This is important, folks! If you find a stone isn’t level, remove it and add or remove dirt as needed.
Step 3: Once the first layer is level, do the next layer by centering your first stone over a seam between the two stones below it. This will give the stability. If you just set a stone right on top of one other stone, you’ll end up with many stacks that will fall over.
Step 4: Continue building the layers until you reach your desired height.
Step 5: Like a planter, put a layer of rocks or gravel in the bottom to help drainage. It doesn’t have to be a deep layer, maybe 1 1/2 inches.
Step 6: Fill with soil and plant your herbs!
We filled our raised garden bed with our favorite perennials, and almost no maintenance is required other than harvesting. In fact 2011, I was so sick with morning sickness that I grossly neglected my herb bed, and it’s still thriving! Our basement was full of huge bunches of organic dried herbs that would have cost a fortune at the store but cost us next to nothing to grow ourselves.
Do you have a raised bed garden? What materials did you use to build it?

[…] […]
Love it! Beautiful lavender! My tip is to put down a piece of inexpensive chicken wire before you add dirt if your yard has animals digging up from below your garden. I had moles digging underneath and eating all my root veggies until I heard about the chicken wire tip. Of course, it’s easier to add it BEFORE the dirt is in, LOL!
Great tip, Rebecca! I saw that the other day and completely forgot about it, but it is definitely something we will do next time. Thanks so much for the comment! 🙂
Just a suggestion, based on a very similar thing I did behind our dog run a couple years ago: forget digging up the sod altogether, and “bed down” on top of it with some cardboard, ala “lasagna gardening” style. I did the “lasagna” (it’s simply a layer system for compost that doesn’t get turned–alternating green and brown layers of materials, mulching additional layers on top as it composts down in order to maintain bed height and control weeds) behind the dog run, because I didn’t have any soil at the time, but I had bags and bags of leaves and lots of fresh grass clippings as I had asked the neighbor to save hers for me. If I’d had soil, I could have used that instead of the layered compost.
I don’t grow herbs (or any for-human consumables) back there, because it IS right next to where the pups spend a LOT of their time (read: peeing and pooping in the near vicinity; not going to mess with possible bad stuff leaching into the area), but I threw some sunflower seeds back there (that was four years ago), and year after year, the birds leave enough that I never have to plant them anymore–in fact, now I have a veritable forest that would benefit from being thinned, if I had the inclination!
Anyway, NO grass has come up through this bed after having bedded it with cardboard first, rather than digging out any sod.
That is a great idea, Dani! I’m sure it would work beautifully inside the bed, but our ground was so uneven that we had to remove the sod where we were placing the stones to get them to lay flat. Next time I’ll have to put some cardboard and chicken wire inside the bed before filling it! Love these tips! 🙂