Written by Kate TietjeWhat Can Be Safely Canned by Water Bath
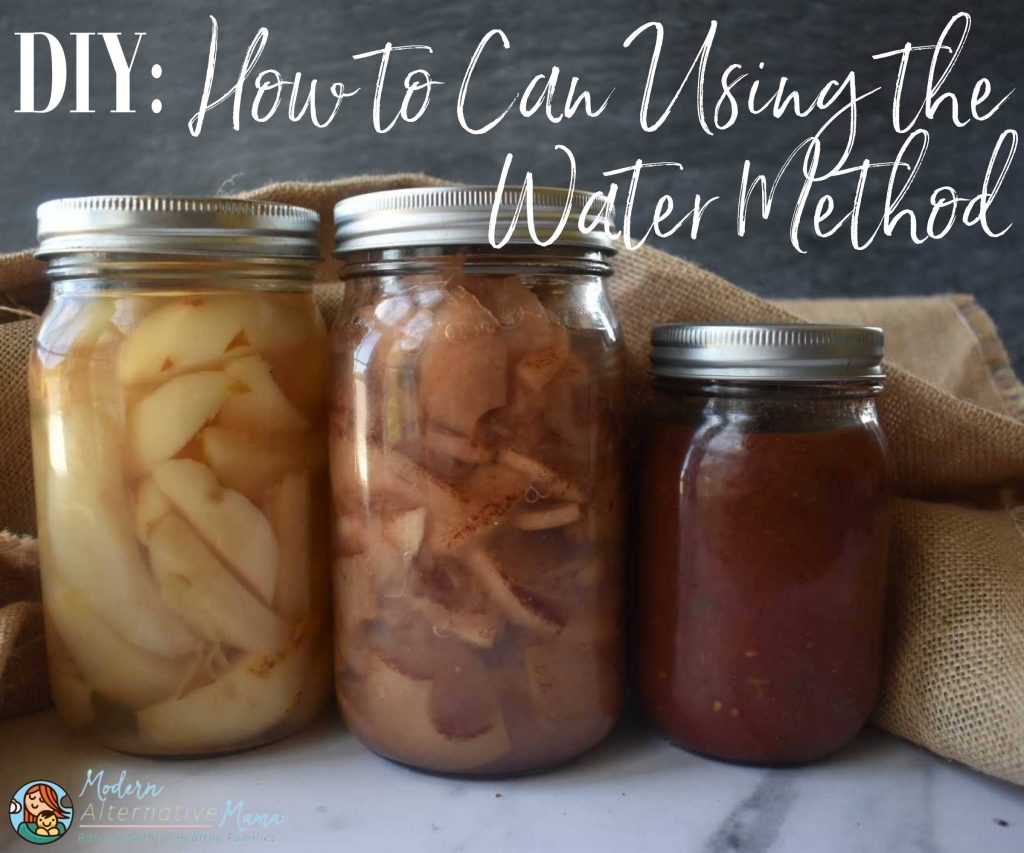
First, it’s important to note that not all foods can be safely canned using the water bath method. This is for high-acid foods like apples, pears, peaches, and tomatoes. Low-acid foods like most vegetables, any meats or fish, soups or stock, etc., cannot be safely canned using the water bath method and require a pressure canner. That is not easy, and I recommend starting with water bath canning.
What can be canned with the water bath method:
- Peaches
- Pears
- Apples
- Tomato sauce — check out our blog, How to Make & Can Tomato Sauce
- Salsa (sometimes)
- Vinegar pickles
- Green peppers —
- Pickled spicy peppers
- Relish
- Jams and jellies
- Marmalade
- Other fruit spreads
If it’s high acid (including added acid, like vinegar or lemon juice) or high sugar (many jams and jellies), it’s very likely safe to water bath can. It’s best to start with tried-and-true recipes, especially if they involve tomatoes, which are right on the line of acidic enough to safely water bath can. If you make salsa and add a lot of low-acid veggies (onions and peppers), you may need to add extra acid or choose to pressure can it.
The Supplies You Need to Can
Before you get started, you’ll need a few things!
What you must have:
- Jars
- Lids
- Rings
- Large canning pot (can be a stock pot)
- Pot protector (rack or pad so the jars aren’t directly on the bottom of the pot)
- Jar lifter
- Funnel (super helpful for loading jars with food without spilling!)
Choose jars intended for canning, and be sure they have no cracks or chips. They can break or fail to seal if they’re not in good shape.
There are reusable canning lids and disposable canning lids. I have used both. In my experience, disposable lids seal more readily (I’ve had a higher failure rate with reusable ones), but both will work. You will need rings no matter which you choose. Ensure that the rings are in good shape, not bent or rusted.
I have 8, 16, and 20-qt pots for my canning pot. These double as stock pots and for preparing tomato sauce, etc., the rest of the year. I don’t have a canning-specific pot, and I really don’t think one is necessary.
Once you have your supplies…you’re ready to get started!
How to Can Using the Water Method
I recommend starting with something like vinegar pickles or jam/jelly — these are very high in acid (and jam/jelly is high in sugar, too), so there’s no question about their safety. Many people are worried they will accidentally poison their families, and it’s almost impossible with these types of recipes!
Step 1: Put your lids into a pot of hot water. I just use really hot tap water. Put it on the stove to simmer, but don’t let it boil.
Step 2: Fill your prepared, clean jars. I don’t bother to “sterilize” mine because, frankly, once they’re exposed to air again, they’re no longer sterile. Why take the extra step when they don’t stay sterile? Run them through a hot dishwasher cycle to ensure they’re clean instead.
Step 3: Wipe the jars’ rims to ensure they’re clean (the funnel helps with this, but still). If they’re not, the lids may not seal. Then, place the lids onto the jars.
Step 4: Put the rims on and tighten them until they are firm. Don’t tighten them as much as they will go. Most call this “fingertip tight.”
Now your jars are ready for the water bath!
Step 5: Put your pot protector or jar rack on the bottom of your pot and load your jars into your pot. Some people like to pre-heat the pot filled with water and then add the jars. I think you’re more likely to burn yourself and break your jars. Doing it this way, I have rarely broken a jar.
Step 6: Add your water — warm if your jars are warm, cool if they are cool (you can ‘cold pack’ foods too, which I’ll tell you about in a minute). The idea is not to shock the jars with a drastic temperature change.
Step 7: Fill the pot until the water is at least 1″ above the jars (the water must be this high.
Step 8: Turn the pot on and allow it to come to a boil. Start the timer for the time your recipe is called for once the pot reaches the boiling point. Keep it at a rolling boil for the whole processing time.
Step 9: Once the timer goes off, turn the pot off and give it a minute to cool down and stop the rolling boil. Then, use the jar lifter to remove your jars. You can start a new canner load now if you want to (and I don’t pour the water out; I just keep going with it).
If you don’t have a full canner load, you can add an empty (no lid) jar and fill it with water to replace a full jar so that the jars don’t fall or break. However, do NOT add that empty jar completely empty (without water) to a pot of hot water! EVER! Pushing it under the water will make the hot water jump up and splash you. This works fine with cool water; it wouldn’t hurt anything, even if that splashed. But the hot water will bubble up and burn you. I burned myself badly making this mistake, so don’t do it! Four days later, my blisters are just starting to really heal. Just don’t do it.
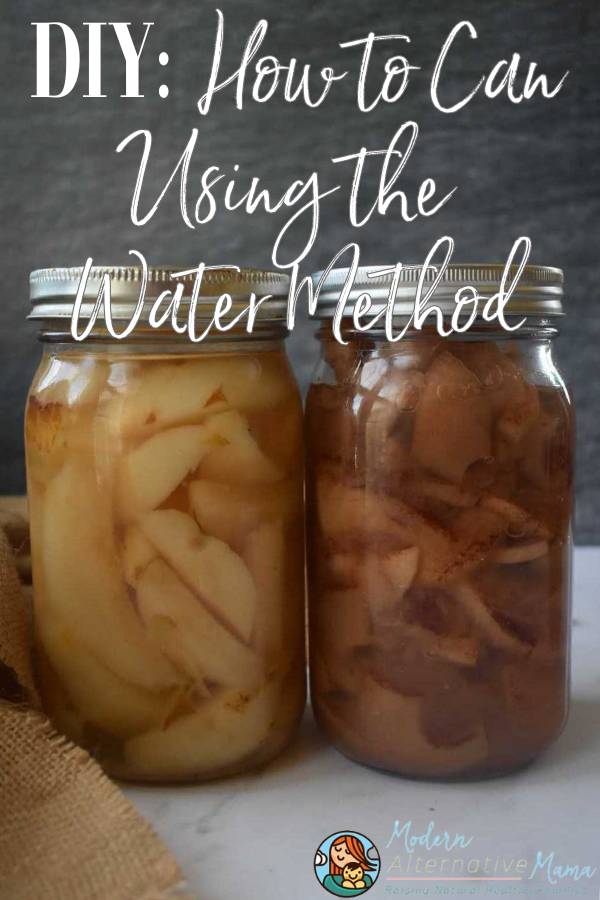
Cold Pack Method
This is another way to pack food, especially if you are doing something like sliced pears. (It’s how I do my pears and peaches.) The food is sliced or diced fresh, added to jars directly, and then topped with water or syrup. Here’s how I do my peaches.
One note: add 5 minutes to the processing time if you choose to cold pack instead hot pack.
And always check your jars to ensure they are sealed no matter your chosen method! If they are not and you put them away, they could go bad.
How to Handle an Unsealed Jar
Check your jars within 24 hours of finishing their processing. It’s not unusual for jars to not be sealed when they first come out, then “pop” within the first hour. You may even hear the sound!
But if they’re still not sealed once they’re cooled, they’re not going to. Now, you have two choices: reprocess or consume immediately.
An unsealed jar and go into the fridge and be consumed safely within 2 – 3 days (assuming you caught it within 24 hours). Or, remove the lid and check for chips or spilled food on the rim of the jar — this will prevent sealing. If there are no issues here, use a new lid and reprocess for the amount of time called for in the original recipe.

I am a lady nearing 70, I live alone in a small house in California. I am new to canning but in looking for a way to make a bit of money and seeing a way to make jam without using sugar. I found, online, another way to ‘can’ (why do we call it ‘canning’ when it’s put into jars?) using honey and an organic pectin I decided it was time for me to learn. I first began with freezer jam as a friend had mentioned it and I’d never heard of freezer jam, found the recipe online. I made some from the yellow plums off my son’s tree and that turned out good. I then went on to the water bath method of jam making. There’s a book just out from the people who make Pomona’s Organic Pectin and I bought that. They have some recipes online so I began with Cranberry-Strawberry. It turned out very tasty, so I made some Cranterine (Cranberries and Nectarines) I already had lots of cranberries in the freezer and a friend had given me lots of nectarines so I made that, it was good too. I have sold a few jars and so far have had no complaints. I use only 1/2 cup honey in 5 jars that hold 4.5 ozs. I really like making the jam with honey instead of sugar. Thank you for giving me the opportunity to share what I have learned. ~Blessings, Anna
I love canning and I do it pretty much the same way you do… I don’t cover the jars with water though. I learned to do it by filling the pot with water just to the neck of the jars. I’ve had a few fail to seal, but only rarely!
Hi what a great post!
I would really like to try out this formulation.