Written by Kate Tietje
A few weeks ago, I was lying in bed at night, not sleeping very well, and thought — I wish I had a weighted blanket. This led to a bunch more thoughts: I’ve always loved rainbows, and it would be cool if my blanket were a rainbow. I bet my kids would like weighted blankets, too! If I got fabric for mine, it should be enough to make one for everyone…
In the morning, I decided to go for it. Rainbow-weighted blankets for everybody!
I shared pictures of the blanket at various stages on my social media, and everyone was super excited about it. Many asked how I was making it, and I promised to create a tutorial.
I also started a firestorm at one point when some people demanded to know whether this would be a gay pride rainbow or God’s rainbow. To me, honestly, it is neither. I just have always thought rainbows were pretty, since I was a little girl. (I had all kinds of rainbow things then.) And, although I never talk about it, my youngest is actually a rainbow baby.
But it could mean whatever you want. And you don’t have to do it as a rainbow, either. You could do the top as a solid color or any other striped pattern…really, make it yours. This is what I liked.
Anyway…this is how to make one!
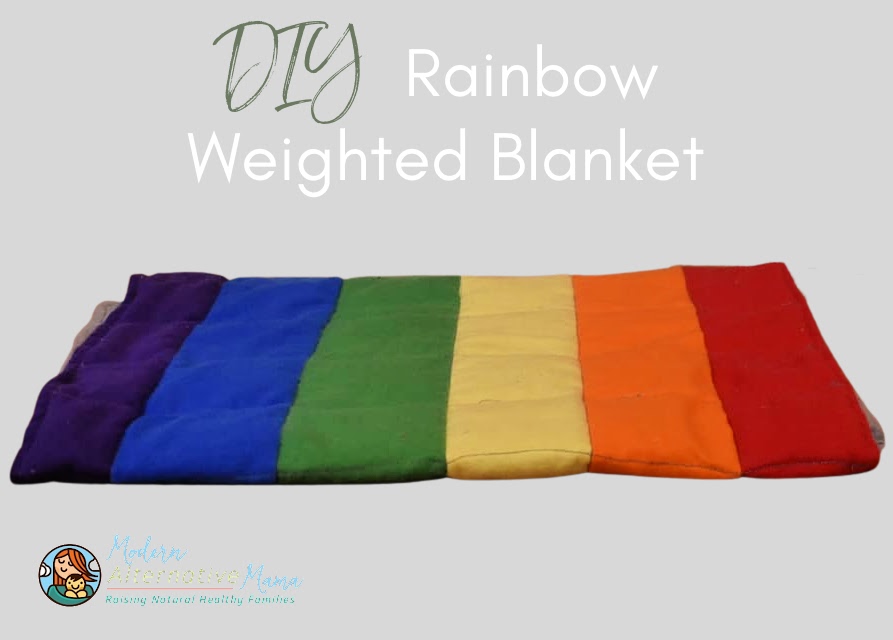
Rainbow Weighted Blanket
You will need:
- 2 – 4 yards of fabric, depending on size
- Heavy duty thread
- Plastic or glass beads
- A ruler or tape measure
- Scissors
- Sewing machine (basic straight stitch and zigzag)
- Pins
- Small kitchen scale
- Measuring cup
First, you need to determine the fabrics you will use and the size and weight you will make it. I recommend doing a blanket about a foot longer and wider than the person, weighing about 10% of their body weight.
Choose a medium-weight fabric — I picked flannel (which was pretty affordable, about $3/yard on sale). Minky or cuddle fabrics work well, too. You don’t want any stretch here because the weight will weaken the seams and cause holes over time (I’ve had that experience with rice-filled heating pads!).
Since mine were identical in pattern, I got 7 blankets out of 6 colors (2 yards per color).
As an example for my blanket sizes, my 3-year-old is around 33″ tall and weighs around 30 lbs, so I made his blanket 3′ x 2′ and 3 lbs. in weight. My (almost!) 13-year-old is 5’1″ and around 120 lbs, so I made hers 6′ x 3′ and 12 lbs.
For the stripes, I divided the width of the blanket by 6 to find out the width of each stripe. Here are the sizes and weights for all blankets:
- Blanket #1: 6’x3.5′, each stripe 6’x7″ (weight: 15 lbs)
- Blankets #2 & 3: 6’x3′, each stripe 6’x6″ (weights: 12 lbs. and 10 lbs.)
- Blanket #4: 5’x3′, each stripe 5’x5″ (weight: 8 lbs.)
- Blanket #5: 4.5’x2.5′, each stripe is 4.5’x4″ (weight: 6 lbs.)
- Blanket #6: 4’x2.5′, each stripe is 4’x4″ (weight: 5 lbs.)
- Blanket #7: 3’x2′, each stripe is 3’x3″ (weight: 3 lbs.)
For this, I purchased:
- 2 yards each of red, orange, yellow, green, blue, and purple fabrics (for the tops)
- 10 yards of gray fabric (for the backs)
- 2 yards of pink fabric (for my daughter’s back; she requested it)
- 10 spools of gray heavy-duty thread, 125 yd each (it takes a LOT to do this)
- 60 lbs. plastic beads (I chose these)
I had enough fabric left over to make 1 or 2 more of the smaller blankets. I just let my kids have the scraps for their own projects!
I chose heavy-duty thread because the blankets are, of course, heavy. The seams need to be reinforced to hold up to the weight. I’ve been using mine for a couple of weeks, and I shift the blanket multiple times a night and haven’t had any issues (so far). This is why we’ll also go over the seams multiple times.
As for the beads…I chose a non-toxic plastic. There are glass beads, but I didn’t want to risk them breaking with kids. And I didn’t want to choose a natural item, like rice or beans because I wanted the blankets to be washable. For example, if someone were to wet the bed, it needs to be cleaned. (Rice or beans could not be washed and would just mold.)
Hang with me…this is actually pretty easy, but it is time-consuming. It took me several hours per blanket, more on the larger ones. They get heavy and unwieldy as you sew, which slows things down. It’s also helpful to have a big table to hold the weight of the blanket.
Ready? Here we go!
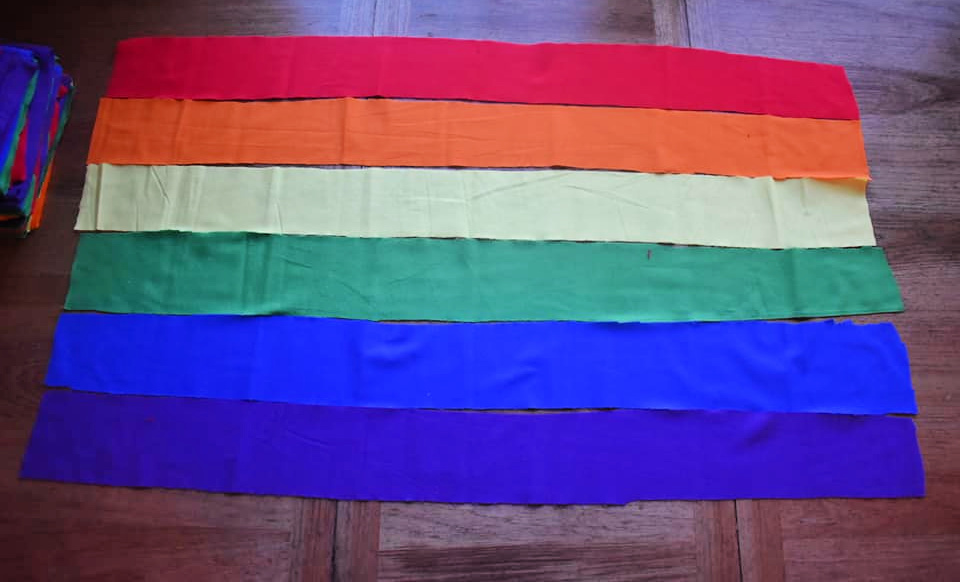
Step 1: Cut your fabric
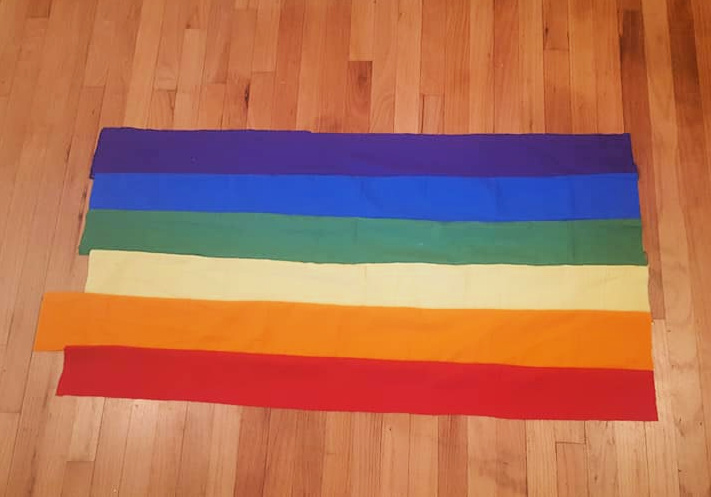
This is easiest with a rotary cutter. I couldn’t find my mat, so I just free-handed it. The stripes aren’t exactly straight, but it will work out anyway. These are the stripes for the smallest blanket (you can see the folded stripes for the other blankets in the corner).
Step 2: Sew the top
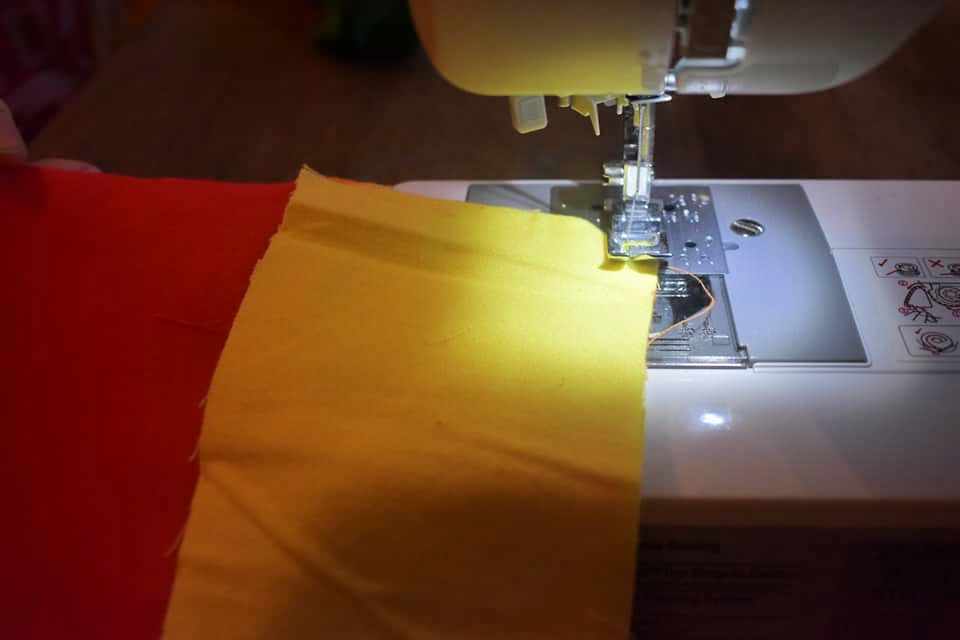
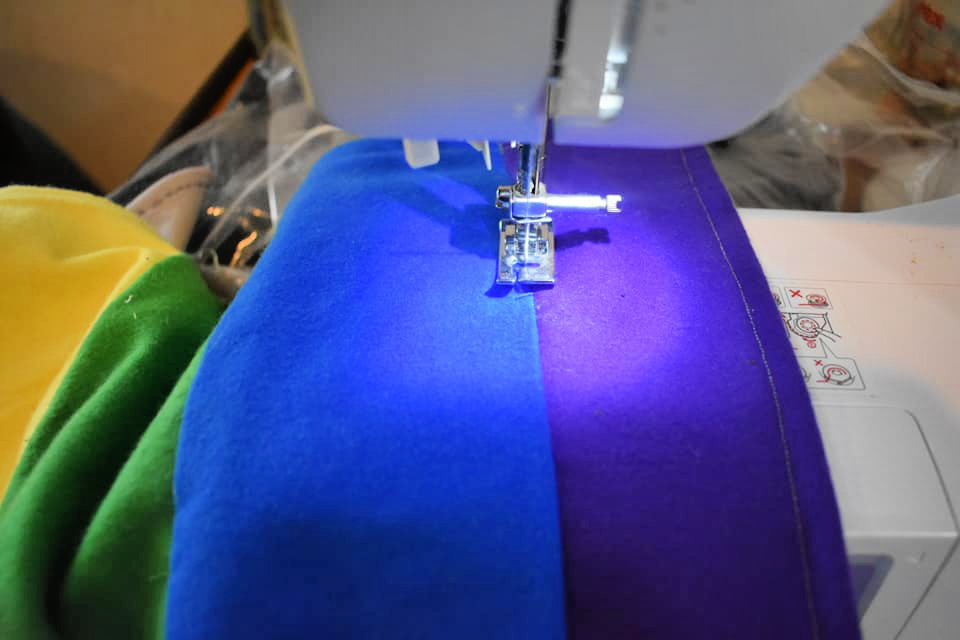
Match the first two stripes, right sides together (red and orange). Sew one edge with a straight stitch, then sew down the edge again with a zigzag stitch to reinforce.
The stripes being sewn (this is yellow on top of orange):
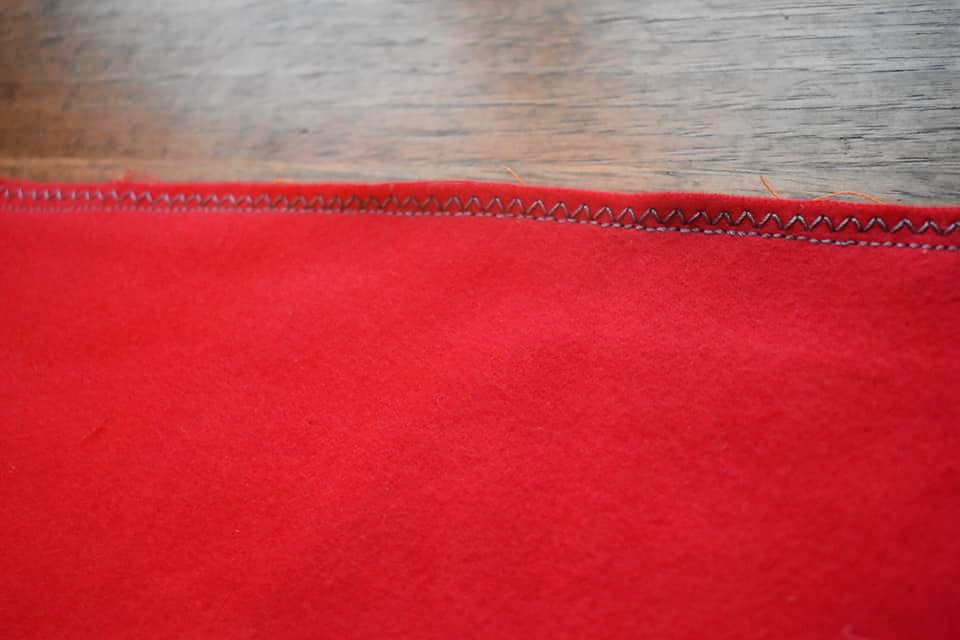
The seam reinforced:
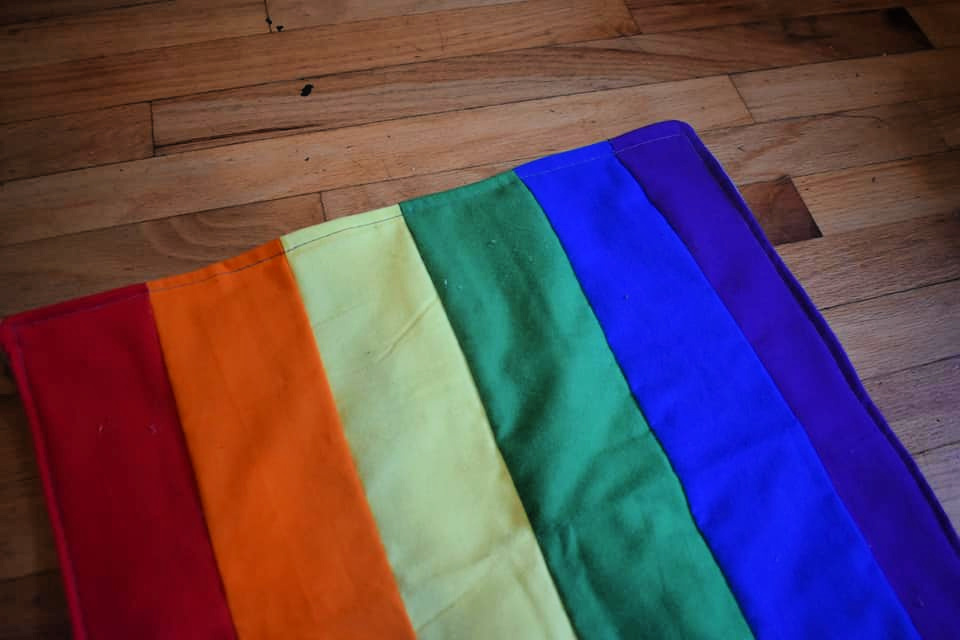
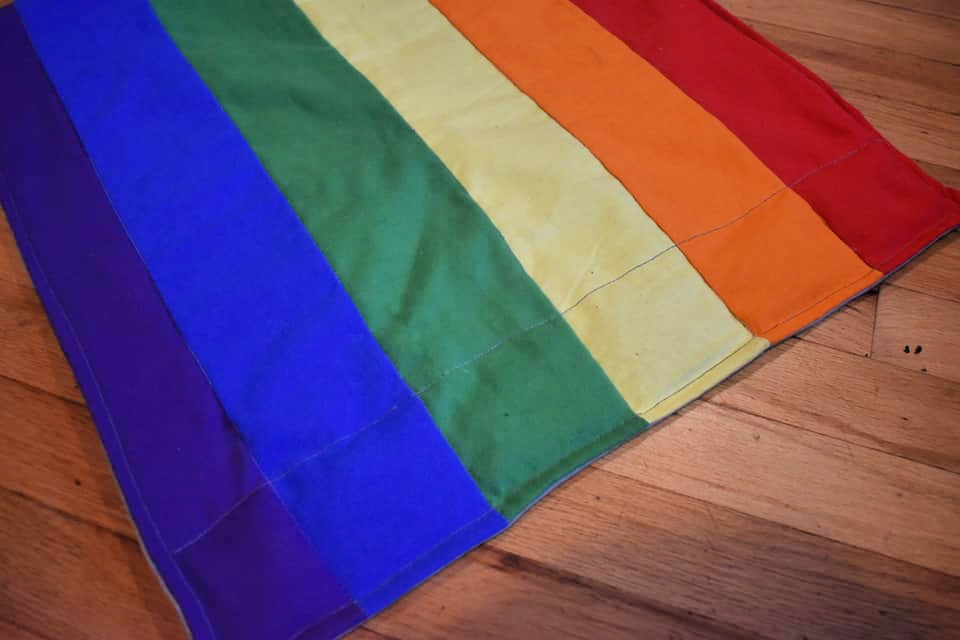
Repeat this until all of the stripes have been sewn together. Then you’ll have the blanket top done, which will look like this!
Step 3: Cut the backing
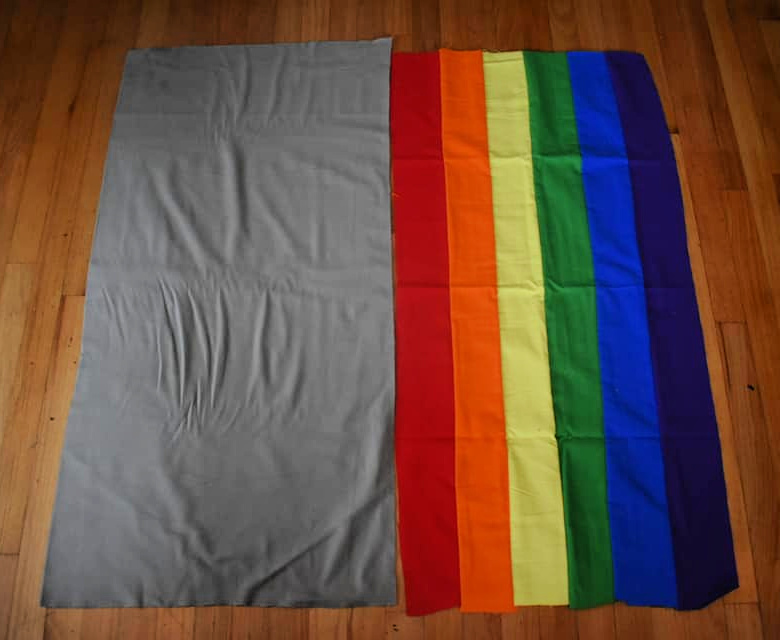
I saved cutting the back until after finishing the top. I simply laid the top on the fabric and cut it to the right size. Above, see the backing next to the top!
Step 4: Sew the back to the front
Put the right sides together, and sew around three sides of the back and front — two long and one short. Leave the final short side open.
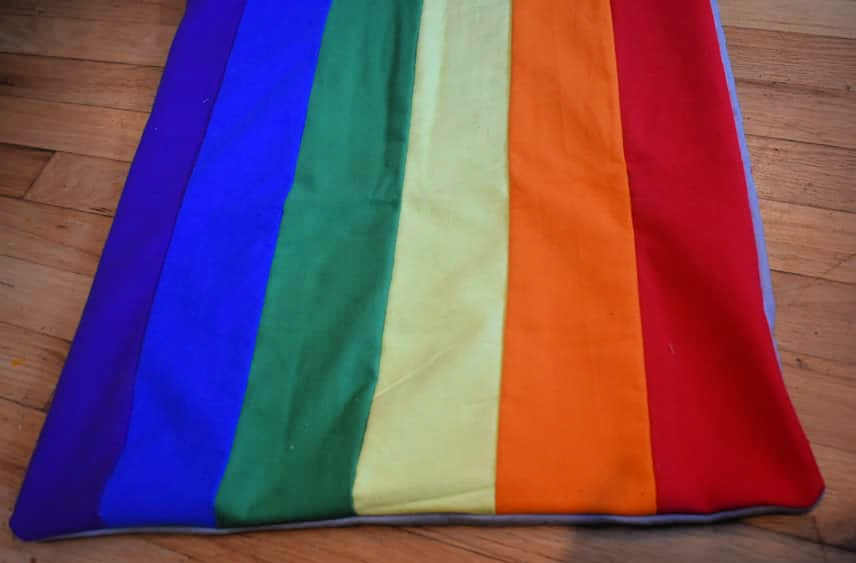
Flip it right side out. The picture above is just after it was flipped right side out!
Step 5: Top stitch the blanket
The top stitching will give it a nicer look and reinforce the seams around the edges. To do this, press the edges together and sew around the outside (three sides again, leaving the top open), about 1/2″ from the edge.
Step 6: Sew the channels
To keep the beads in place in the final blanket, we will sew squares into the blanket. This starts with sewing channels. It is easy — just sew a straight line between the stripes.
Repeat this between every stripe (5 lines sewn). There are now 6 “channels” in which to put beads!
Step 7: Weigh beads and add them
We need to do some math here.
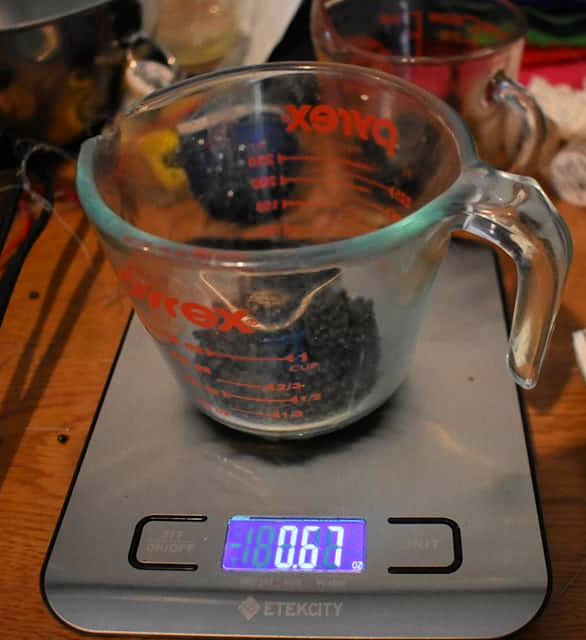
I filled 12 different rows in each blanket, meaning there were 72 squares. To figure out how many beads should go in each square, I divided the amount of beads in ounces by 72. For my youngest’s blanket, it was 3 lbs, or 48 oz, which means it was 0.67 oz per square.
Weigh the beads out and dump them down each of the 6 channels. This is going to create the first row. I found it easiest to use a measuring cup so they would pour easily without spilling.
Step 8: Mark the first row
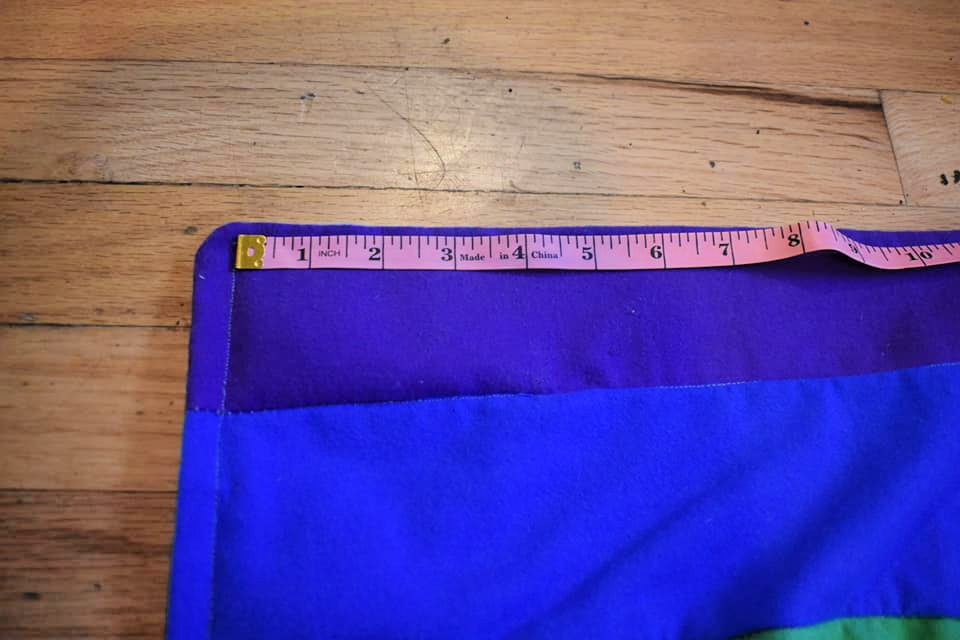
Measure up the side of the blanket. On this blanket, each stripe is 3″ wide, so I’m measuring 3″ up to create squares. Mark with fabric chalk or pins to sew a (mostly!) straight line.
Step 9: Sew across to create the first row
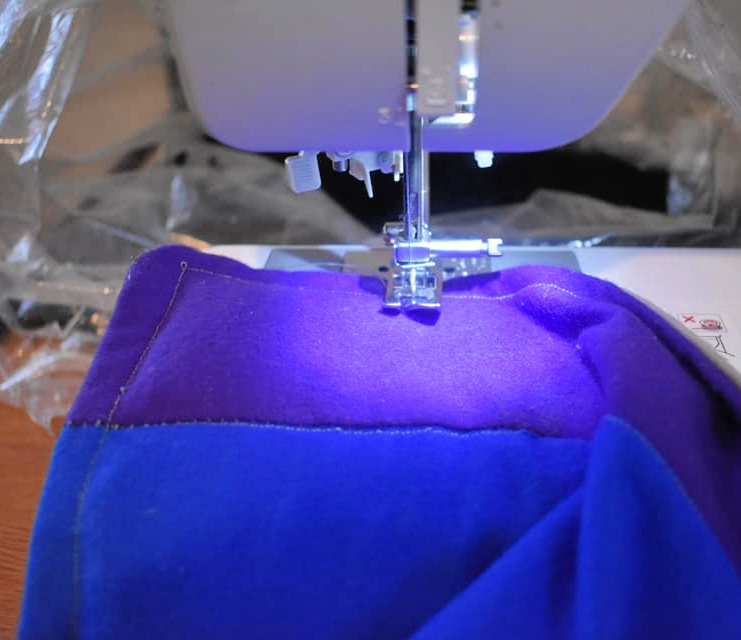
This is going to be a little tricky because the beads will shift. Keep them pushed down and sew across the blanket. Stop often to make sure the beads are down below the line. I found if I didn’t make sure and hit one, it would jam my machine.
This will keep them in place!
Keep adding beads and sewing across to create all 12 rows of beads. As you add more rows, the blanket will get heavier. It’s helpful to have a table to hold the weight so it isn’t pulled down while you sew.
Step 10: Finish the blanket
On the very last row, being very careful not to spill any beads, carefully tuck the edges in. Sew across the top to close the blanket.
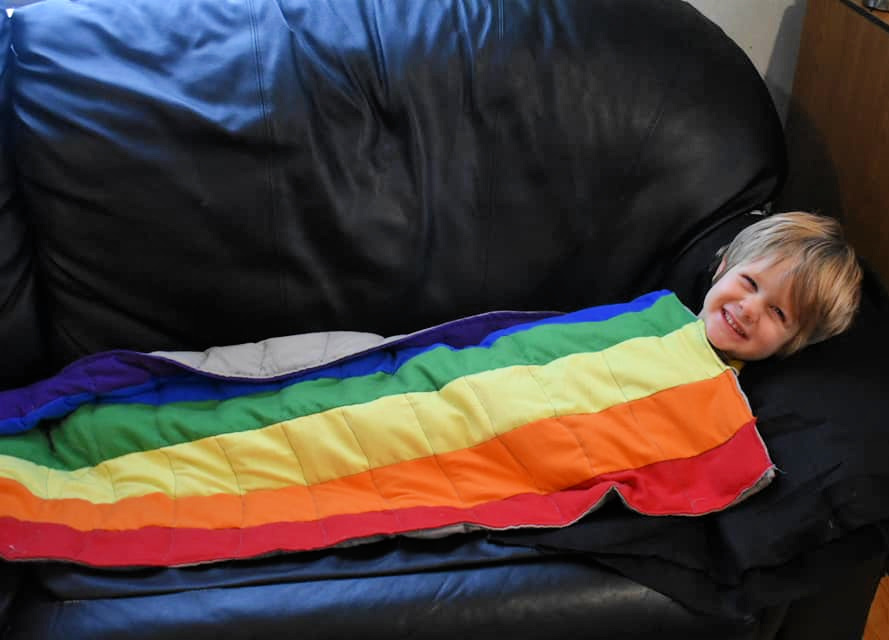
That’s it! The blanket is finished and ready for use. My little one is quite happy to use his!




I can’t weight to try this!!!! THANK YOU for making it look easy, I’m a professional sewer and I wouldn’t have tried this without looking at the details, butYOU helped make that possible. I am wondering if a fabric like ‘riptide’ nylon would be good??? Its pretty tight weave…….Thank you for ataking the time to do this for us mom’s g’mom’s and GR gr, moms!!!!!
When sewing the stripes together, could you use a serger & illuminate the need of extra sewing?
In this case, the zigzag stitch was for additional reinforcement, not used to finish the edge. If using a serger, I would suggest using a 4 thread overlock to provide some extra seam support.