Written by Sarah Nichols
Today, I am excited to show you how to make your very own DIY dryer balls. There are many benefits to using dryer balls. Wool dryer balls:
- Reduce drying time, therefore saving money and energy.
- Reduce static cling.
- Are toxin-free alternatives to dryer sheets and plastic dryer balls.
- Are quieter than plastic dryer balls.
- Can be scented using the essential oil of your choice.
- Are all natural.
- Last for a really long time (most sources I found said 1000+ dryer cycles if not more).
- Are made from sustainable material (wool).
Last Christmas, my mother-in-law made some dryer balls for me as a gift. We have an old dryer, and I noticed the balls helping my clothes dry faster. I love adding some drops of essential oil to the ball to lightly scent the cloth. Remember, some essential oils stain clothes, and not all oils are dryer-safe. I also love that they were handmade. These make a great, frugal gift and are so easy that your children can help you make them.
Supplies
- 100% Wool Yarn (if it’s not wool, it may unravel in the dryer)
- Crochet hook
- Pantyhose
- Scissors
- Rubber bands
- Dryer
- Essential oils (optional)
How To Make DIY Dryer Balls
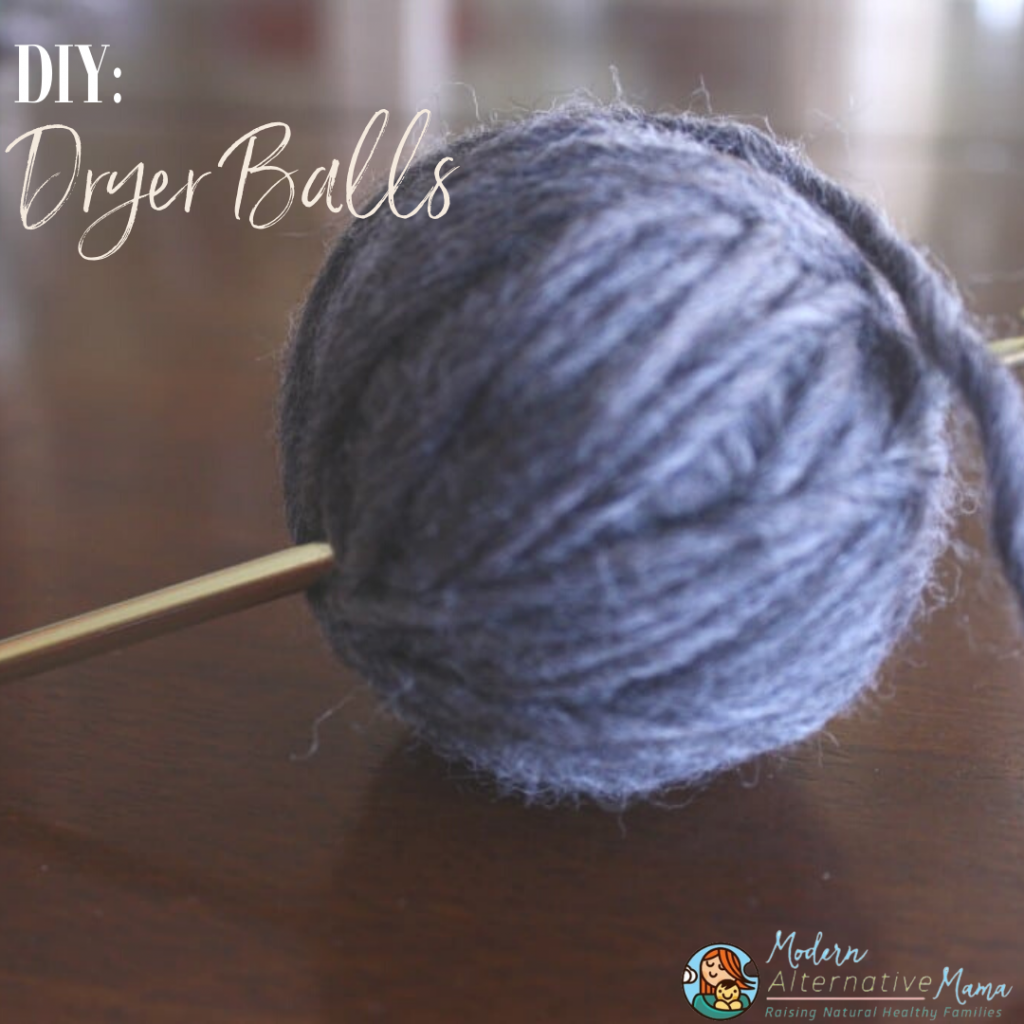
Step 1: Find the beginning of the yarn and hold it between your fingers. Wrap it around 2 or 3 of your fingers several times and then carefully remove your fingers.
Step 2: Take the yarn and switch directions, wrapping it several times around the loops to keep it all together.
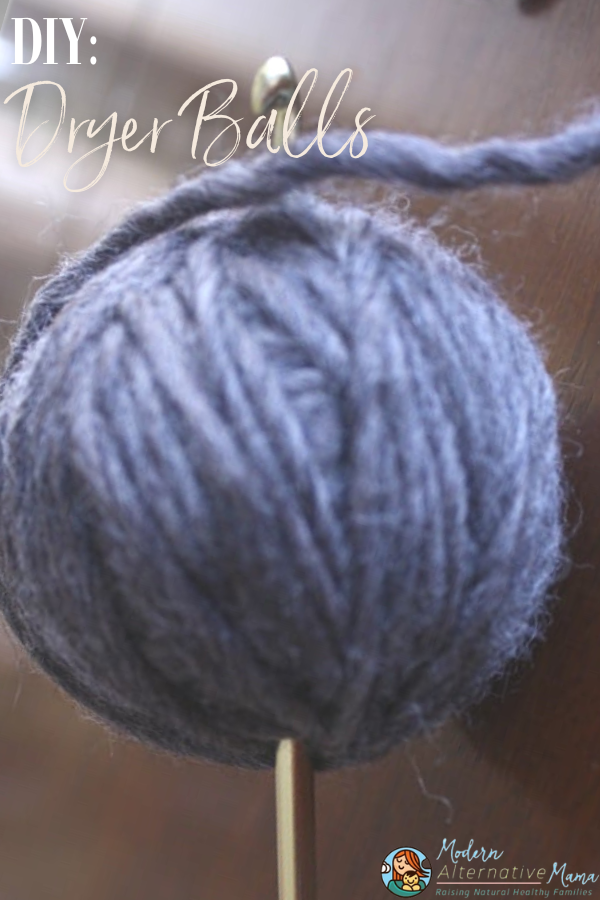
Step 3: Continue wrapping and switching directions until a small ball forms.
Step 4: Continue wrapping the yarn until the ball is your desired size. Remember, the bigger the dryer ball, the faster it will help things dry. The quantity of balls also helps reduce drying time. Once the balls are the size you want, cut the yarn with scissors, leaving several inches loose.
Step 5: Stick a crochet needle through the ball and grab the loose end, pulling it into a ball.
Step 6: Place the DIY dryer balls in pantyhose, separating the balls with a rubber band. You can also use string or yarn that is not made of wool. If you use the wool to tie off the balls, they will fall into the pantyhose and become difficult to remove.
Step 7: Throw the pantyhose/dryer ball rope into the washing machine on the hottest wash cycle. You do not need to use soap. Let it go through the whole cycle. Then, toss it in the dryer on the hottest dry cycle.
Step 8: Remove the pantyhose and admire your brand-new felted DIY dryer balls.
To use the balls, just throw them in the dryer with the rest of your load. Add a couple of drops of the essential oil of your choice (I like Lavender or Idaho Balsam Fir) to the balls, and your clothes will come out with a hint of scent. If you end up with static, that just means you are drying for too long; remember, these balls reduce drying time.


You need agitation not hot water. The agitation from the washer helps the barbs from wool interlock with each other to make it binding. It is a myth about the hot water.